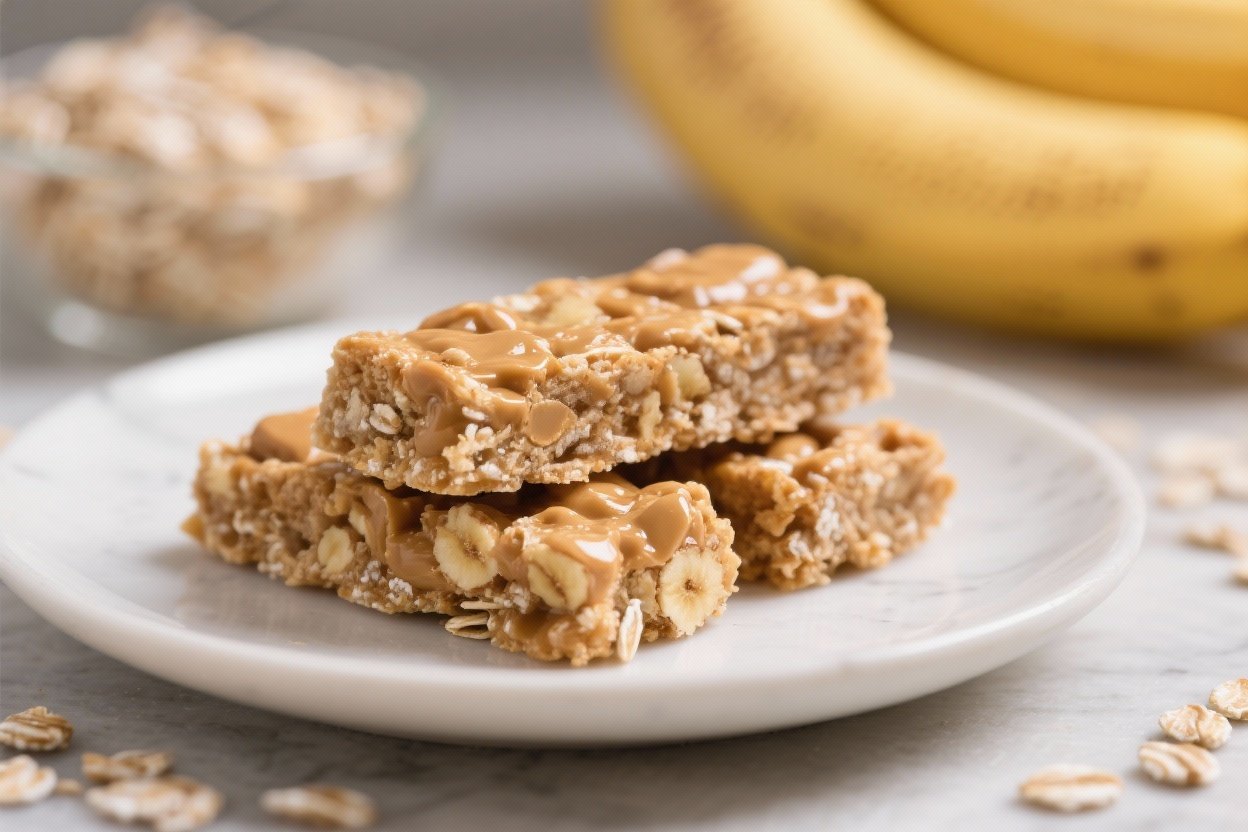
Peanut Butter Banana Oat Bars – Simple, Wholesome, and Satisfying
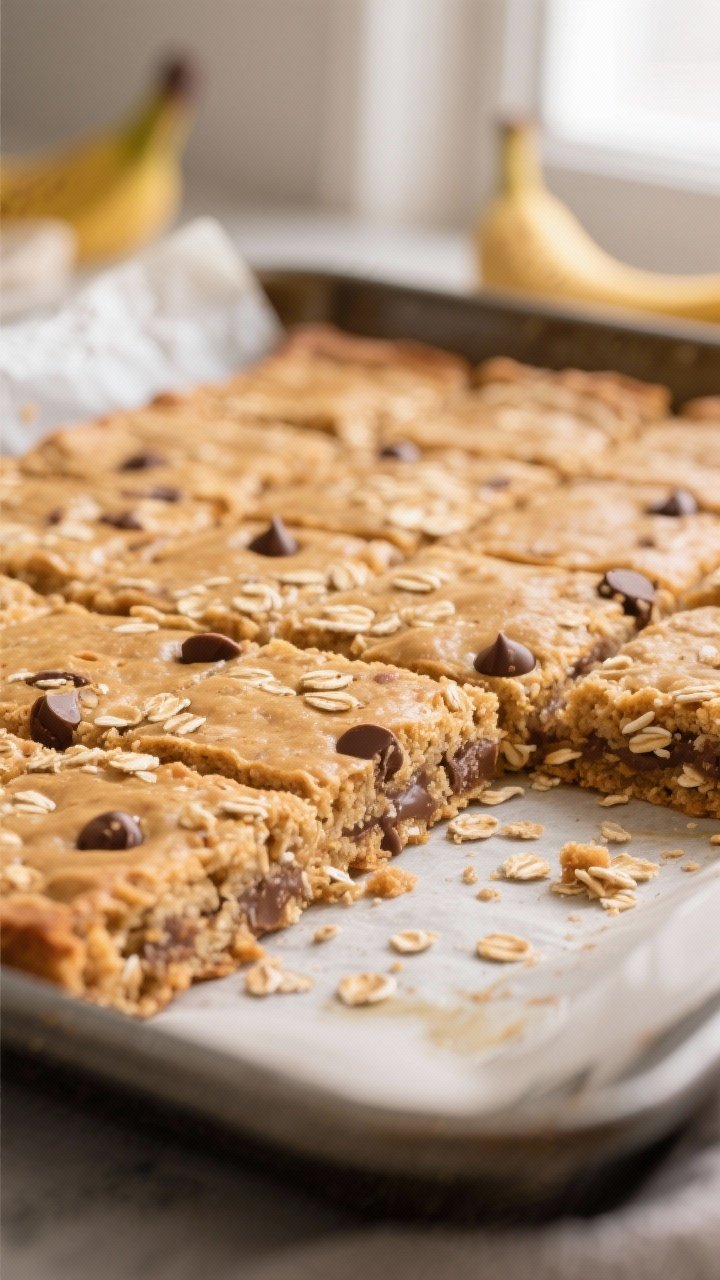
These Peanut Butter Banana Oat Bars are the kind of recipe you keep on repeat. They’re easy to make, require basic pantry ingredients, and taste like a cozy mash-up of banana bread and a peanut butter cookie. Whether you grab one for breakfast, a school snack, or a pre-workout bite, they deliver steady energy without a sugar crash.
The texture is hearty and chewy with just enough sweetness from ripe bananas. They also hold up well for meal prep, so you’re set for the week.
Ingredients
Method
- Prep the pan. Line an 8x8-inch pan with parchment, leaving overhang for easy lifting. Preheat your oven to 350°F (175°C).
- Mash the bananas. In a large bowl, mash the bananas with a fork until mostly smooth. A few small lumps are fine.
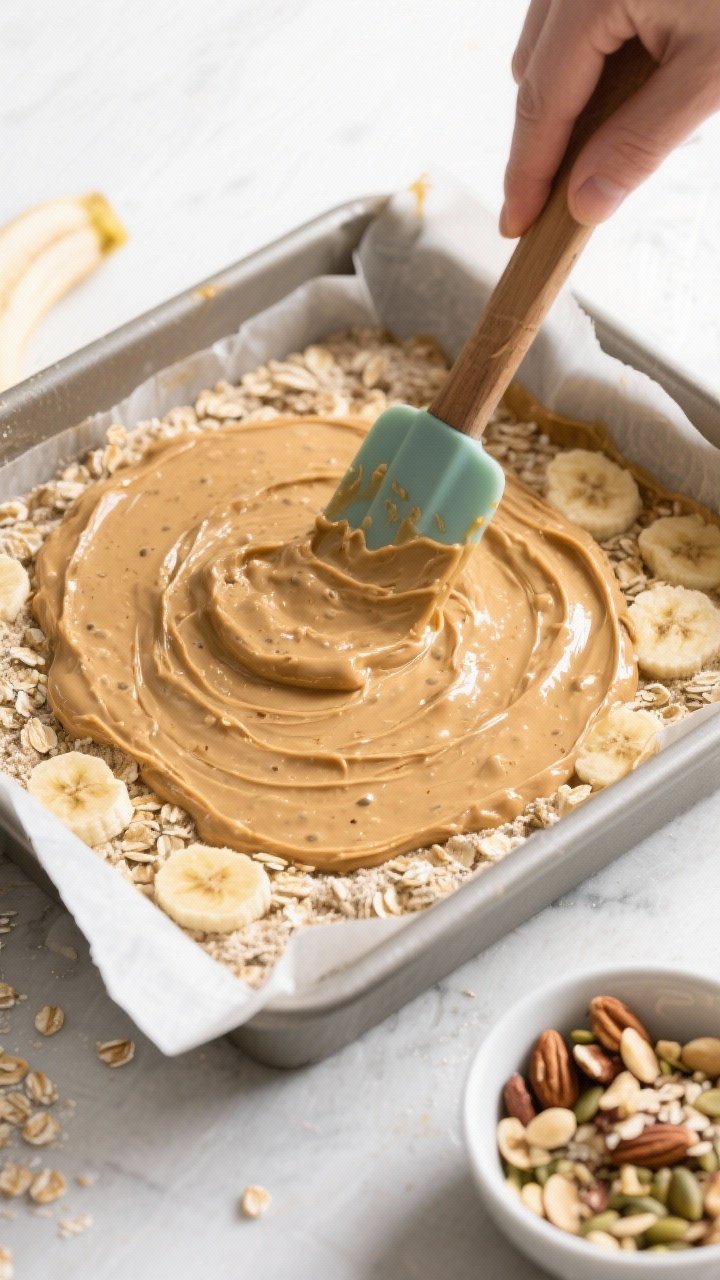
- Stir in wet ingredients. Add peanut butter, honey or maple syrup, and vanilla. Mix until creamy and well combined.
- Add dry ingredients. Stir in rolled oats, oat flour, cinnamon, baking powder, and salt. Fold until the mixture is evenly moistened. If using chocolate chips or nuts, gently fold them in now.
- Adjust consistency if needed. The mixture should be thick and spreadable. If it’s too loose, add a tablespoon or two of oat flour. If it’s too stiff, add a splash of milk or a bit more mashed banana.
- Spread and smooth. Transfer the batter to the lined pan. Use a spatula to press it into an even layer, reaching the corners.
- Bake. Bake for 22–28 minutes, until the edges are lightly golden and the center feels set. A toothpick should come out with a few moist crumbs, not wet batter.
- Cool completely. Let the pan cool on a rack for at least 30 minutes. Lift out using the parchment and slice into bars or squares.
- Serve or store. Enjoy at room temperature or chilled for a firmer texture.
What Makes This Special
These bars hit that sweet spot between treat and fuel. You get natural sweetness from bananas and honey (or maple syrup), plus healthy fats and protein from peanut butter.
Oats bring fiber and chew, giving each bar real staying power.
They’re also highly customizable. You can add chocolate chips, nuts, or seeds, or keep them simple and kid-friendly. It’s a one-bowl recipe with no fuss, making it ideal for busy days or beginner bakers.
What You’ll Need
- 3 medium ripe bananas (the spottier, the better)
- 1/2 cup creamy peanut butter (natural or regular)
- 1/4 cup honey or maple syrup
- 2 cups old-fashioned rolled oats (not instant)
- 1/2 cup oat flour (or finely ground oats)
- 1 teaspoon vanilla extract
- 1 teaspoon ground cinnamon
- 1/2 teaspoon baking powder
- 1/4 teaspoon fine salt
- Optional mix-ins: 1/3 cup chocolate chips, chopped nuts, or seeds
Equipment: Mixing bowl, fork or masher, spatula, 8×8-inch baking pan, parchment paper.
How to Make It
- Prep the pan. Line an 8×8-inch pan with parchment, leaving overhang for easy lifting.
Preheat your oven to 350°F (175°C).
- Mash the bananas. In a large bowl, mash the bananas with a fork until mostly smooth. A few small lumps are fine.
- Stir in wet ingredients. Add peanut butter, honey or maple syrup, and vanilla. Mix until creamy and well combined.
- Add dry ingredients. Stir in rolled oats, oat flour, cinnamon, baking powder, and salt.
Fold until the mixture is evenly moistened. If using chocolate chips or nuts, gently fold them in now.
- Adjust consistency if needed. The mixture should be thick and spreadable. If it’s too loose, add a tablespoon or two of oat flour.
If it’s too stiff, add a splash of milk or a bit more mashed banana.
- Spread and smooth. Transfer the batter to the lined pan. Use a spatula to press it into an even layer, reaching the corners.
- Bake. Bake for 22–28 minutes, until the edges are lightly golden and the center feels set. A toothpick should come out with a few moist crumbs, not wet batter.
- Cool completely. Let the pan cool on a rack for at least 30 minutes.
Lift out using the parchment and slice into bars or squares.
- Serve or store. Enjoy at room temperature or chilled for a firmer texture.
Storage Instructions
- Room temperature: Store in an airtight container for up to 2 days.
- Refrigerator: Keeps well for 5–6 days. Chilling helps the bars set and hold their shape.
- Freezer: Freeze sliced bars in a single layer, then transfer to a freezer bag with parchment between layers. Freeze up to 3 months.
Thaw overnight in the fridge or at room temp for 30–60 minutes.
Benefits of This Recipe
- Balanced energy: Carbs from oats and bananas, plus protein and healthy fats from peanut butter, keep you full longer.
- Refined sugar optional: The sweetness comes mostly from fruit and a touch of honey or maple syrup.
- Meal prep friendly: One batch covers snacks and quick breakfasts for days.
- Kid-approved: Familiar flavors and a soft, chewy texture make these an easy win.
- Customizable: Works with different mix-ins, nut butters, and dietary needs.
Pitfalls to Watch Out For
- Using unripe bananas: Green or barely yellow bananas won’t mash well or taste sweet enough. Look for brown spots.
- Overbaking: These bars can dry out if baked too long. Pull them when the center is set but still tender.
- Wrong oats: Instant oats can make the bars gummy.
Use old-fashioned rolled oats for texture.
- Skipping the cooling step: Cutting while hot can lead to crumbling. Let them firm up first.
- Too many mix-ins: Overloading with chips or nuts can prevent the bars from binding. Keep add-ins to about 1/3 cup.
Variations You Can Try
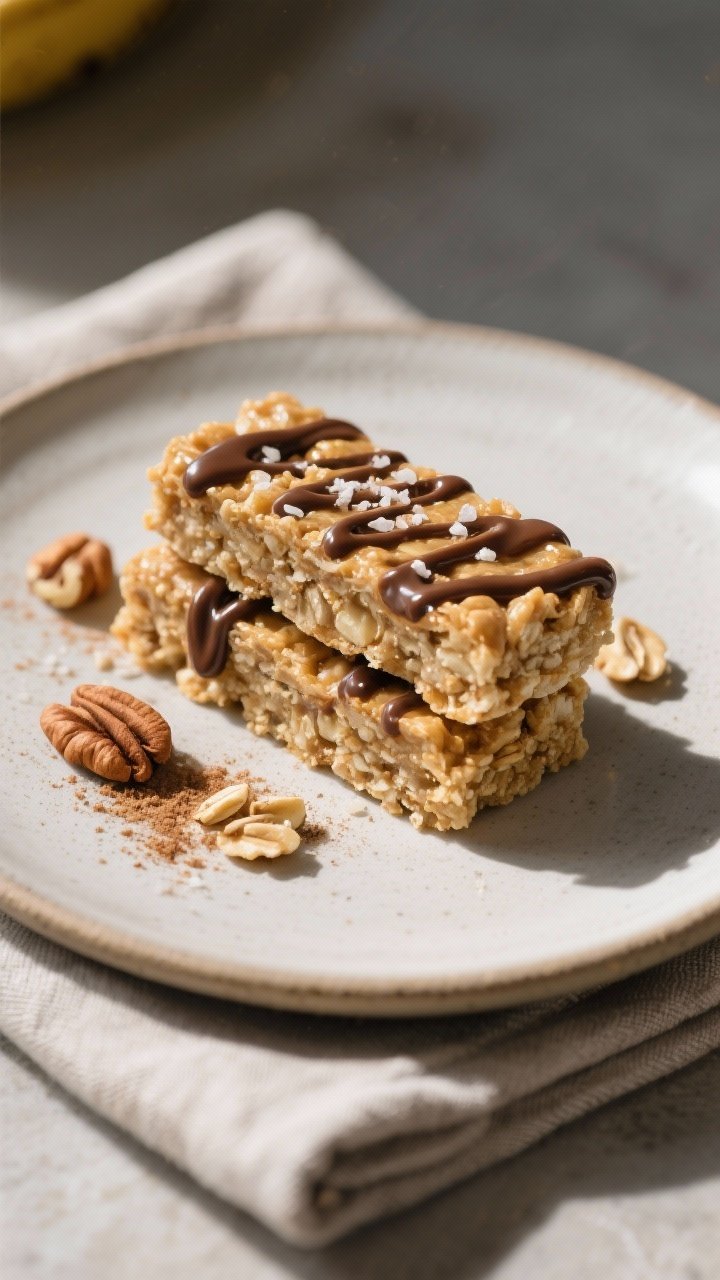
- Chocolate swirl: Melt 2–3 tablespoons of chocolate chips and drizzle over the batter.
Swirl with a knife before baking.
- Nutty crunch: Add chopped walnuts or pecans for texture and extra healthy fats.
- Berry boost: Fold in 1/3 cup freeze-dried raspberries or blueberries for tart pops of flavor.
- Seed power: Mix in chia or hemp seeds for more fiber and protein. Sunflower seeds keep it nut-free if you swap the peanut butter.
- Spice it up: Add a pinch of nutmeg or cardamom with the cinnamon for a bakery-style vibe.
- Nut-free version: Use sunflower seed butter or soy nut butter. Check salt and sweetness, as some alternatives can be more bitter.
- Gluten-free: Use certified gluten-free oats and oat flour.
- High-protein: Stir in 1–2 scoops of unflavored or vanilla protein powder and add a splash more liquid if needed.
FAQ
Can I use quick oats instead of rolled oats?
Yes, but the texture will be softer and a bit more cake-like.
If you use quick oats, consider adding an extra tablespoon of oat flour to help the bars hold together.
What if I don’t have oat flour?
Make your own by blending rolled oats in a blender or food processor until fine. Measure after blending for accuracy.
Can I reduce the sweetener?
You can. If your bananas are very ripe, the bars will still taste pleasant with less honey or maple syrup.
Keep at least 1–2 tablespoons for moisture and balance.
Is natural peanut butter okay?
Absolutely. Stir it well before using. Natural peanut butter may make the batter slightly looser, so add a bit more oat flour if needed.
How do I know they’re done?
The edges should be lightly golden, and the center should look set and bounce back lightly to the touch.
A toothpick should come out with moist crumbs, not raw batter.
Can I make these vegan?
Yes. Use maple syrup instead of honey and choose dairy-free mix-ins like vegan chocolate chips. The base recipe is already egg-free.
How do I pack them for lunch?
Wrap individually or place in a snug container to prevent crumbling.
If the lunchbox sits in a warm environment, opt for the chilled bars so they hold firm.
Do they freeze well with chocolate chips?
They freeze great either way. If you plan to freeze, let baked bars cool completely before wrapping to avoid condensation and ice crystals.
Can I double the recipe?
Yes. Bake in a 9×13-inch pan and extend the bake time by 5–10 minutes, checking for doneness along the way.
What can I use instead of peanut butter?
Almond butter, cashew butter, or sunflower seed butter all work.
Each will change the flavor slightly, so adjust sweetness and salt to taste.
Wrapping Up
Peanut Butter Banana Oat Bars are dependable, tasty, and easy to customize. With a handful of ingredients and one bowl, you can make a week’s worth of satisfying snacks. Keep a batch on hand for busy mornings, after-school bites, or a quick coffee break treat.
Once you make them your way, they’ll become a go-to in your kitchen.
Printable Recipe Card
Want just the essential recipe details without scrolling through the article? Get our printable recipe card with just the ingredients and instructions.