Sunflower Butter Oat Cups – A Simple, No-Bake Treat Everyone Can Enjoy
August 3, 2026 · 7 min read
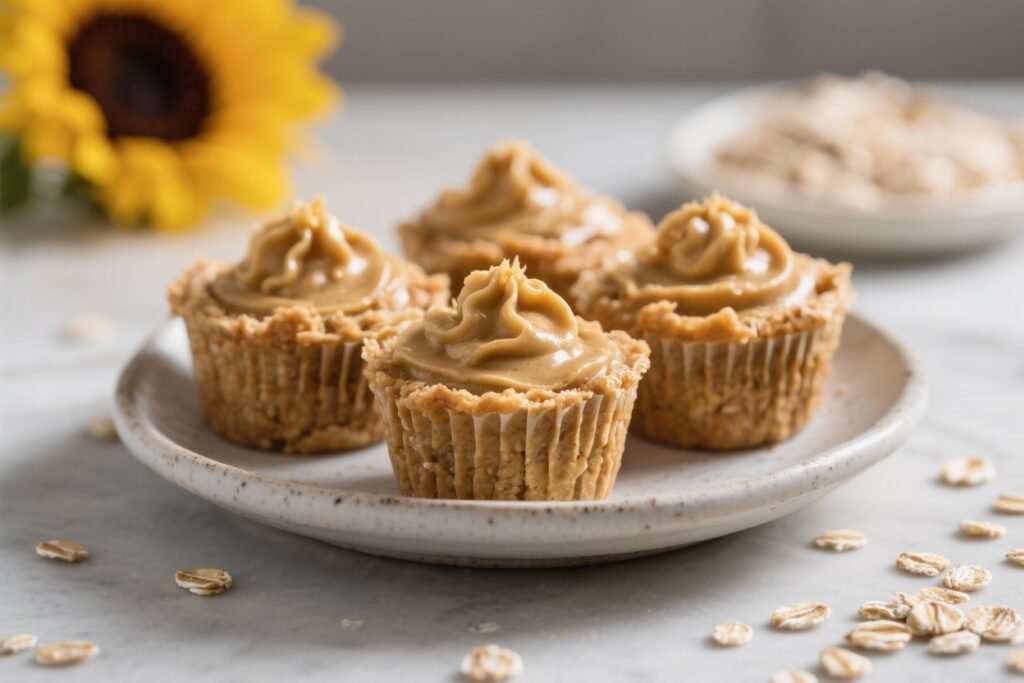
If you’re craving something sweet, satisfying, and easy to make, these sunflower butter oat cups hit the spot. They’re chewy, chocolatey, and just a little salty—the kind of treat you’ll want to keep in your fridge for quick snacks or after-dinner bites. They also happen to be nut-free, which makes them great for lunchboxes and sharing.
No oven, no fuss, and only a handful of pantry ingredients. You’ll be surprised how quickly these disappear.
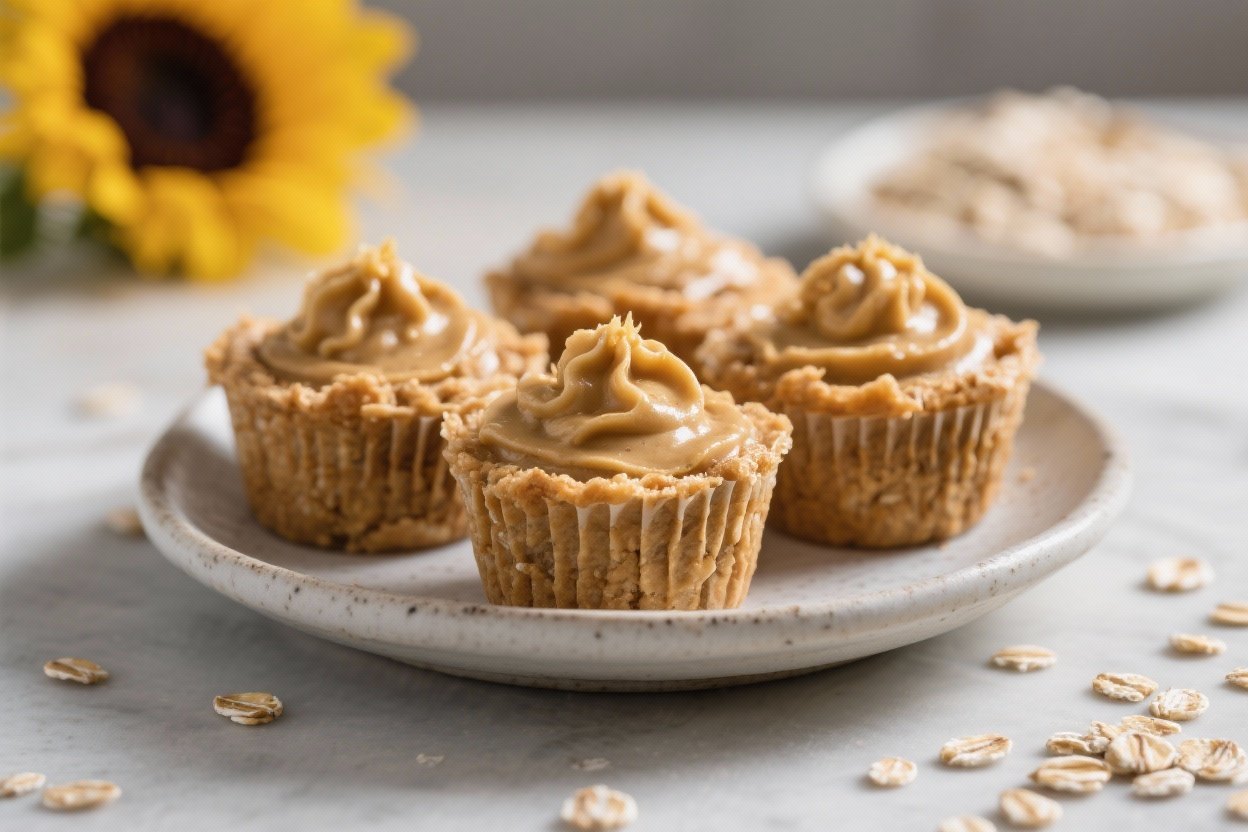
Sunflower Butter Oat Cups - A Simple, No-Bake Treat Everyone Can Enjoy
Ingredients
Method
- Prep your pan: Line a standard 12-cup muffin tin with paper liners. This makes release and cleanup easy.
- Warm the wet ingredients: In a small saucepan over low heat, stir together the sunflower butter, maple syrup, 2 tablespoons coconut oil, vanilla, and salt until smooth and glossy.Don’t boil—just melt and mix.
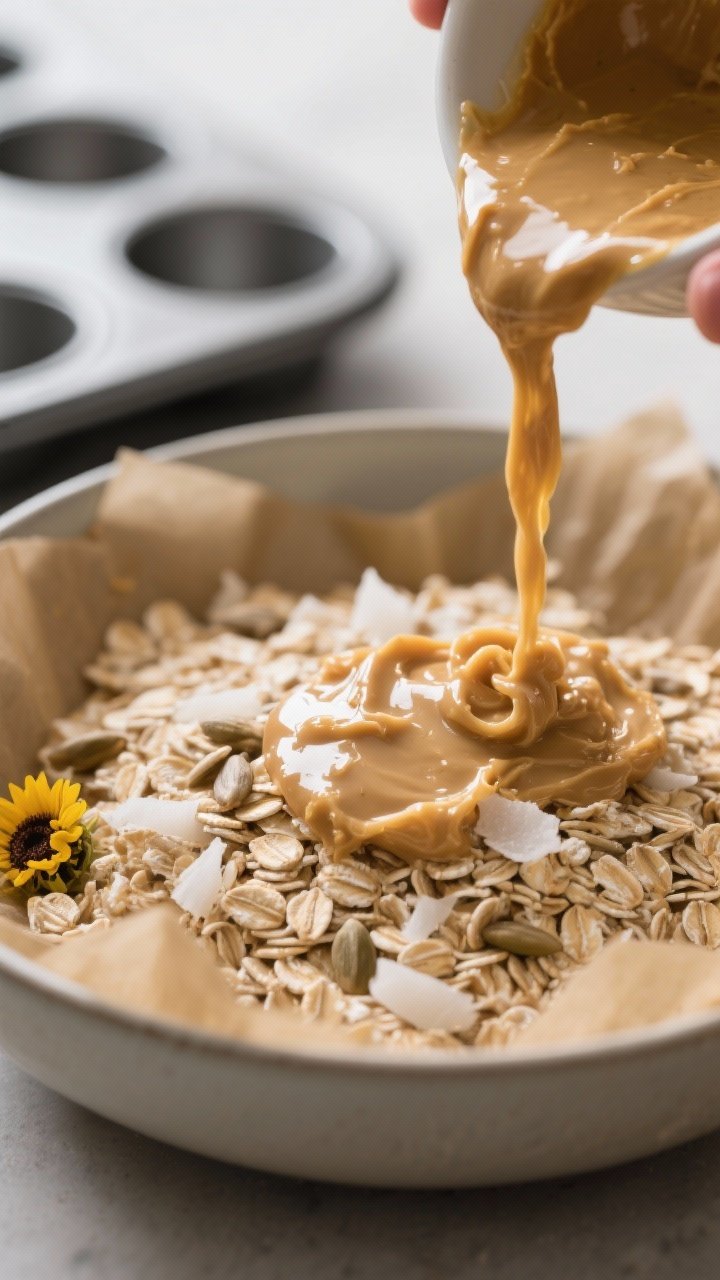
- Mix in the oats: Add the rolled oats to a mixing bowl. Pour the warm sunflower butter mixture over the oats. Stir until everything is evenly coated.If you’re using seeds or coconut, fold them in now.
- Fill the cups: Divide the oat mixture evenly among the muffin liners. Press each portion down firmly with the back of a spoon to create a compact base. A tight press helps them hold together.
- Make the chocolate topping: In a microwave-safe bowl or a double boiler, melt the chocolate with the remaining 2 tablespoons of coconut oil.Heat in short bursts and stir often until smooth.
- Top and smooth: Spoon the melted chocolate over each oat base, spreading it gently to the edges. If you like, sprinkle a small pinch of flaky salt on top.
- Chill: Refrigerate for 45–60 minutes, or until the chocolate is firm and the cups are set. For a faster set, freeze for about 20 minutes.
- Serve: Peel off the liners and enjoy.If the cups are very cold, let them sit at room temperature for 5 minutes so the base softens slightly.
What Makes This Recipe So Good
- No-bake and quick: The whole process takes about 20 minutes, plus chill time.
- Nut-free but still rich: Sunflower butter gives you that creamy, roasty flavor without peanuts or tree nuts.
- Great texture: Chewy oat base, smooth chocolate top, and just enough crunch if you add seeds.
- Easy to customize: Swap sweeteners, add cinnamon, sprinkle flaky salt—you’ve got options.
- Meal prep friendly: They store well in the fridge or freezer, so you can make a batch and snack all week.
What You’ll Need
- Rolled oats (old-fashioned): 2 cups
- Sunflower seed butter (unsweetened or lightly sweetened): 3/4 cup
- Maple syrup or honey: 1/3 cup
- Coconut oil: 4 tablespoons, divided (2 tbsp for the base, 2 tbsp for the topping)
- Vanilla extract: 1 teaspoon
- Fine sea salt: 1/4 teaspoon, plus more to taste
- Mini chocolate chips or chopped dark chocolate: 1 cup
- Optional add-ins: 2–3 tablespoons sunflower seeds, shredded coconut, or chia seeds
- Optional finishing: Flaky salt for topping
How to Make It
- Prep your pan: Line a standard 12-cup muffin tin with paper liners. This makes release and cleanup easy.
- Warm the wet ingredients: In a small saucepan over low heat, stir together the sunflower butter, maple syrup, 2 tablespoons coconut oil, vanilla, and salt until smooth and glossy.
Don’t boil—just melt and mix.
- Mix in the oats: Add the rolled oats to a mixing bowl. Pour the warm sunflower butter mixture over the oats. Stir until everything is evenly coated.
If you’re using seeds or coconut, fold them in now.
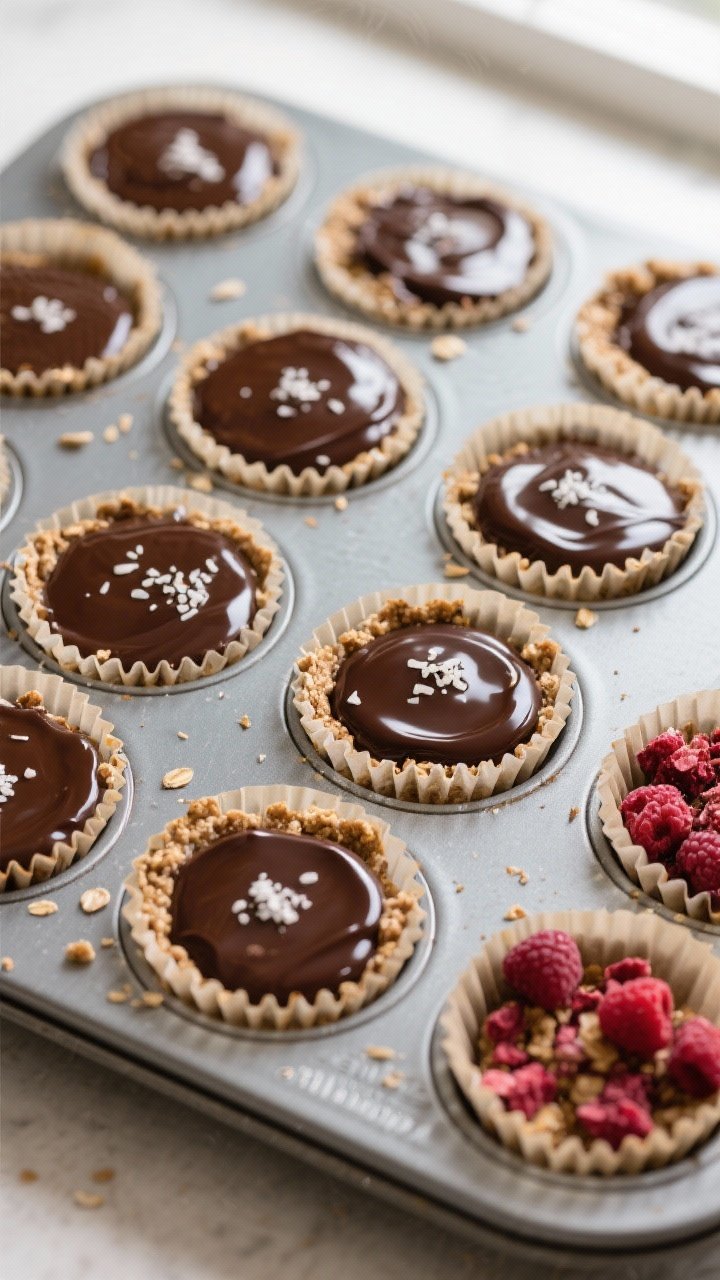
- Fill the cups: Divide the oat mixture evenly among the muffin liners. Press each portion down firmly with the back of a spoon to create a compact base. A tight press helps them hold together.
- Make the chocolate topping: In a microwave-safe bowl or a double boiler, melt the chocolate with the remaining 2 tablespoons of coconut oil.
Heat in short bursts and stir often until smooth.
- Top and smooth: Spoon the melted chocolate over each oat base, spreading it gently to the edges. If you like, sprinkle a small pinch of flaky salt on top.
- Chill: Refrigerate for 45–60 minutes, or until the chocolate is firm and the cups are set. For a faster set, freeze for about 20 minutes.
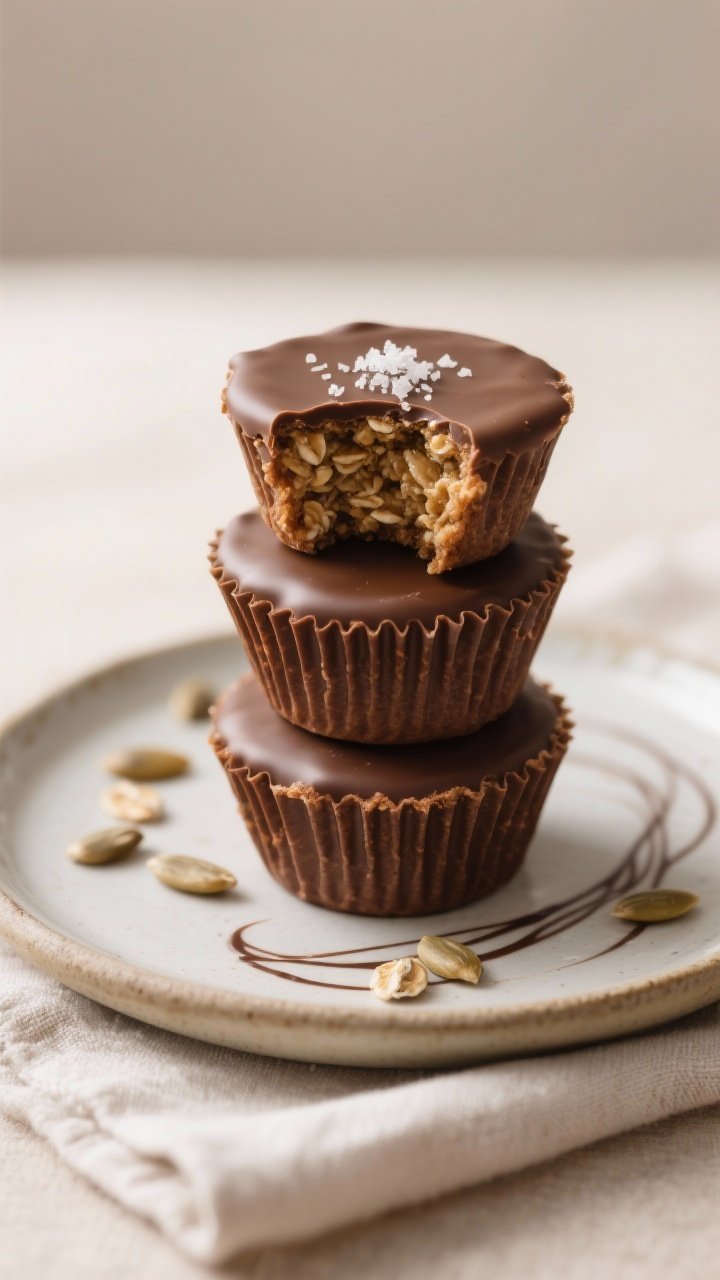
- Serve: Peel off the liners and enjoy.
If the cups are very cold, let them sit at room temperature for 5 minutes so the base softens slightly.
Keeping It Fresh
- Fridge: Store in an airtight container for up to 7–10 days. Keep layers separated with parchment if stacking.
- Freezer: Freeze for up to 2 months. Thaw at room temperature for 10–15 minutes or in the fridge overnight before eating.
- Travel tip: If you’re packing them for on-the-go, keep them chilled until you leave.
The chocolate softens in warm weather.
Why This is Good for You
- Wholesome carbs and fiber: Rolled oats provide steady energy and help keep you full.
- Healthy fats: Sunflower seed butter and coconut oil add satisfying fats that support satiety and flavor.
- Minerals and vitamin E: Sunflower seeds are naturally rich in vitamin E and selenium.
- Lower in refined sugar: Sweetened primarily with maple syrup or honey, so you control the sweetness.
- Allergy-friendly: Nut-free and easy to make gluten-free by choosing certified gluten-free oats.
Common Mistakes to Avoid
- Using quick oats: They can turn pasty. Stick with old-fashioned rolled oats for better texture.
- Not pressing the base: A loose base will crumble. Press firmly so the cups hold together.
- Overheating the chocolate: Melt gently to avoid seizing or a grainy texture.
- Skipping the salt: A small pinch sharpens flavors and balances sweetness.
Don’t leave it out entirely.
- Serving too cold: Letting them warm slightly softens the base and improves the bite.
Variations You Can Try
- Cinnamon Raisin: Add 1 teaspoon cinnamon and 1/3 cup raisins to the oat mixture.
- Mocha: Stir 1 teaspoon instant espresso powder into the melted chocolate.
- Salted Caramel: Drizzle a little date caramel or store-bought caramel over the oat layer before chocolate, then top with flaky salt.
- Berry Crunch: Fold 1/4 cup freeze-dried raspberries into the oat base and sprinkle a few crumbs on top of the chocolate.
- Protein Boost: Mix in 1/4 cup unflavored or vanilla protein powder with the oats and add 1–2 extra tablespoons of sunflower butter if it gets too dry.
- Seed Mix: Add a blend of pumpkin seeds, hemp hearts, and chia for extra texture and nutrients.
- No Chocolate Top: Skip the chocolate and press a few extra sunflower seeds on top for a simpler, less sweet cup.
FAQ
Can I use peanut butter or almond butter instead?
Yes. Peanut or almond butter works well and will change the flavor slightly. If your nut butter is thick, warm it gently with the sweetener and oil to loosen it so it coats the oats evenly.
Do I have to use coconut oil?
No.
You can use butter or a neutral oil for the base. For the chocolate, coconut oil helps the topping set with a soft snap; if you skip it, the chocolate will be a bit firmer and may not slice as cleanly but still tastes great.
Are these gluten-free?
They can be. Use certified gluten-free oats to avoid cross-contact with gluten.
How sweet are these?
They’re moderately sweet.
If you prefer less sweetness, reduce the maple syrup to 1/4 cup and add a splash of milk to help the mixture come together if needed.
What if my sunflower butter is very runny or very thick?
If it’s runny, add 2–3 tablespoons more oats. If it’s thick, warm it longer with the sweetener and oil or add 1–2 teaspoons of water or milk until it blends smoothly with the oats.
Can I make these without chocolate?
Definitely. Press the oat mixture into the liners, then chill.
For extra flavor, drizzle a little melted sunflower butter on top and finish with flaky salt.
How many cups does this make?
This recipe makes about 12 standard-sized cups. You can make mini cups for bite-sized treats—just reduce the chill time slightly.
Final Thoughts
Sunflower butter oat cups are the kind of treat you’ll want to keep around for busy days and late-night cravings. They’re simple, reliable, and easy to tweak based on what you like or what you have.
The chew from the oats and the silky chocolate layer feel special without a lot of effort. Make a batch once and you’ll have a new go-to snack that fits into almost any routine. Keep them chilled, share a few, and enjoy the rest all week long.
Printable Recipe Card
Want just the essential recipe details without scrolling through the article? Get our printable recipe card with just the ingredients and instructions.