Seed Butter Chocolate Cups – A Simple, Allergy-Friendly Treat
August 5, 2026 · 7 min read
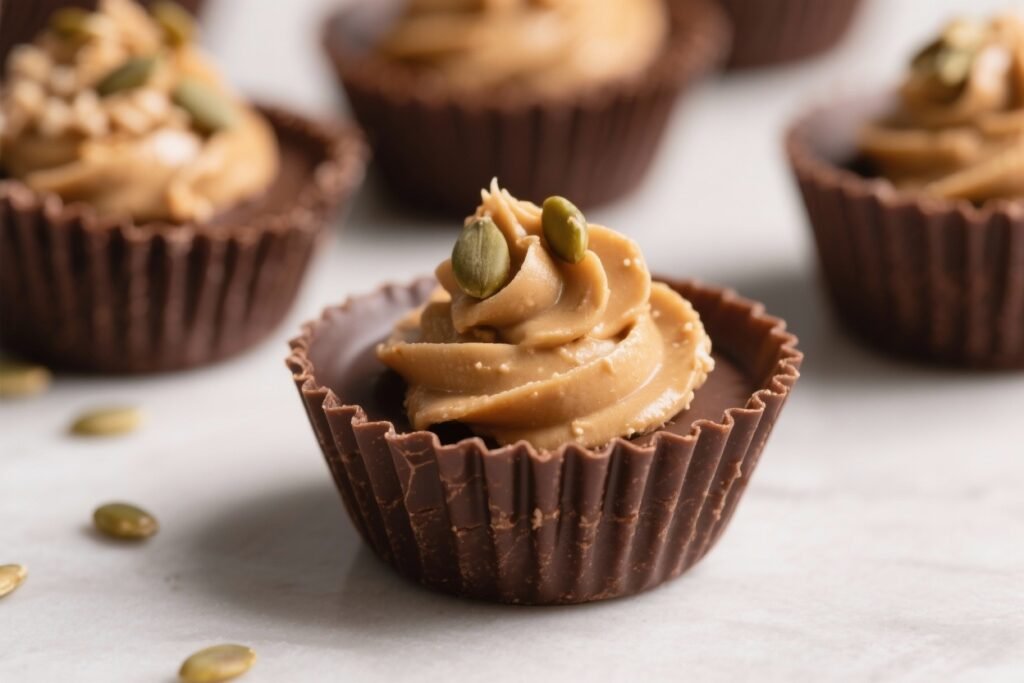
Seed butter chocolate cups are the kind of sweet you can stash in the fridge and feel good about. They’re rich, creamy, and perfectly sweet, with a silky chocolate shell and a nut-free, slightly salty center. Whether you’re avoiding nuts or just want to try something new, these deliver all the satisfaction of a peanut butter cup without the allergens.
They come together fast, require no baking, and store well for snacks all week. Plus, they’re easy to customize—so you can make them exactly how you like.
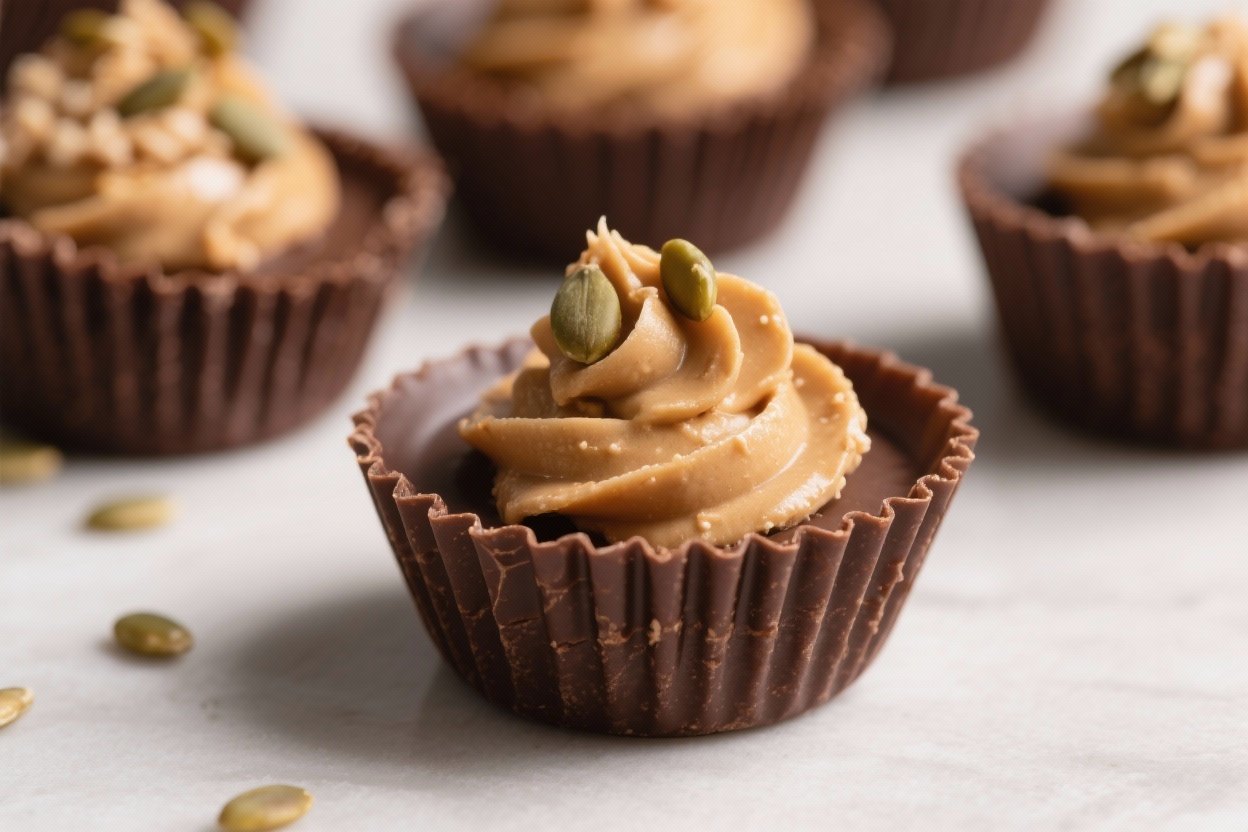
Seed Butter Chocolate Cups - A Simple, Allergy-Friendly Treat
Ingredients
Method
- Line your pan. Place mini muffin liners in a mini muffin tin (about 18–24 cups).For full-size cups, use a regular muffin tin with liners.
- Melt the chocolate. Add 1 1/2 cups chocolate and 1 1/2 tablespoons coconut oil to a heatproof bowl. Microwave in 20–30 second bursts, stirring each time, until smooth. Or melt over a double boiler on low heat.Don’t overheat—warm and glossy is perfect.
- Make the filling. In a small bowl, combine 1/2 cup seed butter, 1–2 tablespoons maple syrup, 1/2 teaspoon vanilla, and a pinch of fine sea salt. Stir until creamy. If too thick, loosen with 1–2 teaspoons warm water; if too runny, add 1–2 teaspoons cocoa powder or a spoon of oat flour to firm it up.
- Build the base. Spoon about 1 teaspoon melted chocolate into each liner and tilt the pan to coat the bottoms.Chill for 5–10 minutes until just set but still slightly tacky.
- Add the filling. Scoop 1/2 to 1 teaspoon of the seed butter mixture onto each base. Gently press to flatten slightly, keeping space around the edges so the top layer of chocolate can seal.
- Top with chocolate. Cover each center with another 1–1 1/2 teaspoons melted chocolate. Tap the pan on the counter to level the tops and release air bubbles.
- Finish and set. Sprinkle with flaky salt if using.Chill for 20–30 minutes until firm.
- Serve. Peel off the liner and enjoy straight from the fridge or let them sit for 5 minutes for a softer bite.
Why This Recipe Works
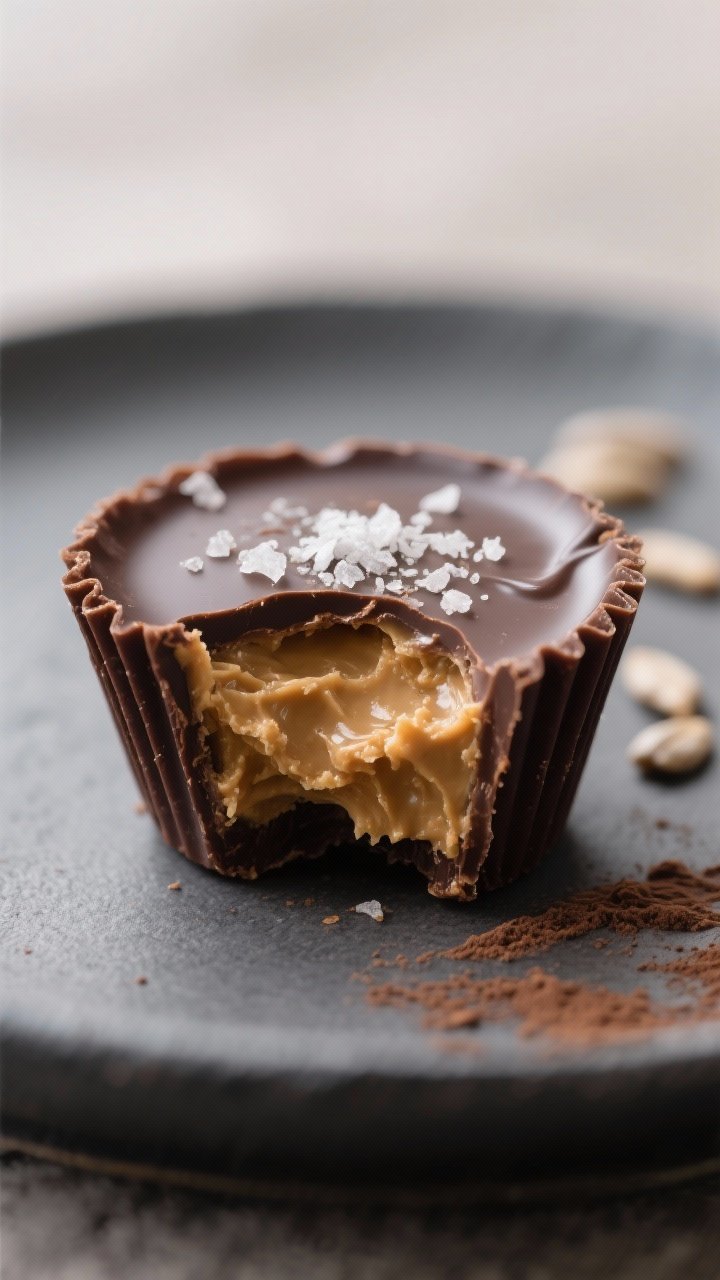
This recipe is all about contrast: smooth chocolate with a tender, slightly chewy seed butter filling. The sweetness is balanced by a hint of salt, which makes the flavors pop.
Using seed butter keeps the cups nut-free while still giving you that creamy, satisfying texture. A little coconut oil helps the chocolate set with a glossy finish and makes the cups easy to bite into. You can make them mini or full-size, and the method works with dark, milk, or dairy-free chocolate.
Shopping List
- Chocolate chips or chopped chocolate (dark, semi-sweet, or dairy-free)
- Coconut oil (refined for no coconut flavor, or unrefined if you like it)
- Seed butter (sunflower seed butter, pumpkin seed butter, or tahini)
- Maple syrup or honey (use maple for vegan)
- Vanilla extract
- Fine sea salt
- Flaky sea salt (optional, for topping)
- Cinnamon or cocoa powder (optional flavor boosters)
- Mini muffin liners or regular muffin liners
Instructions
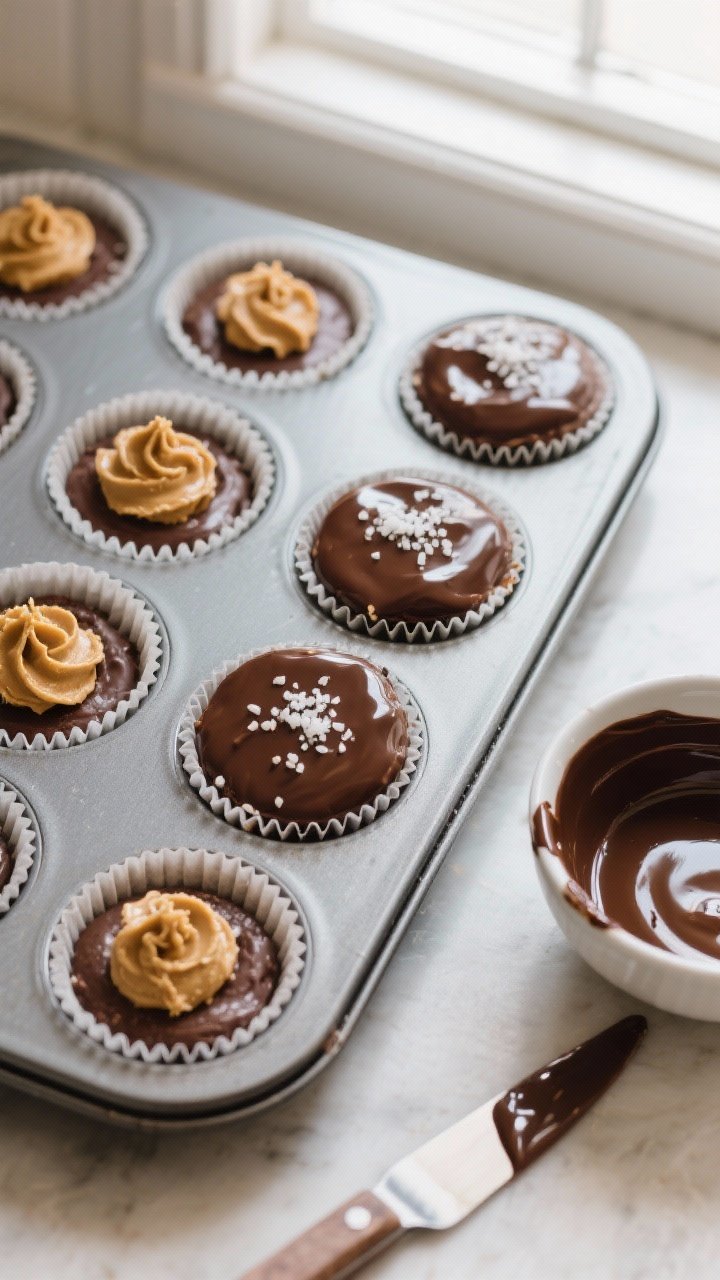
- Line your pan. Place mini muffin liners in a mini muffin tin (about 18–24 cups).
For full-size cups, use a regular muffin tin with liners.
- Melt the chocolate. Add 1 1/2 cups chocolate and 1 1/2 tablespoons coconut oil to a heatproof bowl. Microwave in 20–30 second bursts, stirring each time, until smooth. Or melt over a double boiler on low heat.
Don’t overheat—warm and glossy is perfect.
- Make the filling. In a small bowl, combine 1/2 cup seed butter, 1–2 tablespoons maple syrup, 1/2 teaspoon vanilla, and a pinch of fine sea salt. Stir until creamy. If too thick, loosen with 1–2 teaspoons warm water; if too runny, add 1–2 teaspoons cocoa powder or a spoon of oat flour to firm it up.
- Build the base. Spoon about 1 teaspoon melted chocolate into each liner and tilt the pan to coat the bottoms.
Chill for 5–10 minutes until just set but still slightly tacky.
- Add the filling. Scoop 1/2 to 1 teaspoon of the seed butter mixture onto each base. Gently press to flatten slightly, keeping space around the edges so the top layer of chocolate can seal.
- Top with chocolate. Cover each center with another 1–1 1/2 teaspoons melted chocolate. Tap the pan on the counter to level the tops and release air bubbles.
- Finish and set. Sprinkle with flaky salt if using.
Chill for 20–30 minutes until firm.
- Serve. Peel off the liner and enjoy straight from the fridge or let them sit for 5 minutes for a softer bite.
Storage Instructions
- Refrigerator: Store in an airtight container for up to 2 weeks. Keep a layer of parchment between stacked cups.
- Freezer: Freeze for up to 3 months. Thaw at room temperature for 10–15 minutes before eating for best texture.
- Room temperature: If your kitchen is cool, they’ll hold for a few hours.
Warm rooms will soften the chocolate and filling.
Health Benefits
- Allergy-friendly: Seed butter keeps these nut-free while providing protein and healthy fats.
- Better fats: Sunflower and pumpkin seed butters contain unsaturated fats and minerals like magnesium and zinc.
- Lower sugar option: You control sweetness. Use dark chocolate and minimal maple syrup for a more balanced treat.
- Antioxidants: Dark chocolate is rich in polyphenols that support heart health when enjoyed in moderation.
- No weird additives: Homemade means fewer processed ingredients compared to store-bought candy.
What Not to Do
- Don’t skip the coconut oil if your chocolate is stubborn. It helps the chocolate melt smoothly and set with a gentle snap.
- Don’t overfill the center. If the seed butter touches the liner edges, the top chocolate won’t seal and can crack.
- Don’t rush the chilling. Warm centers will bleed into the chocolate. A short chill between layers keeps them clean and defined.
- Don’t use watery seed butter. Excess liquid makes the filling ooze.
Stir well or thicken as needed.
- Don’t overheat the chocolate. Burnt chocolate turns grainy and bitter. Melt slowly and stir often.
Variations You Can Try
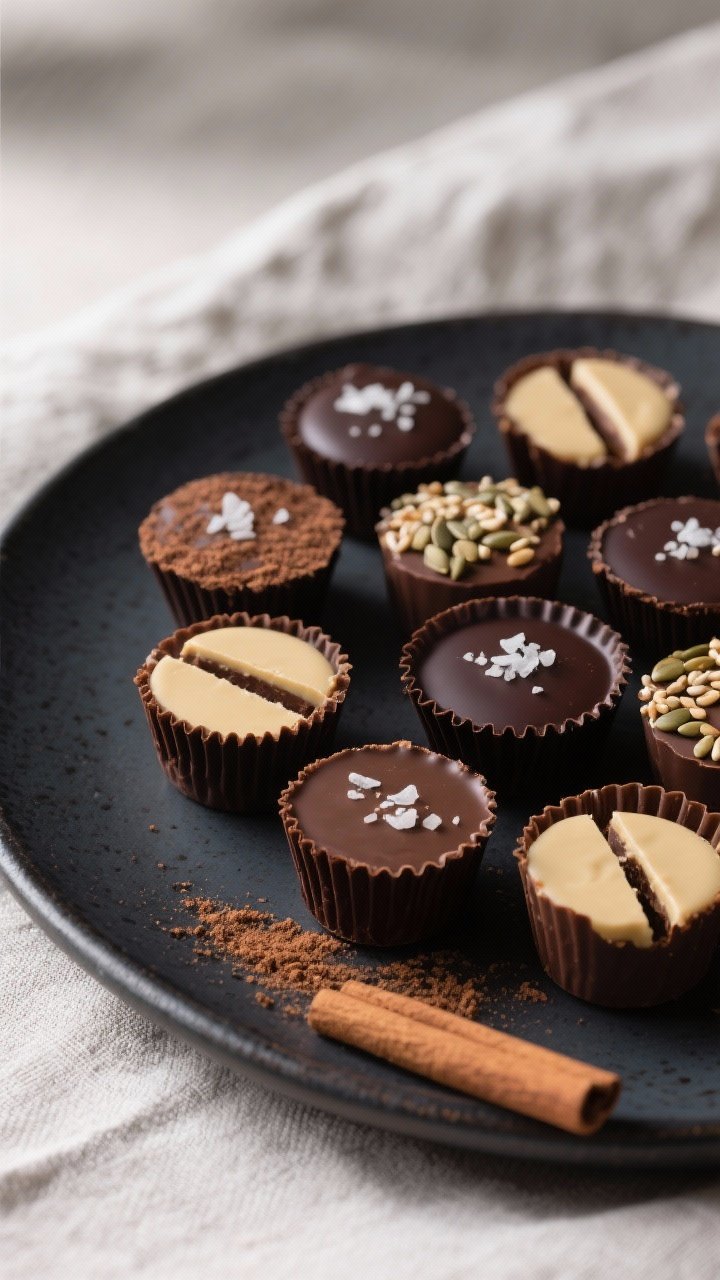
- Crunchy swirl: Stir in toasted seeds (sunflower, pumpkin, or sesame) to the filling for texture.
- Tahini latte: Use tahini, add a pinch of cinnamon and cardamom, and top with sesame seeds.
- Mint dark chocolate: Add 1/8 teaspoon peppermint extract to the chocolate layer.
- Raspberry center: Add a tiny spoon of raspberry jam on top of the seed butter before sealing with chocolate.
- Protein boost: Mix 1 tablespoon unflavored or vanilla protein powder into the filling; adjust with a splash of water if too thick.
- Salted caramel vibe: Use a darker maple syrup, a splash of vanilla, and finish with flaky sea salt.
- Spicy chocolate: Add a pinch of cayenne or chili powder to the top chocolate layer for heat.
FAQ
Which seed butter works best?
Sunflower seed butter is the most peanut-butter-like in texture and flavor. Pumpkin seed butter is earthier and darker, while tahini is looser and slightly bitter—great with extra maple and a pinch of cinnamon.
Can I make these without coconut oil?
Yes.
The chocolate will still melt and set, but it may be firmer and less glossy. If skipping coconut oil, melt slowly and consider using high-quality baking chocolate for smoother results.
Are these gluten-free and vegan?
They can be. Use dairy-free chocolate and maple syrup for vegan, and check that all ingredients are certified gluten-free if needed.
How do I prevent the chocolate from blooming (white streaks)?
Avoid big temperature swings.
Let the melted chocolate cool slightly before layering, and store the finished cups in the fridge in a sealed container. Using tempered or high-quality chocolate helps too.
My filling is runny. How can I fix it?
Stir in a teaspoon of cocoa powder, oat flour, or finely ground chia to thicken.
Chill for a few minutes before assembling.
Can I use a silicone mold instead of liners?
Yes. Silicone works well and makes unmolding easy. Make sure the mold is on a baking sheet so it doesn’t wobble when moving to the fridge.
What’s the best chocolate to use?
Choose chocolate you enjoy eating on its own.
Dark chocolate (60–70%) balances the sweet filling well, but semi-sweet or milk chocolate is great if you prefer sweeter cups.
How many cups does this make?
Expect about 18–24 mini cups or 8–10 regular cups, depending on how generously you fill each layer.
Wrapping Up
Seed butter chocolate cups are simple to make, easy to customize, and friendly to a range of diets. With just a few pantry ingredients and a muffin tin, you can whip up a batch that beats store-bought candy on flavor and ingredients. Keep them in the fridge for an after-dinner treat, pack one for a sweet midday pick-me-up, or box them up as a thoughtful homemade gift.
Once you’ve tried one variation, you’ll have ideas for the next batch right away.
Printable Recipe Card
Want just the essential recipe details without scrolling through the article? Get our printable recipe card with just the ingredients and instructions.