Zucchini Bread Mini Loaves – Moist, Comforting, and Perfectly Portable
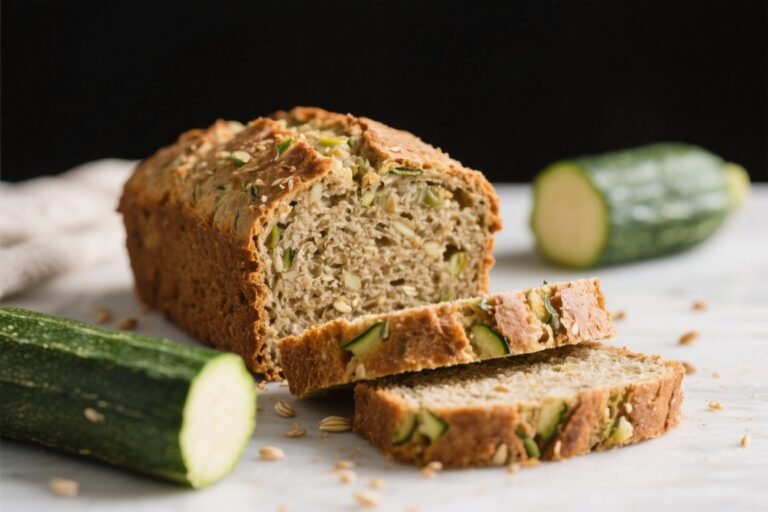
Zucchini bread mini loaves are the kind of treat that make your kitchen smell like home. They’re moist, lightly sweet, and just the right size for sharing or stashing in the freezer. If you’ve got a couple of zucchinis on the counter and a bit of time, you can have warm mini loaves ready without fuss.
The batter is forgiving, the ingredients are simple, and the results feel special. Whether you serve them for breakfast, a snack, or dessert, these little loaves deliver cozy flavor in every slice.
Ingredients
Method
- Prep the pans and oven: Heat the oven to 350°F (175°C). Grease 4–6 mini loaf pans (about 5 x 3 inches each) and line with parchment slings if you have them.
- Grate the zucchini: Trim ends and grate on the fine or medium side of a box grater. Lightly press with a clean towel to remove excess moisture, but don’t wring it dry. You want some moisture left.
- Mix dry ingredients: In a large bowl, whisk flour, baking soda, baking powder, salt, cinnamon, and nutmeg until well combined.
- Mix wet ingredients: In a separate bowl, whisk eggs, granulated sugar, brown sugar, oil, yogurt (or sour cream), and vanilla until smooth.
- Combine gently: Pour the wet ingredients into the dry. Stir with a spatula until a few streaks of flour remain.
- Fold in zucchini and add-ins: Stir in the grated zucchini and any add-ins (nuts, chocolate chips, or raisins). Mix just until evenly distributed. Do not overmix.
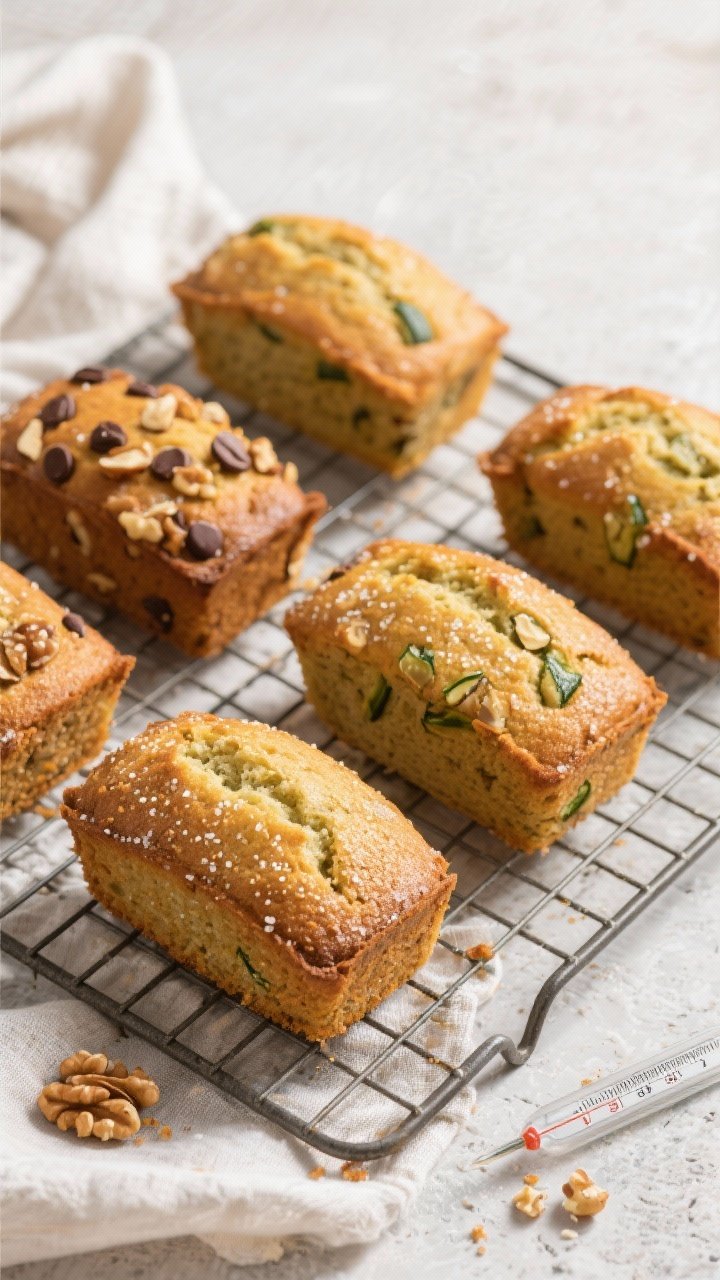
- Fill the pans: Divide the batter evenly among the mini loaf pans, filling each about 2/3 to 3/4 full. Sprinkle tops with coarse sugar if using.
- Bake: Bake for 22–30 minutes, depending on pan size and oven. They’re done when a toothpick inserted in the center comes out clean or with a few moist crumbs.
- Cool: Let loaves cool in the pans for 10 minutes, then run a knife around the edges and transfer to a wire rack to cool completely.
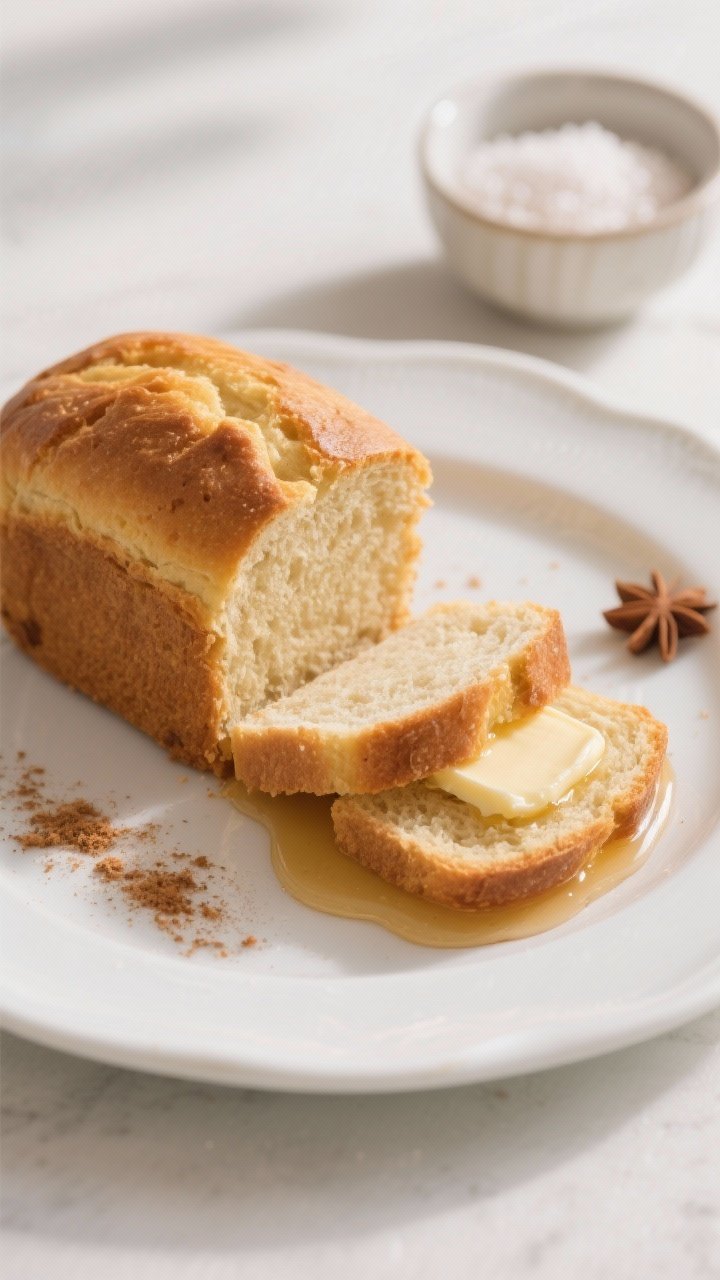
- Serve: Enjoy warm or at room temperature. A swipe of butter or a drizzle of honey is lovely, but not necessary.
What Makes This Special

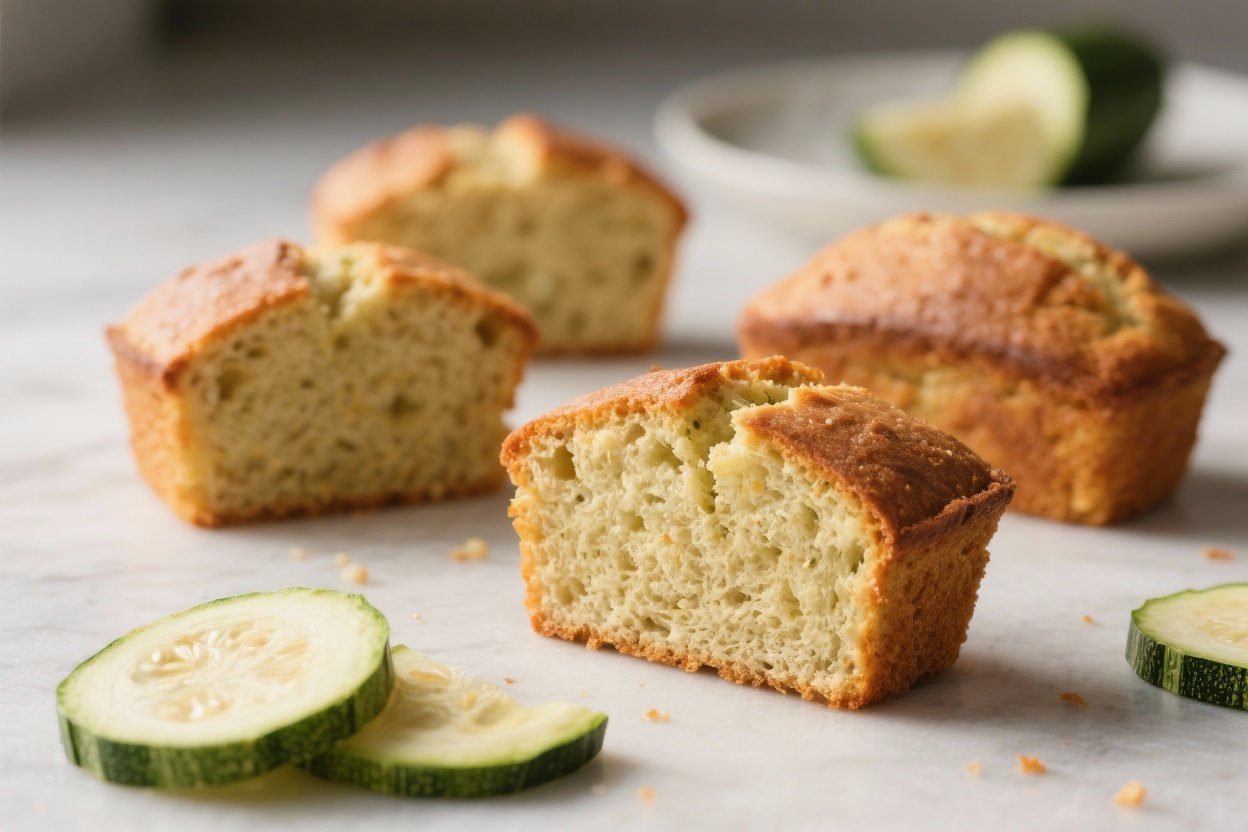
- Small but mighty: Mini loaves bake faster than a full loaf and make portioning simple.
- Moist without being heavy: Grated zucchini adds moisture and tenderness without a strong vegetable taste.
- Flexible flavor: Warm spices and vanilla play nicely with optional add-ins like chocolate chips or nuts.
- Freezer-friendly: Bake now, enjoy later—these mini loaves hold up beautifully after freezing.
- Great for gifting: Individually sized loaves are easy to wrap and share.
Shopping List
- Zucchini: 2 medium (about 2 cups finely grated)
- All-purpose flour: 2 cups
- Granulated sugar: 3/4 cup
- Light brown sugar: 1/2 cup, packed
- Baking soda: 1 teaspoon
- Baking powder: 1 teaspoon
- Kosher salt: 1/2 teaspoon
- Ground cinnamon: 1 1/2 teaspoons
- Ground nutmeg: 1/4 teaspoon (optional)
- Eggs: 2 large
- Neutral oil: 1/2 cup (canola, vegetable, or light olive oil)
- Plain yogurt or sour cream: 1/2 cup
- Vanilla extract: 2 teaspoons
- Optional add-ins: 3/4 cup chopped walnuts or pecans, 3/4 cup chocolate chips, or 1/2 cup raisins
- Optional topping: 2 tablespoons coarse sugar
- Nonstick spray or butter: for greasing mini loaf pans
How to Make It
- Prep the pans and oven: Heat the oven to 350°F (175°C). Grease 4–6 mini loaf pans (about 5 x 3 inches each) and line with parchment slings if you have them.
- Grate the zucchini: Trim ends and grate on the fine or medium side of a box grater.
Lightly press with a clean towel to remove excess moisture, but don’t wring it dry. You want some moisture left.
- Mix dry ingredients: In a large bowl, whisk flour, baking soda, baking powder, salt, cinnamon, and nutmeg until well combined.
- Mix wet ingredients: In a separate bowl, whisk eggs, granulated sugar, brown sugar, oil, yogurt (or sour cream), and vanilla until smooth.
- Combine gently: Pour the wet ingredients into the dry. Stir with a spatula until a few streaks of flour remain.
- Fold in zucchini and add-ins: Stir in the grated zucchini and any add-ins (nuts, chocolate chips, or raisins).
Mix just until evenly distributed. Do not overmix.
- Fill the pans: Divide the batter evenly among the mini loaf pans, filling each about 2/3 to 3/4 full. Sprinkle tops with coarse sugar if using.
- Bake: Bake for 22–30 minutes, depending on pan size and oven. They’re done when a toothpick inserted in the center comes out clean or with a few moist crumbs.
- Cool: Let loaves cool in the pans for 10 minutes, then run a knife around the edges and transfer to a wire rack to cool completely.
- Serve: Enjoy warm or at room temperature.
A swipe of butter or a drizzle of honey is lovely, but not necessary.
How to Store
- Room temperature: Wrap each cooled mini loaf in plastic wrap or place in an airtight container. Keeps for 2–3 days.
- Refrigerator: Store airtight up to 5 days. Bring to room temperature or warm briefly before serving for best texture.
- Freezer: Wrap each loaf tightly in plastic, then place in a freezer bag.
Freeze up to 3 months. Thaw at room temperature or warm in a 300°F (150°C) oven for 10–12 minutes.
Why This is Good for You
- Hidden veggies: Zucchini adds moisture, fiber, and micronutrients like vitamin C without dominating the flavor.
- Balanced fats: Using oil and yogurt yields a tender crumb with fewer saturated fats than butter-heavy recipes.
- Portion control: Mini loaves make it easier to serve reasonable portions and reduce food waste.
- Customizable sweetness: You can dial back sugar slightly or choose dark chocolate and nuts for more nutrient-dense add-ins.
Pitfalls to Watch Out For
- Overmixing the batter: This can make the loaves tough. Stir just until everything comes together.
- Too much moisture: If the zucchini is very watery and you don’t blot it, the centers may sink.
Lightly press, don’t squeeze bone-dry.
- Underbaking: Mini loaves can brown quickly. Check early, but make sure the center is baked through.
- Uneven pan sizes: Different mini loaf pans hold different volumes. Adjust bake time and fill level accordingly.
- Skipping the cool time: Cutting too soon can compress the crumb.
Let them rest at least 10 minutes before removing from pans.
Alternatives
- Whole wheat twist: Swap up to half the all-purpose flour for white whole wheat flour for a nuttier flavor and more fiber.
- Dairy-free: Use a dairy-free yogurt or applesauce in place of yogurt. The texture will still be tender.
- Lower sugar: Reduce total sugar by 2–3 tablespoons without hurting texture. For more reduction, add 2 tablespoons extra yogurt to keep moisture.
- Spice variations: Try pumpkin pie spice, cardamom, or a pinch of ginger to change the vibe.
- Mix-in swaps: Replace nuts with seeds (pumpkin or sunflower), or add shredded coconut or dried cranberries.
- Gluten-free: Use a 1:1 gluten-free baking blend with xanthan gum.
Rest the batter 10 minutes before baking for better structure.
FAQ
Do I need to peel the zucchini?
No. The peel is thin, adds color and nutrients, and disappears into the batter. Just wash and trim the ends before grating.
How fine should I grate the zucchini?
Use the fine or medium holes on a box grater.
Finer shreds melt into the batter and keep the crumb delicate, while medium shreds add a bit more texture.
Can I make this as one regular loaf?
Yes. Pour the batter into a 9 x 5-inch loaf pan and bake at 350°F (175°C) for about 50–60 minutes. Tent with foil if the top browns too quickly.
What if I don’t have yogurt?
Use sour cream, buttermilk, or 1/2 cup applesauce.
Applesauce makes it slightly sweeter and softer; adjust sugar down by a tablespoon if you like.
Why did my loaves sink in the middle?
Common causes are underbaking, too much moisture in the zucchini, or expired leaveners. Check your baking soda and powder dates, blot the zucchini lightly, and bake until the center tests clean.
Can I add cocoa powder?
Absolutely. Add 3 tablespoons unsweetened cocoa powder and reduce flour by the same amount.
Chocolate chips complement it nicely.
How can I make the tops extra crunchy?
Sprinkle with coarse sugar or a streusel before baking. For streusel, mix 2 tablespoons each flour, brown sugar, and cold butter with a pinch of cinnamon until crumbly.
Is this recipe too sweet for breakfast?
It’s gently sweet, closer to a muffin than a cake. If you prefer less sweetness, reduce total sugar by 2–4 tablespoons and add a handful of nuts for balance.
Can I use frozen shredded zucchini?
Yes.
Thaw it, then squeeze gently to remove excess liquid. Measure after thawing and blotting.
How many mini loaves does this make?
Depending on your pan size, expect 4–6 mini loaves. Fill each about 2/3 to 3/4 full and keep an eye on bake time, as smaller pans bake faster.
Wrapping Up
Zucchini Bread Mini Loaves are reliable, cozy, and easy to make on a busy afternoon.
With simple ingredients and flexible mix-ins, they turn a humble vegetable into a tender, fragrant treat. Bake a batch for the week, tuck a few in the freezer, and enjoy a slice whenever you want something homemade and satisfying. It’s the kind of recipe you’ll keep coming back to—straightforward, adaptable, and always welcome.
Printable Recipe Card
Want just the essential recipe details without scrolling through the article? Get our printable recipe card with just the ingredients and instructions.