Like Cereal Bars, But Better – 3-Ingredient Cereal Bars: Simple and customizable bars made with whole-grain cereal, nut butter, and a natural binder that actually taste amazing
October 25, 2025 · 7 min read
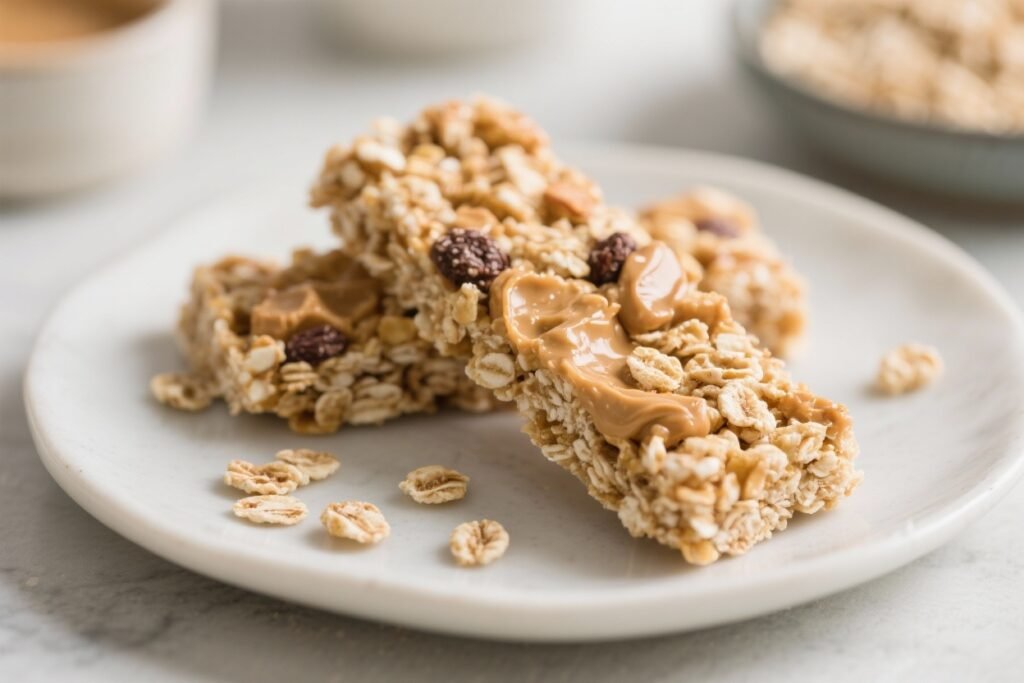
Skip the overpriced snack aisle. You can make crunchy, chewy, crave-worthy bars in 10 minutes with three ingredients you already own. No baking degree, no mystery syrups, no “may contain disappointment.” Just whole-grain cereal, nut butter, and a natural binder doing heavy lifting like a tiny meal-prep superhero.
Want clean energy without the crash? These bars are your shortcut. And yes, they’re sturdy enough to survive a backpack, a commute, or a suspicious toddler.
3-Ingredient Cereal Bars
Ingredients
Method
- Line an 8×8-inch square pan with parchment, leaving overhang for easy lifting. Lightly grease the parchment.
- In a small saucepan over low heat, combine the nut butter and binder. Stir until smooth, glossy, and pourable (1–3 minutes). Remove from heat and stir in vanilla and salt if using.
- Add cereal to a large bowl. Pour the warm mixture over the cereal. Use a spatula to fold until every piece is coated. If adding mix-ins like seeds or dried fruit, fold them in now. If using chocolate chips, let the mixture cool 1–2 minutes first so they don't fully melt (unless melty is the vibe).
- Transfer mixture to the pan. Place a second sheet of parchment on top and press firmly and evenly. Really compress the mixture—this is the difference between sturdy bars and trail mix chaos.
- Chill in the fridge for 30–60 minutes, or leave at room temp for 2–3 hours, until firm. Lift out by the parchment and slice into 8–12 bars with a sharp knife.
- Warm 2 tbsp nut butter and drizzle on top. Looks fancy, costs nothing. IMO, chef's kiss.
Why Does This Recipe Work So Well?
The magic is in the trifecta: texture, fat, and stickiness.
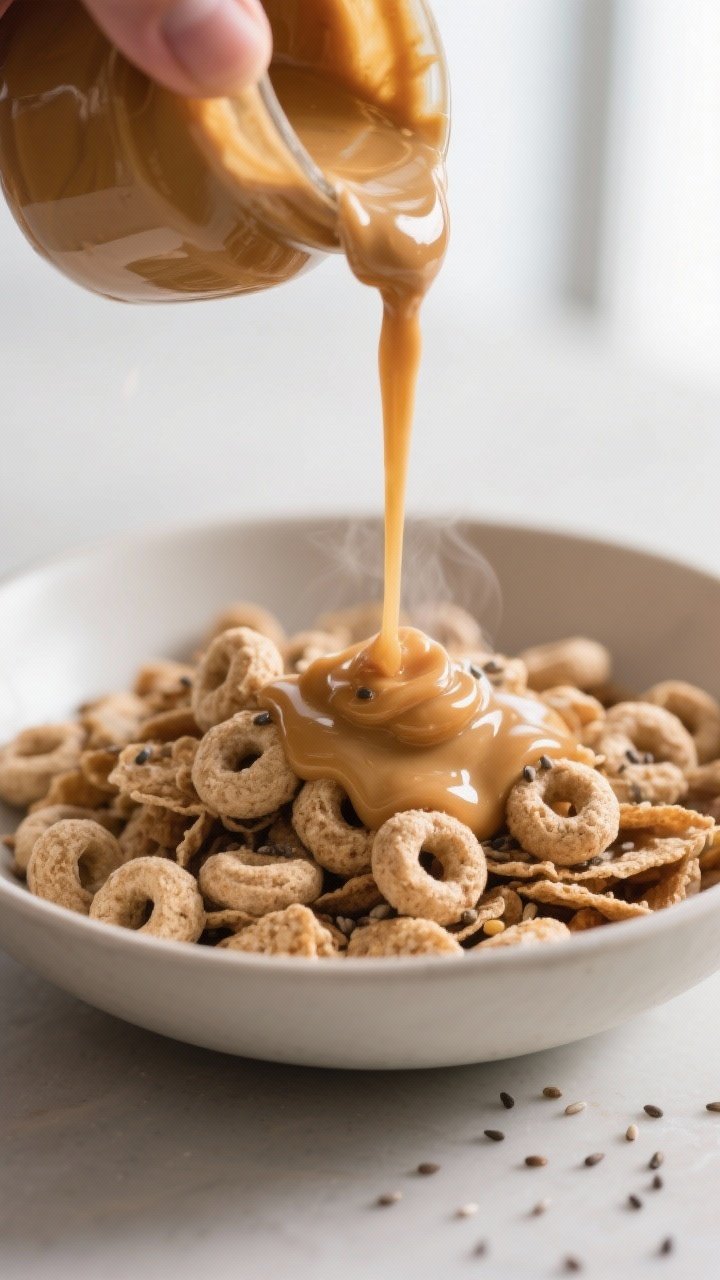
Whole-grain cereal brings the crunch and fiber, turning a basic bar into something you actually need to chew. Nut butter provides healthy fats and protein, giving you that slow-burn energy—aka no 3 p.m. nosedive. The natural binder (think honey, maple syrup, or mashed dates) pulls everything together and holds the shape.
Heat the nut butter and binder until glossy and fluid, then toss with cereal. That’s it. The warm mixture coats every piece, sets as it cools, and becomes a chewy-crunchy bar that doesn’t crumble into sadness.
It’s the simplest ratio you’ll memorize and the fastest snack you’ll actually stick with.
| Bar Type | Key Ingredients | Prep Time | Customizable? |
|---|---|---|---|
| These Cereal Bars | Cereal + nut butter + binder | 10 min | Yes, endlessly |
| Store-Bought Granola Bars | Oats, syrups, preservatives | N/A | Nope |
| No-Bake Energy Balls | Oats, nut butter, sweetener | 15 min | Somewhat |
| Baked Oat Bars | Oats, eggs, banana, add-ins | 35 min | Yes |
What Ingredients Do You Need?
Three staples plus optional mix-ins you probably already have. That’s it.
- 3 cups whole-grain cereal (e.g., puffed brown rice, bran flakes, whole-grain O’s, or a no-sugar-added granola)
- 1 cup nut or seed butter (peanut, almond, cashew, sunflower seed, or tahini)
- 1/2 cup natural binder (honey, maple syrup, brown rice syrup, date paste, or mashed very ripe banana)
- Optional but recommended: 1/4 tsp fine sea salt, 1 tsp vanilla extract, 1–2 tbsp chia or flax seeds, a small handful of chocolate chips or dried fruit
How Do You Make 3-Ingredient Cereal Bars?
Warm the glue, coat the cereal, press hard, chill, and slice. Five steps, zero drama.
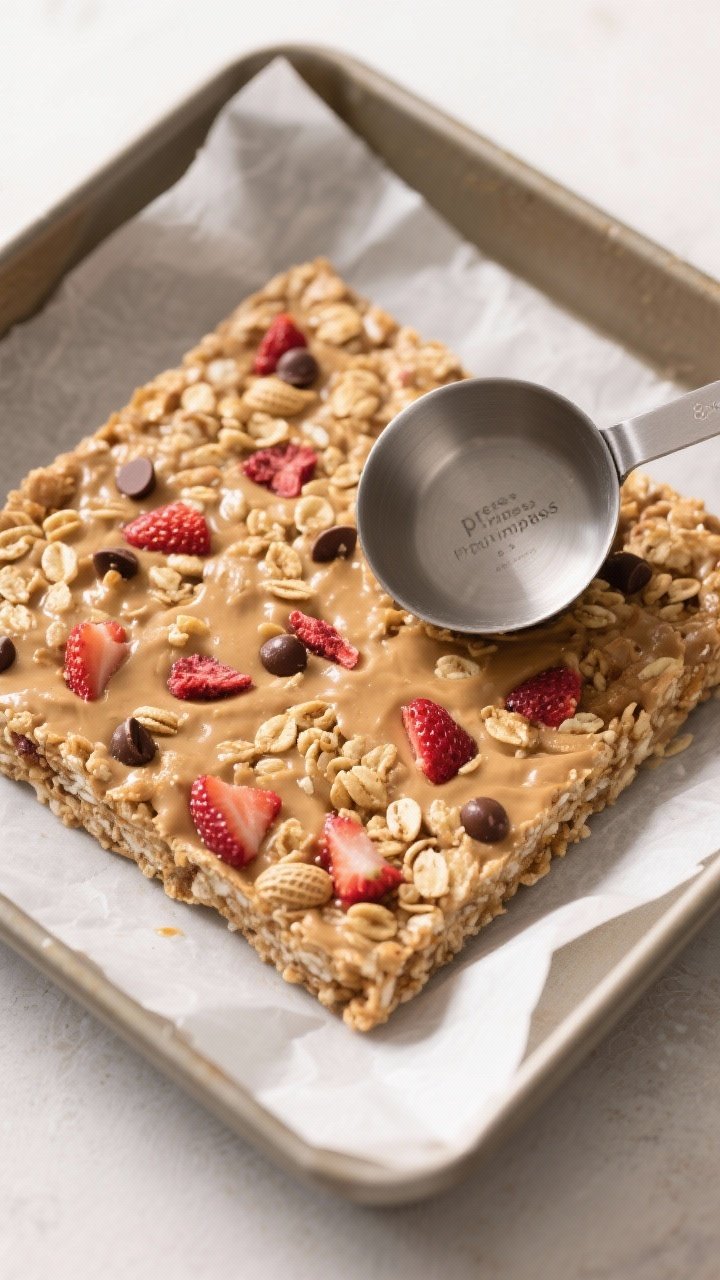
- Prep the pan: Line an 8×8-inch square pan with parchment, leaving overhang for easy lifting. Lightly grease the parchment.
- Warm the glue: In a small saucepan over low heat, combine the nut butter and binder. Stir until smooth, glossy, and pourable (1–3 minutes).
Remove from heat and stir in vanilla and salt if using.
- Mix like you mean it: Add cereal to a large bowl. Pour the warm mixture over the cereal. Use a spatula to fold until every piece is coated.
If adding mix-ins like seeds or dried fruit, fold them in now. If using chocolate chips, let the mixture cool 1–2 minutes first so they don’t fully melt (unless melty is the vibe).
- Press to impress: Transfer mixture to the pan. Place a second sheet of parchment on top and press firmly and evenly.
Really compress the mixture—this is the difference between sturdy bars and trail mix chaos.
- Set and slice: Chill in the fridge for 30–60 minutes, or leave at room temp for 2–3 hours, until firm. Lift out by the parchment and slice into 8–12 bars with a sharp knife.
- Optional drizzle: Warm 2 tbsp nut butter and drizzle on top. Looks fancy, costs nothing.
IMO, chef’s kiss.
How Should You Store Leftovers?
Room temp for a few days, fridge for a week, or freezer for two months. These bars play well with every storage method.
- Room temperature: Store in an airtight container for up to 3 days if your kitchen isn’t hot. They’ll be softer but still great.
- Refrigerator: Keeps bars firm for up to 1 week. Place parchment between layers to prevent sticking.
- Freezer: Wrap individually and freeze up to 2 months.
Thaw 10–15 minutes before eating, or just crunch them cold if you’re that person.
Why Are Homemade Cereal Bars Better?
You control every ingredient, skip the preservatives, and save cash. Plus, they taste better—FYI.
- Only three ingredients. You can memorize it faster than a Wi‑Fi password.
- No baking required. Stove on for three minutes max. Even a hot plate can handle this.
- Customizable. Gluten-free? Vegan?
Nut-free? You’re covered with simple swaps.
- Actually filling. Whole grains + healthy fats = energy that doesn’t ghost you.
- Budget-friendly. Costs less than packaged bars and tastes better, FYI.
What Common Mistakes Should You Avoid?
Don’t overheat the binder, don’t skip the press, and definitely don’t cut too early. These small moves make or break your bars.
- Using ultra-light cereal only. Puffed rice alone can make flimsy bars. Mix with a sturdier cereal or add seeds for structure.
- Overheating the mixture. If the nut butter/binder boils, it can separate and get greasy.
Low and slow is the move.
- Not pressing hard enough. Under-pressing equals crumbly bars. Use a flat measuring cup to compact the surface.
- Adding mix-ins too soon. Chocolate chips will melt into a swirl if the mixture’s too hot. Cool briefly before stirring in.
- Cutting before set. Warm bars won’t hold shape.
Let the fridge do the heavy lifting first.
What Flavor Variations Can You Try?
From PB&J vibes to school-safe nut-free options, these swaps keep your snack game fresh all month. Try them alongside other favorites like crispy air-fryer kale chips or roasted chickpeas for a full snack lineup.
- PB&J Vibes: Peanut butter + honey, whole-grain O’s, chopped dried strawberries. A pinch of salt makes it pop.
- Mocha Crunch: Almond butter + maple syrup, cocoa-flavored cereal, espresso powder (1/2 tsp), mini chocolate chips.
- Tropical: Cashew butter + honey, puffed brown rice, shredded coconut, diced dried mango, lime zest.
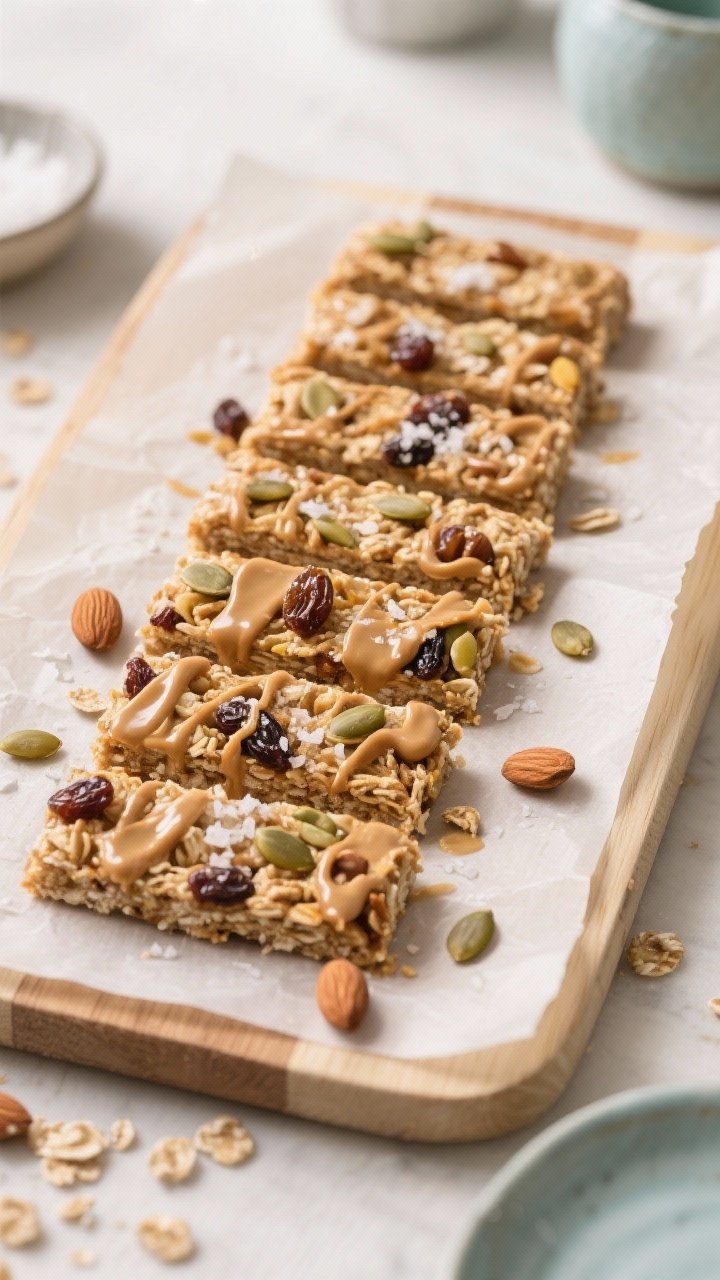
- Trail Mix Energy: Sunflower seed butter + brown rice syrup, bran flakes, pumpkin seeds, raisins, and a sprinkle of cinnamon.
- School-Safe: Sunflower or soy butter + maple syrup, whole-grain O’s, chopped dried apricots. Totally nut-free.
- High-Protein Boost: Stir 1/4–1/3 cup unflavored or vanilla protein powder into the warm mixture; increase binder by 1–2 tbsp if needed to keep it sticky.
- Omega Flex: Add 1–2 tbsp ground flax or chia seeds for fiber and texture.
Slightly increase binder if it gets too thick.
Quick Questions Answered
Your top cereal bar questions, answered fast so you can get back to snacking.
What’s the best natural binder for cereal bars?
Honey is the stickiest and sets the firmest, making it ideal for room-temp storage. Maple syrup gives a softer, chewier bar that’s best kept in the fridge.
Can I make these cereal bars nut-free?
Absolutely—swap peanut or almond butter for sunflower seed butter or soy butter with the same measurements. Just check that your cereal is also certified nut-free for school-safe snacking.
How long do homemade cereal bars stay fresh?
They last three days at room temperature, up to a week in the fridge, or two months frozen. Wrap them individually for easy grab-and-go access.
How do I keep the bars from crumbling apart?
Press the mixture firmly with a flat measuring cup and chill until completely set before slicing. Using a mix of sturdy and puffed cereals also adds structure that holds together better.
Ready to Snack Smarter?
Three ingredients.
Ten minutes. Zero nonsense. These bars take pantry basics and turn them into snack gold—customizable, wholesome, and actually worth eating. Pair them with homemade fruit leather or air-fryer veggie chips for a lunchbox lineup that actually slaps.
Make a batch on Sunday, flex on Monday, and enjoy all week. If store-bought bars had competition, this would be it.
Printable Recipe Card
Want just the essential recipe details without scrolling through the article? Get our printable recipe card with just the ingredients and instructions.