Mess-Free Energy Bites (No Rolling Required): The Snack Hack You’ll Brag About
November 19, 2025 · 6 min read
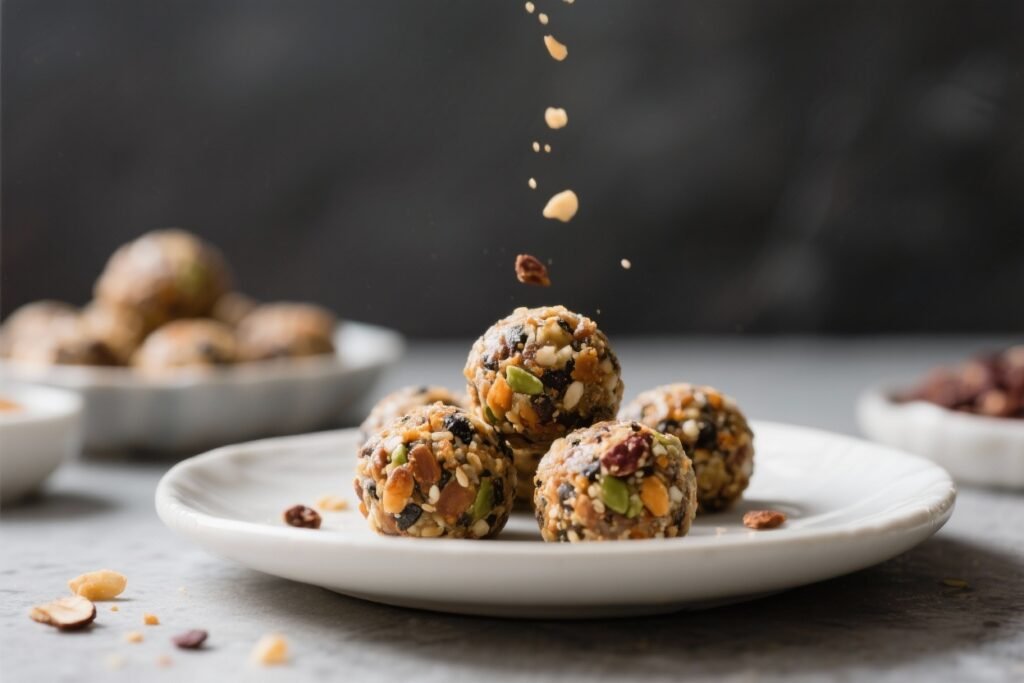
You’re busy, hungry, and absolutely not washing another sticky bowl. Good news: these Mess-Free Energy Bites (No Rolling Required) are everything you want from a quick snack—fast, clean, and actually delicious. No sticky palms, no crumb explosions, no Pinterest-fail energy ball rolling.
You press, chill, slice, and flex like a meal-prep wizard. It’s the snack equivalent of finding cash in an old jacket: zero effort, big payoff.
Why You’ll Love This Recipe
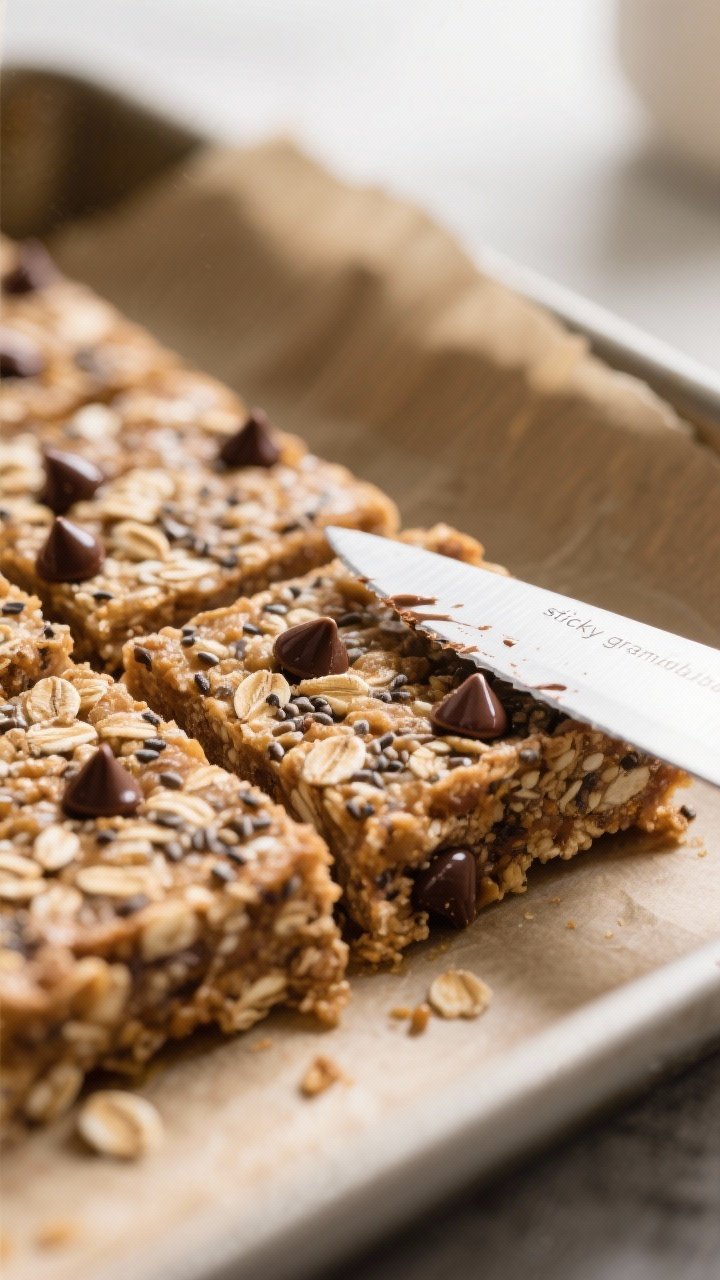
- No rolling, ever. Press the mixture into a pan, chill, and slice—your countertops stay neat and your hands stay clean.
- Fast and flexible. All pantry staples. Swap ingredients to fit vegan, gluten-free, or dairy-free needs.
- Balanced fuel. Carbs for energy, protein for staying power, healthy fats for brain fuel.
Your 3 p.m. slump just lost.
- Kid-friendly and office-safe. Easy to make nut-free if needed. No crumbs, no meltdowns, no weird smells.
- Budget-friendly. Cheaper than store-bought bars, with better texture and no mystery ingredients.
Shopping List – Ingredients
- Rolled oats – 2 1/2 cups (use certified gluten-free if needed)
- Nut or seed butter – 3/4 cup (peanut, almond, cashew, or sunflower seed for nut-free)
- Honey or maple syrup – 1/2 cup
- Chia seeds – 2 tablespoons (for fiber and binding)
- Ground flaxseed – 2 tablespoons (adds omega-3s and structure)
- Protein powder (optional) – 1/2 cup (vanilla or unflavored)
- Mini chocolate chips or chopped dark chocolate – 1/2 cup
- Vanilla extract – 1 teaspoon
- Fine sea salt – 1/4 teaspoon
- Milk of choice – 2–4 tablespoons (dairy or non-dairy, to adjust consistency)
- Optional mix-ins – 1/2 cup total: shredded coconut, dried cranberries, chopped nuts, pumpkin seeds
Step-by-Step Instructions
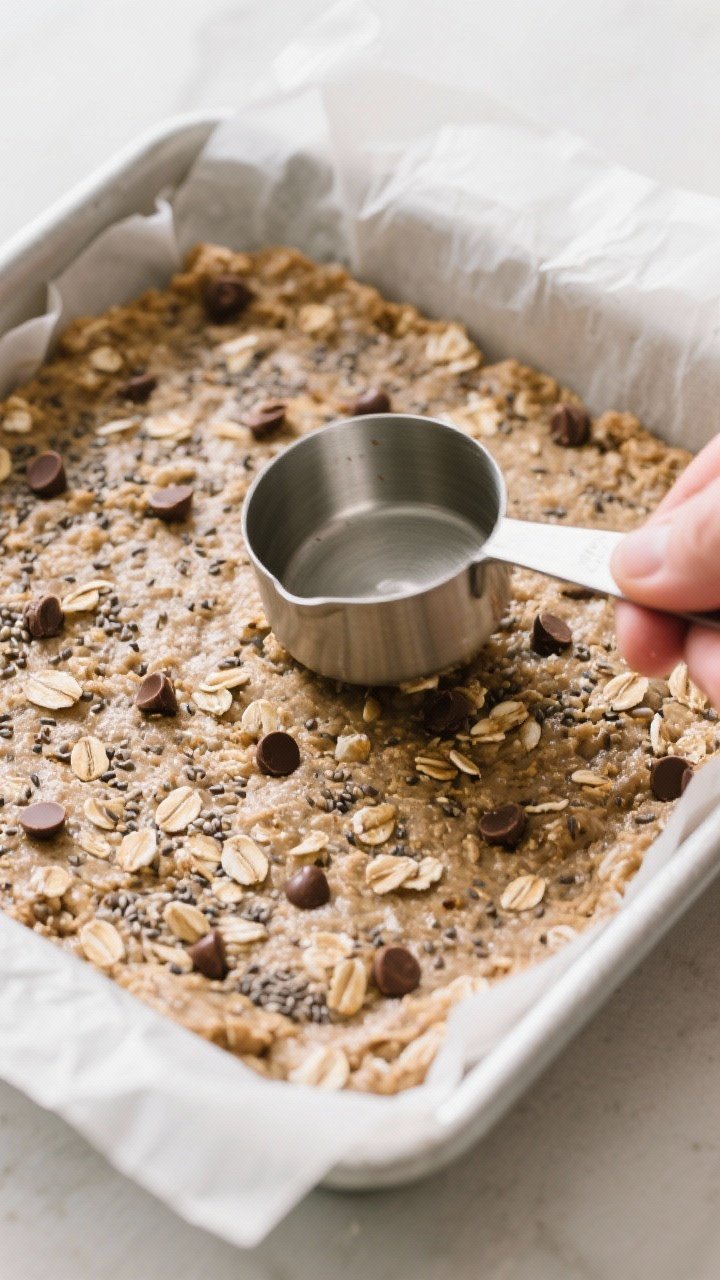
- Line your pan. Use an 8×8-inch square pan. Line with parchment, leaving overhang on two sides for easy lifting.
This is your “no-mess insurance.”
- Mix the wet base. In a large bowl, stir nut/seed butter, honey or maple, vanilla, and salt until smooth. If your nut butter is firm, microwave it for 15–20 seconds to loosen up.
- Add the dry team. Add oats, chia seeds, ground flax, and protein powder (if using). Stir with a sturdy spatula.
It’ll look crumbly—normal.
- Adjust texture. Add 2 tablespoons milk and fold. If the mixture doesn’t hold together when pressed, add up to 2 more tablespoons, 1 at a time. You want “sticky granola bar” vibes, not wet cement.
- Fold in the fun. Stir in chocolate chips and any optional mix-ins.
If your mixture is warm, chill it for 5 minutes first so the chocolate doesn’t melt and streak.
- Press without the mess. Transfer to the lined pan. Use a second sheet of parchment or the back of a measuring cup to press firmly into an even layer, all the way to the edges. Compacting is key for clean slices.
- Chill to set. Refrigerate for 60–90 minutes, or freeze for 25–30 minutes.
You’re setting the structure so it slices like a pro.
- Lift and slice. Use the parchment overhang to lift out. Slice into 16–24 squares or bars with a sharp knife. Wipe the blade between cuts for bakery-level edges (if you’re fancy like that).
- Portion and store. Wrap individually or layer with parchment in a container.
Then pretend you’re the CEO of Snacks, because you are.
Storage Tips
- Fridge: Store in an airtight container for up to 10 days. They actually get better after day one—denser and chewier.
- Freezer: Freeze up to 3 months. Thaw 10–15 minutes at room temp or eat straight from the freezer if you like a firm bite.
- On-the-go: Wrap bars in parchment or reusable wraps.
They’ll hold at room temp for 4–6 hours without falling apart.
What’s Great About This
- Zero rolling, zero stickiness. The press-and-slice method keeps your hands clean and your sanity intact.
- Macro-friendly. Easy to hit your protein and fiber goals without gnawing on cardboard.
- Kid-approved. Sweet, chewy, and customizable. Also lunchbox-friendly, especially with seed butter.
- Prep once, snack all week. A 10-minute session yields a dozen-plus squares. ROI your time like a boss.
Don’t Make These Errors
- Skipping the parchment. This is how you end up chiseling bars out of a pan like an archeologist.
Don’t.
- Not pressing firmly. Loose packing equals crumbly bars. Use a flat-bottomed cup and go corner to corner.
- Overloading wet ingredients. Too much syrup or milk = sticky chaos. Add liquids gradually until it just holds.
- Cutting before chilling. Patience pays.
Warm mix = ragged edges and broken squares.
- Using quick oats only. They can make the mix pasty. Rolled oats provide structure and chew. If using some quick oats, blend 50/50.
Recipe Variations
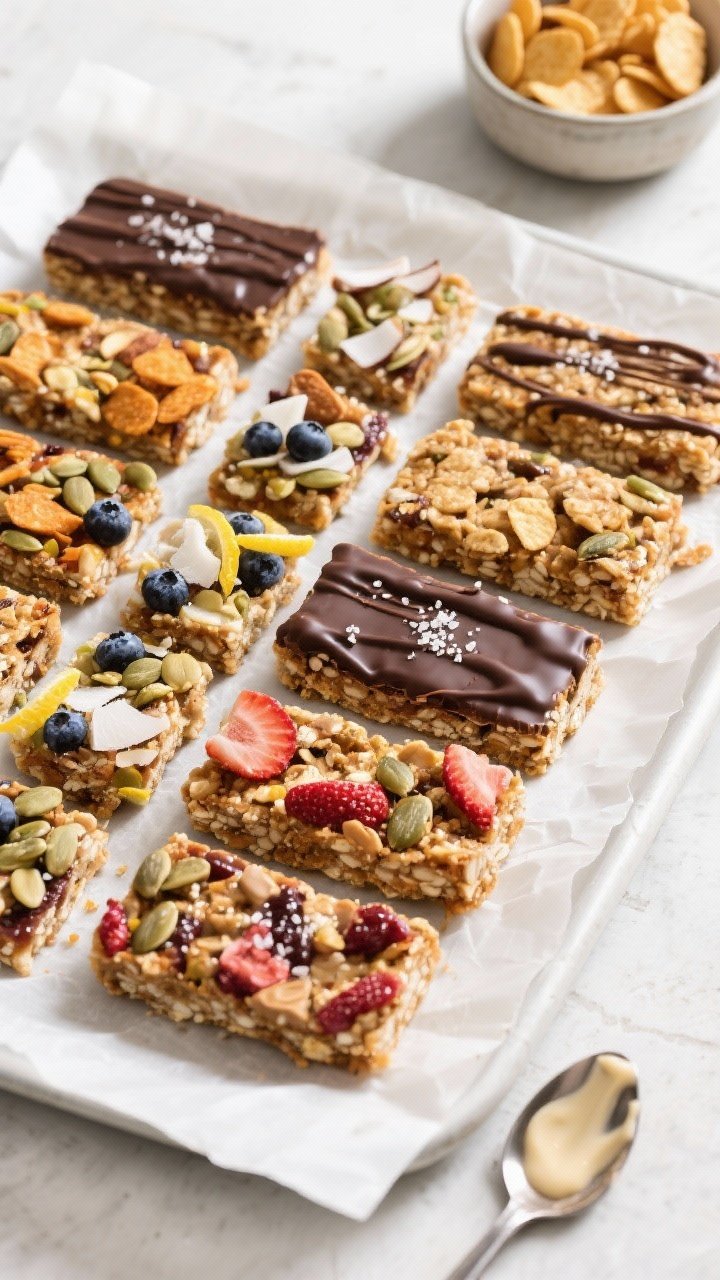
- PB&J Crunch: Peanut butter base + chopped peanuts + dried strawberries.
Add a pinch of cinnamon.
- Mocha Chip: Add 1 tablespoon instant espresso and use dark chocolate chips. Vanilla protein optional but recommended.
- Trail Mix Deluxe: Almond butter + pumpkin seeds + raisins + coconut flakes + a drizzle of melted chocolate on top.
- Nut-Free School Safe: Sunflower seed butter + mini chocolate chips + hemp hearts. Use maple syrup.
- Lemon Blueberry: Add 1 teaspoon lemon zest + 1/2 cup dried blueberries + a pinch of extra salt.
Swap vanilla for almond extract if you’re bold.
- Apple Pie: Add 1 teaspoon cinnamon, 1/4 teaspoon nutmeg, and 1/2 cup finely chopped dried apples.
- High-Protein Boost: Increase protein powder to 3/4 cup and add 1–2 extra tablespoons milk until it binds.
FAQ
Can I make these without protein powder?
Yes. Just skip it and add 1/4 cup extra oats to compensate. You may need 1 tablespoon less milk; adjust until the mixture presses together cleanly.
How do I keep the chocolate chips from melting?
Use room-temperature ingredients and chill the mixture for 5 minutes before stirring in the chips.
Also, press the mix with parchment, not warm hands.
Are these gluten-free?
They can be. Use certified gluten-free rolled oats and verify your mix-ins are GF. Everything else is naturally gluten-free.
What if my mixture is too dry or crumbly?
Add milk 1 tablespoon at a time and mix thoroughly.
If it still won’t hold, add 1–2 tablespoons extra nut/seed butter. It should clump when squeezed.
What if my mixture is sticky and won’t set?
Stir in more oats or a tablespoon of ground flax to tighten it up. Then press firmly and extend the chill time by 20 minutes.
Can I bake these?
You don’t need to, but if you prefer a bar texture, bake at 325°F (163°C) for 10–12 minutes, cool completely, then slice.
The flavor gets toastier.
How many does this make?
In an 8×8 pan, you’ll get 16 squares or 12 larger bars. For bite-sized pieces, cut 25 mini squares. FYI: smaller cuts = better portion control (in theory).
Can I use steel-cut oats?
Not recommended.
They stay too hard. If you must tweak, pulse rolled oats in a food processor for a softer texture—don’t go full flour.
Are they kid- and allergy-friendly?
Yes, with swaps. Use sunflower seed butter and omit nuts.
Always check school policies and ingredient labels for cross-contact.
How do I add more fiber?
Increase chia or ground flax by 1 tablespoon each and mix in unsweetened coconut or hemp hearts. Then bump milk slightly to maintain cohesion.
In Conclusion
These Mess-Free Energy Bites (No Rolling Required) deliver snack-time dominance without sticky hands or kitchen chaos. Press, chill, slice, and you’ve got portable fuel that actually tastes like a treat.
Customize the mix, stash a batch, and watch your snack game upgrade overnight. Minimal effort, maximum payoff—exactly how weekday eating should be, IMO.