Orange Creamsicle Yogurt Pops – Bright, Creamy, and Refreshing
August 26, 2026 · 7 min read
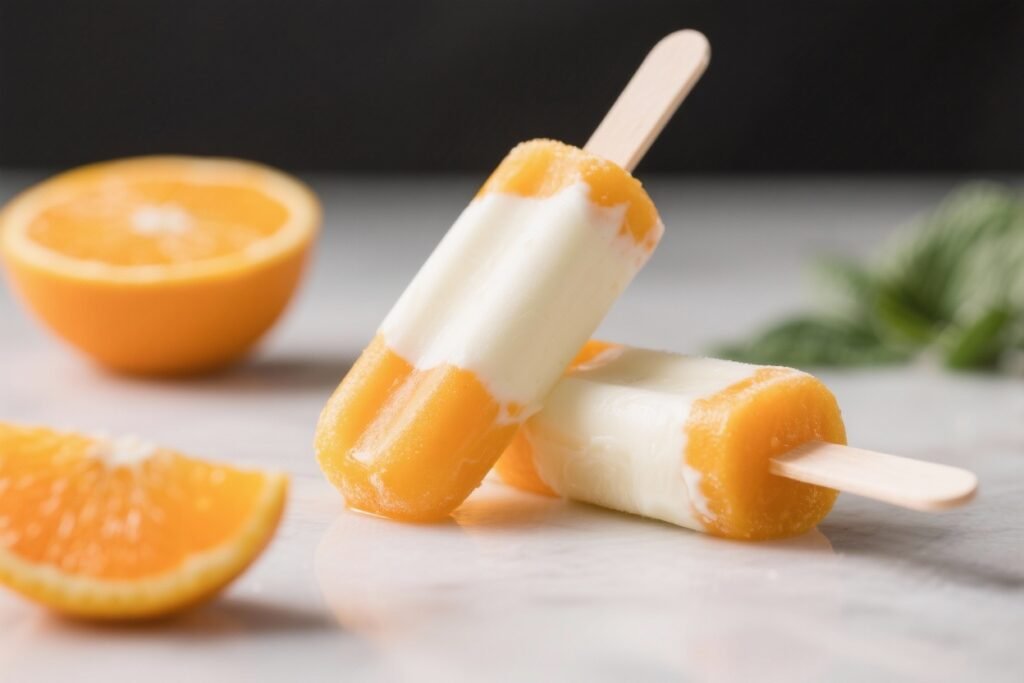
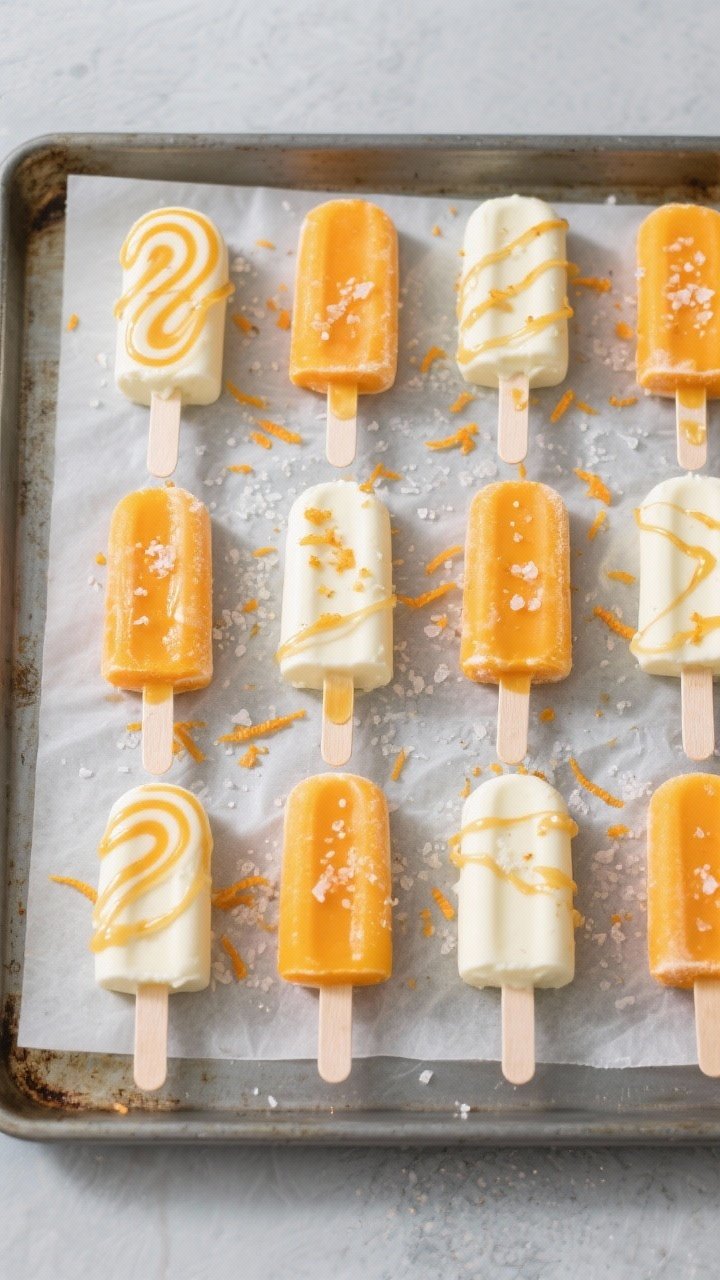
If you grew up loving creamsicles, these Orange Creamsicle Yogurt Pops will hit all the right notes—creamy, citrusy, and just sweet enough. They’re easy to make, kid-friendly, and a smart way to cool down without reaching for store-bought treats. The best part is you can control the sweetness and tweak the flavors to your taste.
With only a handful of ingredients, these pops come together quickly and feel like a mini vacation in a mold.
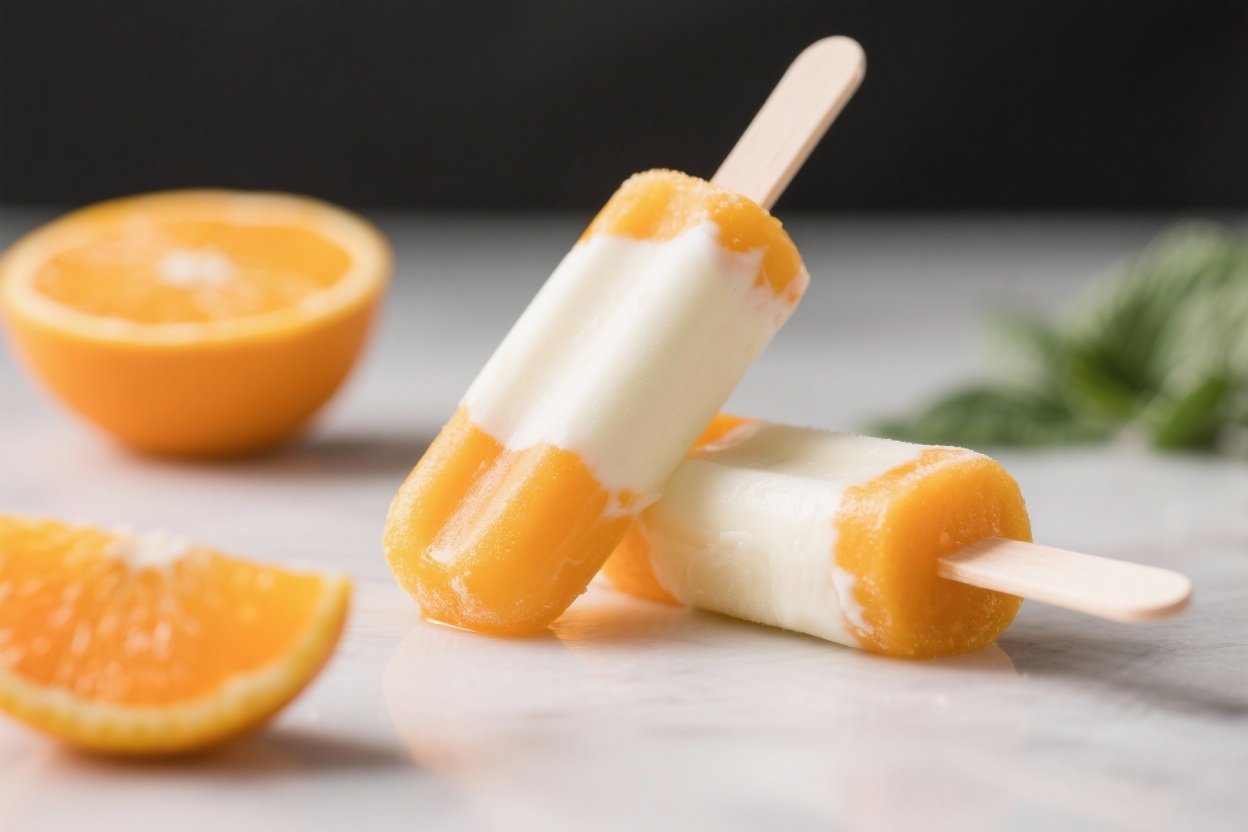
Orange Creamsicle Yogurt Pops - Bright, Creamy, and Refreshing
Ingredients
Method
- Prep your oranges: Wash and dry them, then zest one or two before juicing. The zest makes a big difference in flavor.
- Make the orange base: In a bowl or blender, combine orange juice, zest, half the honey (or maple), vanilla, and a pinch of salt. Taste and adjust sweetness.
- Mix the creamy layer: In a separate bowl, stir the Greek yogurt with the remaining honey and coconut cream if using.Add a tiny pinch of salt. You want it smooth and slightly sweet.
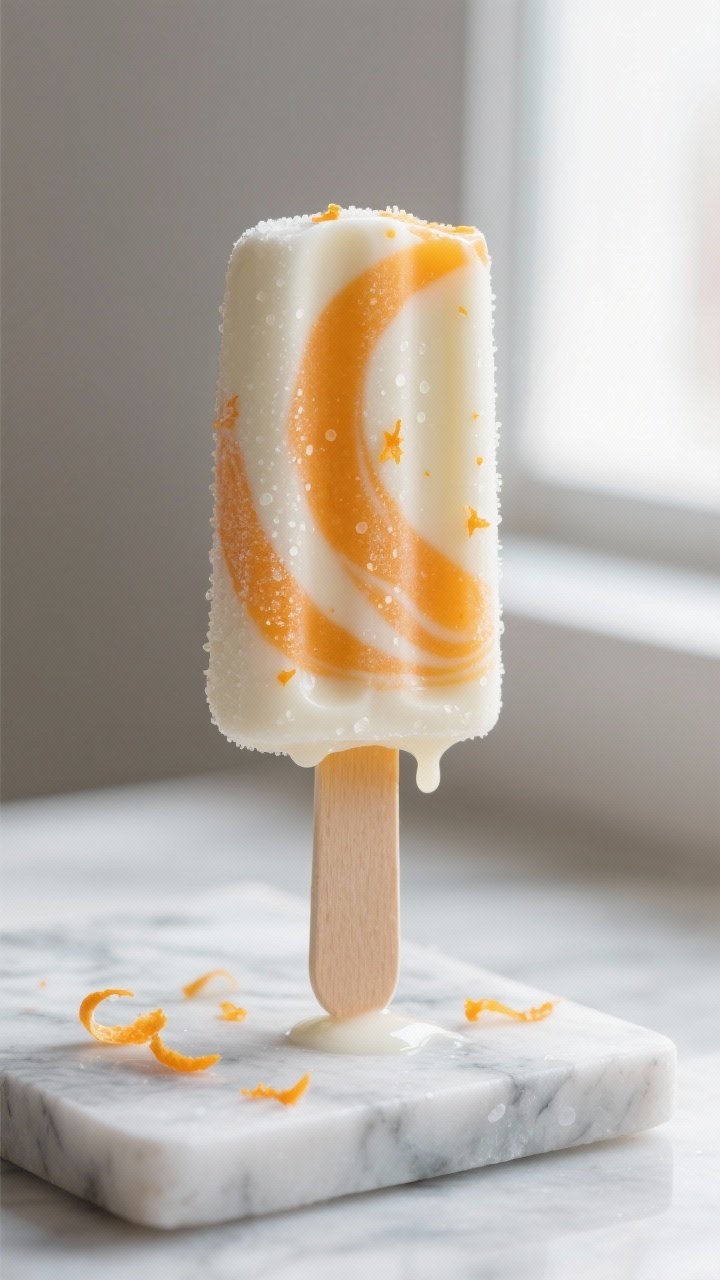
- Choose your style: For a classic swirled look, keep the orange and yogurt mixtures separate. For a uniform pop, blend everything together until silky.
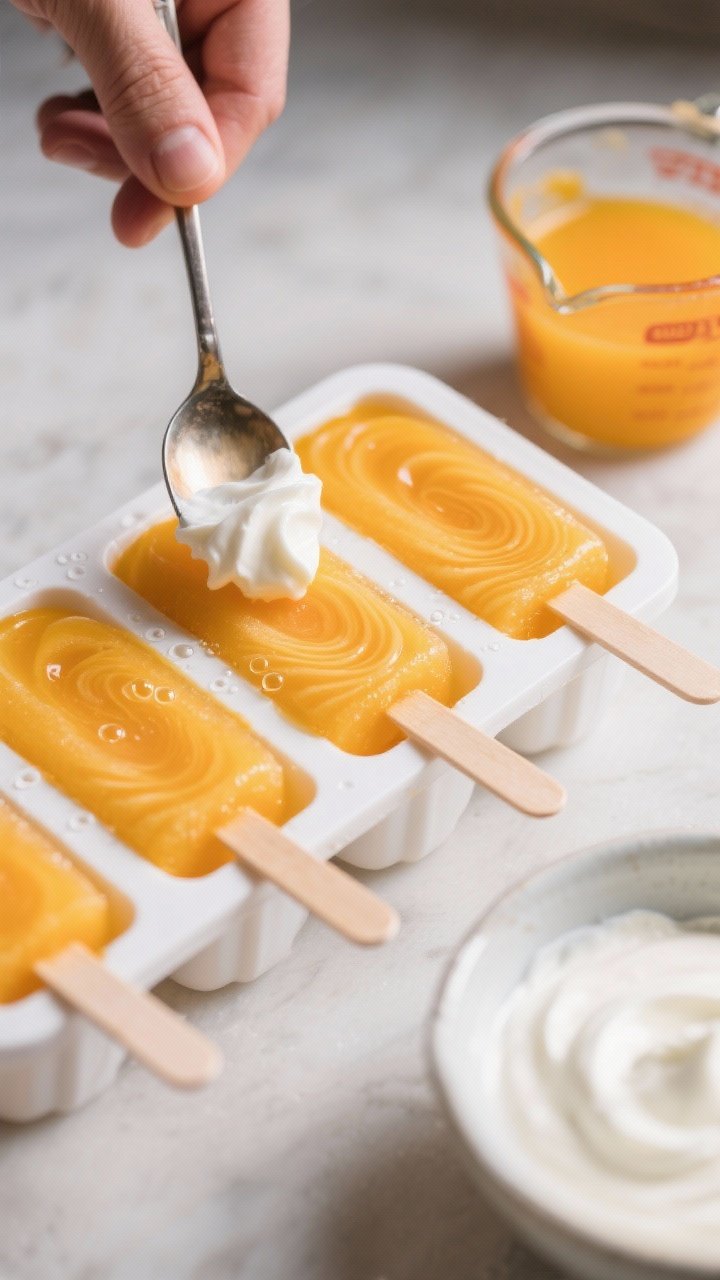
- Layer or swirl: If swirling, spoon a bit of the orange mixture into each mold, then a spoonful of yogurt.Repeat, leaving a small gap at the top for expansion. Use a skewer or butter knife to gently swirl.
- Insert sticks and freeze: Tap the molds on the counter to release air bubbles. Add sticks and freeze for 4–6 hours, or until completely solid.
- Unmold with ease: Run warm water over the outside of the molds for 10–20 seconds to loosen, then gently pull the pops out.
- Taste and tweak next time: If you want more tang, add extra zest next round.If you want sweeter pops, increase honey or add a bit of powdered sugar.
What Makes This Recipe So Good
- Classic flavor, lighter feel: You get that nostalgic orange-and-cream combo with less sugar and more protein.
- No special equipment beyond molds: A blender helps, but you can whisk by hand if needed.
- Naturally bright and creamy: Fresh orange juice and zest give real citrus flavor, while Greek yogurt adds body and tang.
- Customizable sweetness: Use honey, maple syrup, or a touch of sugar—whatever fits your pantry and taste.
- Great make-ahead treat: They keep well in the freezer and are perfect for hot afternoons or lunchbox surprises.
What You’ll Need
- 1 cup fresh orange juice (about 3–4 medium oranges)
- 1 tablespoon orange zest (optional but highly recommended)
- 1 1/4 cups plain Greek yogurt (whole milk for creamier pops; 2% also works)
- 3–4 tablespoons honey or maple syrup (adjust to taste)
- 1 teaspoon pure vanilla extract
- Pinch of sea salt (brings out the flavor)
- Optional: 2–3 tablespoons coconut cream (for extra richness)
- Optional: 1–2 tablespoons powdered sugar (if you prefer a sweeter, more classic creamsicle taste)
- Popsicle molds and sticks
Step-by-Step Instructions
- Prep your oranges: Wash and dry them, then zest one or two before juicing. The zest makes a big difference in flavor.
- Make the orange base: In a bowl or blender, combine orange juice, zest, half the honey (or maple), vanilla, and a pinch of salt. Taste and adjust sweetness.
- Mix the creamy layer: In a separate bowl, stir the Greek yogurt with the remaining honey and coconut cream if using.
Add a tiny pinch of salt. You want it smooth and slightly sweet.
- Choose your style: For a classic swirled look, keep the orange and yogurt mixtures separate. For a uniform pop, blend everything together until silky.
- Layer or swirl: If swirling, spoon a bit of the orange mixture into each mold, then a spoonful of yogurt.
Repeat, leaving a small gap at the top for expansion. Use a skewer or butter knife to gently swirl.
- Insert sticks and freeze: Tap the molds on the counter to release air bubbles. Add sticks and freeze for 4–6 hours, or until completely solid.
- Unmold with ease: Run warm water over the outside of the molds for 10–20 seconds to loosen, then gently pull the pops out.
- Taste and tweak next time: If you want more tang, add extra zest next round.
If you want sweeter pops, increase honey or add a bit of powdered sugar.
How to Store
- In the mold: Keep pops in the mold for up to 1 week, covered if possible to prevent ice crystals and freezer smells.
- Individually wrapped: For longer storage, remove pops from molds, wrap each in parchment or plastic wrap, and place in a freezer-safe bag. They’ll stay fresh for about 1–2 months.
- Prevent freezer burn: Press out excess air from bags and keep pops toward the back of the freezer where temperature is steadier.
Why This is Good for You
- Protein boost: Greek yogurt adds protein to help keep you satisfied and support muscle recovery.
- Vitamin C: Fresh orange juice and zest bring antioxidants and immune support.
- Less added sugar: You control the sweetness, which makes these a smarter swap for store-bought creamsicles.
- Live cultures: Yogurt may provide probiotics that support gut health, depending on the brand.
Common Mistakes to Avoid
- Over-sweetening the yogurt: Remember frozen treats taste less sweet. Sweeten a touch more than you think you need, but not so much that the tang disappears.
- Skipping the zest: The zest carries fragrant oils that make the orange flavor pop.
It’s worth the extra minute.
- Using only low-fat yogurt: Nonfat can get icy. A little fat improves texture. Whole milk yogurt or a spoon of coconut cream helps.
- Filling molds to the very top: Leave a small gap.
Liquid expands as it freezes, and overflow can make unmolding tricky.
- Not tasting as you go: Citrus varies. Always taste both mixtures before freezing and adjust sweetness and vanilla.
Alternatives
- Dairy-free: Use a thick coconut yogurt and coconut cream. Sweeten with maple syrup for a silky, vegan version.
- No fresh oranges: Use high-quality 100% orange juice and add extra vanilla and a bit more zest from a store-bought orange if available.
- Extra creamy: Blend in 2 tablespoons cream cheese with the yogurt for a cheesecake-like texture.
- Lower sugar: Skip added sugar and rely on naturally sweet oranges.
A few drops of liquid stevia or monk fruit can help if needed.
- Citrus twist: Swap some orange juice with tangerine, clementine, or blood orange for a different hue and flavor.
- Fruit add-ins: Add a few thin slices of strawberry or mango to the molds for color and texture.
- Kids’ version: Reduce tang by using vanilla yogurt and add a touch more vanilla extract.
FAQ
Can I make these without a blender?
Yes. Whisk the orange mixture and yogurt mixture separately until smooth. You’ll have a slightly less uniform texture, but the pops will still freeze beautifully.
How do I prevent icy pops?
Use whole milk Greek yogurt or add a spoonful of coconut cream.
A bit of sugar or honey also helps keep the texture softer because sugar lowers the freezing point.
Can I use bottled orange juice?
You can, but choose a not-from-concentrate juice with no added sugar for the best flavor. Add orange zest to boost freshness.
What if my pops won’t release from the mold?
Run warm water over the outside of the mold for 10–20 seconds, then gently wiggle the sticks. Don’t pull too hard or you may break the sticks.
How sweet should the mixture be before freezing?
Aim for slightly sweeter than you’d drink.
Cold temperatures mute sweetness, so a touch more than you think is usually just right.
Can I add collagen or protein powder?
Yes, but use a small amount—about 1 scoop total—and mix thoroughly to avoid grit. If the mixture thickens too much, add a splash of orange juice.
What’s the best yogurt to use?
Whole milk Greek yogurt gives the creamiest result. If you prefer 2%, add a tablespoon of coconut cream or a little cream cheese for richness.
Final Thoughts
These Orange Creamsicle Yogurt Pops bring back that sunny, nostalgic flavor with a cleaner ingredient list and a satisfying creamy bite.
They’re simple enough for a weekday project and special enough for a backyard gathering. Keep a batch in the freezer, tweak the sweetness to your taste, and enjoy a bright, refreshing treat whenever you need a little pick-me-up. With a few pantry staples and fresh oranges, you’ll have a dessert that feels classic and fresh at the same time.
Printable Recipe Card
Want just the essential recipe details without scrolling through the article? Get our printable recipe card with just the ingredients and instructions.