Perfect Hard-Boiled Eggs (Batch Cooking Guide) – Foolproof, Easy, and Make-Ahead Friendly
Hard-boiled eggs are the quiet hero of meal prep. They’re affordable, protein-packed, and ready to turn into breakfast, lunch, or a quick snack. The trick is getting them just right—fully set yolks, no green ring, and shells that slip off cleanly.
This guide gives you a reliable method that scales for batch cooking, plus storage tips and smart ways to use them all week. No fancy equipment needed, just a pot, water, and a timer.
Perfect Hard-Boiled Eggs (Batch Cooking Guide) - Foolproof, Easy, and Make-Ahead Friendly
Ingredients
Method
- Bring water to a boil: Fill a pot with enough water to cover your eggs by 1 inch. Bring to a full rolling boil over high heat.
- Lower the eggs in: Gently lower eggs into the boiling water using a spoon or tongs. Keep the water at a steady but not violent boil.
- Simmer briefly: Let the eggs boil for 30 seconds, then reduce heat to medium-low so the water is just simmering.
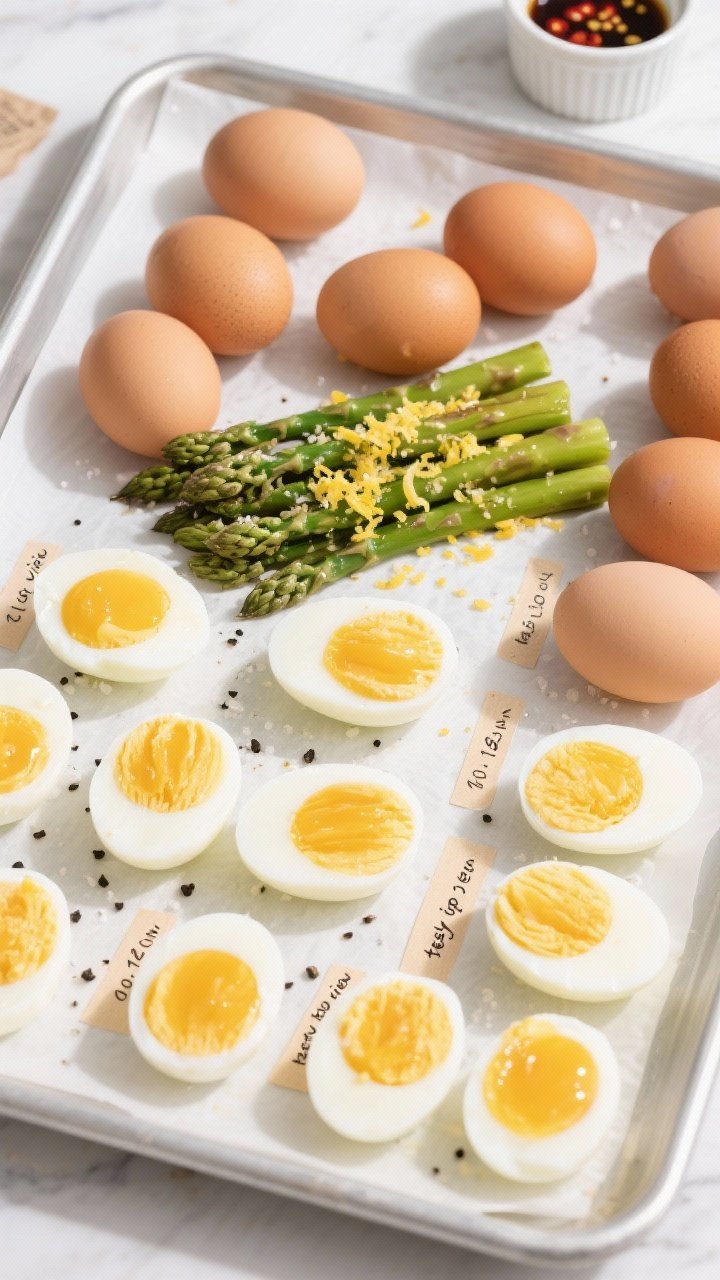
- Cover and cook off-heat: Put the lid on, turn off the heat, and set a timer for the doneness you want: Jammy: 8–9 minutes (set whites, custardy yolks).
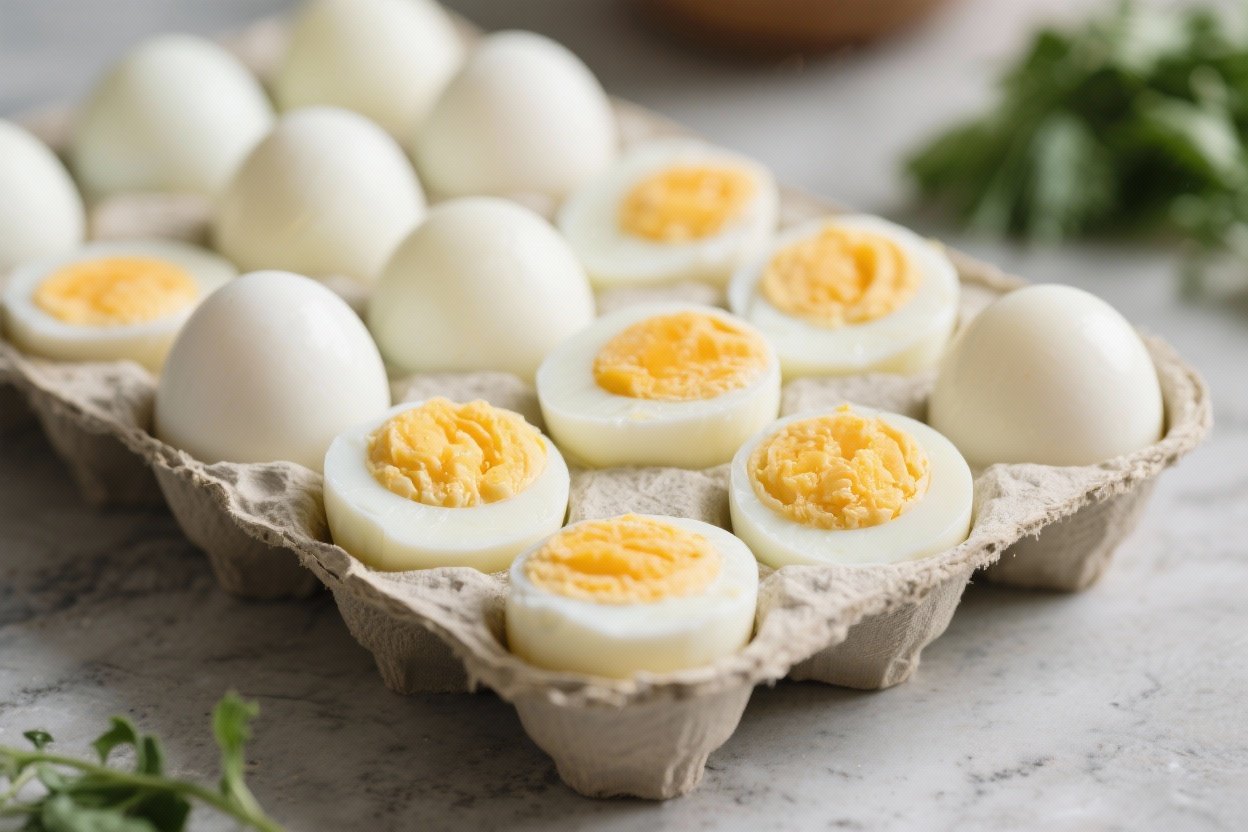
- Classic hard-boiled: 10–12 minutes (fully set yolks, no chalkiness).
- Very firm: 13 minutes (for egg salad or grating).
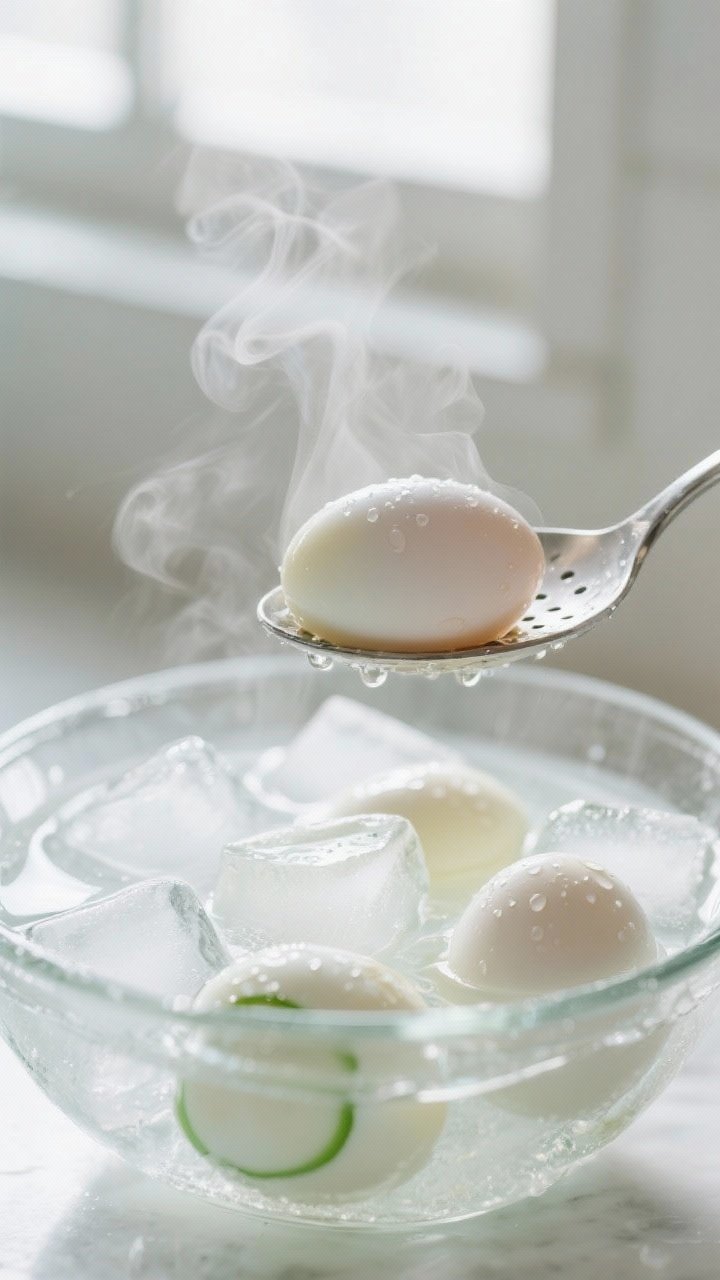
- Prepare an ice bath: While eggs sit, fill a large bowl with ice and cold water.
- Chill immediately: When the timer ends, transfer eggs directly to the ice bath. Chill for at least 10 minutes. This stops cooking and makes peeling easier.
- Peel or store: Crack each egg gently, roll to loosen the shell, then peel under a thin stream of water. Dry and refrigerate. If storing unpeeled, dry them before chilling.
Why This Recipe Works
This method uses a controlled boil followed by a set time off the heat, which gives you consistent results. The rapid cool-down in an ice bath stops the cooking fast, preventing dry yolks and that green-gray ring.
Starting eggs in hot water (not cold) helps the membranes separate from the shell, making peeling easier. It’s simple, repeatable, and perfect for making a dozen or more at a time.
What You’ll Need
- Eggs: Any size works, but this timing is based on large eggs.
- Water: Enough to cover eggs by about 1 inch.
- Ice: For an ice bath to cool eggs quickly.
- Large pot with lid: Wide enough to hold eggs in a single layer.
- Slotted spoon or tongs: For safe transfer.
- Timer: Accuracy matters.
- Optional: 1 teaspoon baking soda or a splash of vinegar (can help with peeling, especially for very fresh eggs).
Instructions
- Bring water to a boil: Fill a pot with enough water to cover your eggs by 1 inch. Bring to a full rolling boil over high heat.
- Lower the eggs in: Gently lower eggs into the boiling water using a spoon or tongs.
Keep the water at a steady but not violent boil.
- Simmer briefly: Let the eggs boil for 30 seconds, then reduce heat to medium-low so the water is just simmering.
- Cover and cook off-heat: Put the lid on, turn off the heat, and set a timer for the doneness you want:
- Jammy: 8–9 minutes (set whites, custardy yolks).
- Classic hard-boiled: 10–12 minutes (fully set yolks, no chalkiness).
- Very firm: 13 minutes (for egg salad or grating).
- Prepare an ice bath: While eggs sit, fill a large bowl with ice and cold water.
- Chill immediately: When the timer ends, transfer eggs directly to the ice bath. Chill for at least 10 minutes. This stops cooking and makes peeling easier.
- Peel or store: Crack each egg gently, roll to loosen the shell, then peel under a thin stream of water.
Dry and refrigerate. If storing unpeeled, dry them before chilling.
How to Store
- Unpeeled: Keep in the fridge for up to 7 days. Store dry in the original carton or a covered container.
- Peeled: Store in an airtight container for 4–5 days.
For best texture, add a damp paper towel or cover with cold water and change the water daily.
- Label and rotate: Mark the date so you use the oldest first.
- Avoid freezing: Freezing hard-boiled eggs causes rubbery whites. Not recommended.
Health Benefits
- High-quality protein: About 6 grams per large egg supports muscle repair and keeps you full.
- Nutrient-dense: Eggs provide B12, riboflavin, selenium, iodine, and choline (great for brain health).
- Healthy fats: Yolks contain omega-3s (especially in pasture-raised eggs) and fat-soluble vitamins A, D, E, and K.
- Low-carb and versatile: Fits many eating styles: high-protein, Mediterranean, low-carb, or balanced diets.
Common Mistakes to Avoid
- Overcooking: Leads to dry yolks and a green ring. Stick to the timing and use the ice bath.
- Skipping the ice bath: Residual heat keeps cooking the eggs.
Chill immediately for perfect texture.
- Starting in cold water: This can cause uneven results and tougher peeling. Start with boiling water for consistency.
- Boiling too hard: Vigorous boiling cracks shells. Keep a gentle simmer after the initial 30 seconds.
- Peeling too soon: Eggs peel best after fully cooling.
Warm eggs are harder to peel cleanly.
Alternatives
- Steaming: Place eggs in a steamer basket over boiling water, cover, and steam 11–13 minutes, then ice bath. Often even easier to peel.
- Instant Pot: Use the 5-5-5 method: 5 minutes at high pressure, 5 minutes natural release, 5 minutes in ice bath. Adjust by 1–2 minutes for your preferred doneness.
- Older eggs for easier peeling: If you struggle with fresh eggs, use eggs that are 5–10 days old.
- Flavor boosts: After peeling, marinate in soy sauce, pickle brine, or chili oil for quick snacks.
FAQ
How many eggs can I cook at once?
As many as fit in a single layer at the bottom of your pot.
If they stack, timing can be uneven. For big batches, cook in rounds or use a wider pot.
Why do my eggs crack while cooking?
Usually from rapid temperature changes or vigorous boiling. Lower eggs gently, keep the boil moderate, and don’t overcrowd the pot.
A small pinhole in the fat end can help release pressure, but it’s optional.
How do I get eggs that peel easily?
Start in boiling water, cool in an ice bath, and peel under running water. Older eggs peel more easily than super fresh ones. A teaspoon of baking soda in the water can also help.
What if I want jammy eggs for ramen?
Use the same method but shorten the covered time to 8–9 minutes.
Chill immediately in ice water to lock in that custardy center.
How can I tell if an egg is still good?
Use the float test: place the egg in a bowl of water. If it sinks and lays on its side, it’s fresh. If it stands up, it’s older but usually fine.
If it floats, toss it.
Can I peel them all at once for the week?
Yes. Store peeled eggs in a sealed container for up to 5 days. Keep them slightly moist with a damp paper towel or submerged in water you change daily.
What’s the green ring around the yolk?
It’s a harmless reaction between sulfur and iron from overcooking or slow cooling.
Prevent it by sticking to the timing and using an ice bath.
What are easy ways to use a batch?
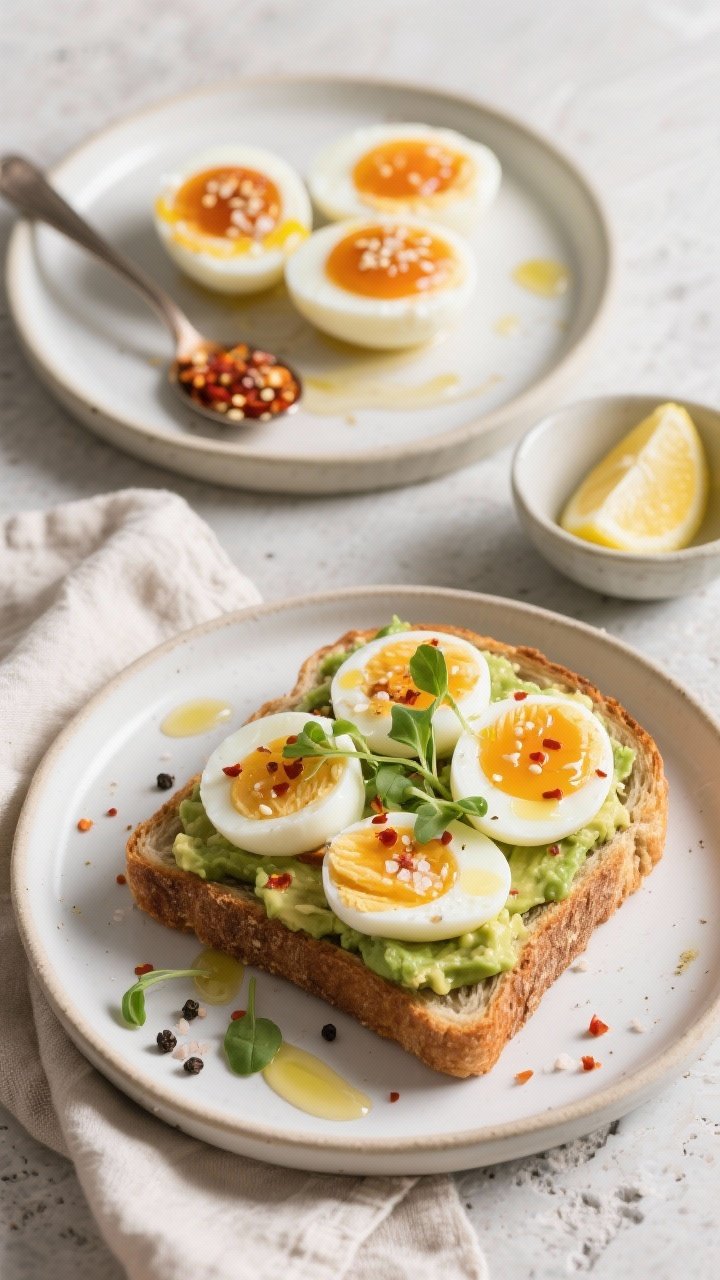
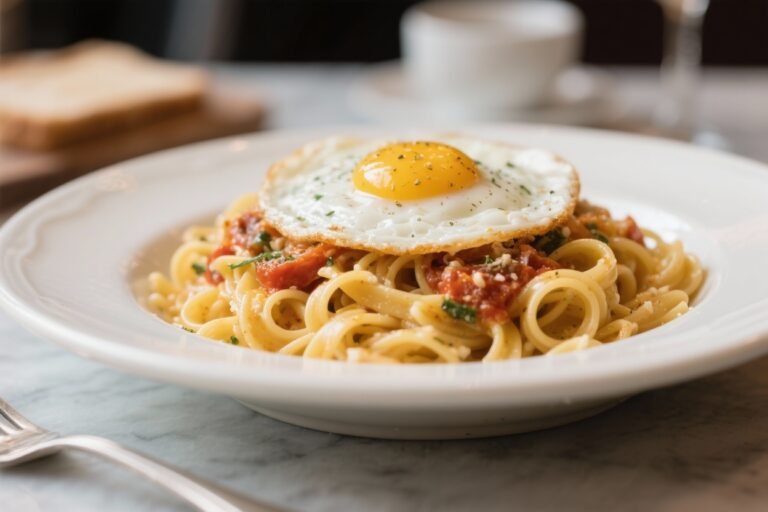
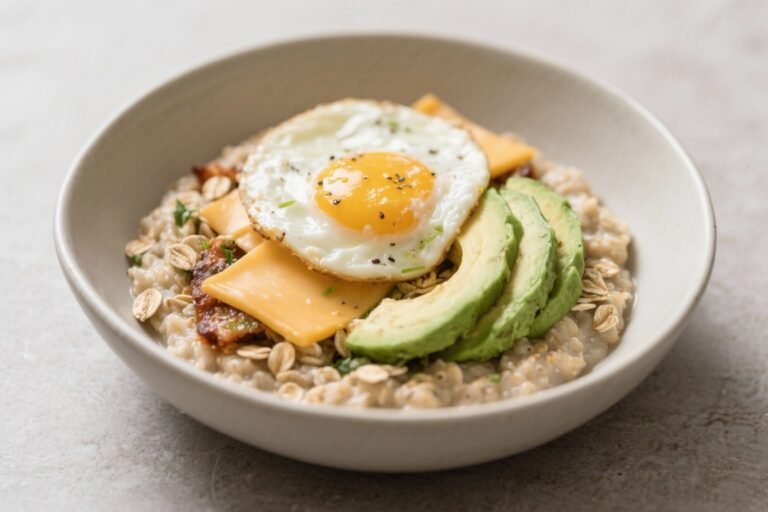
Top toast with avocado and chili flakes, add to salads or grain bowls, make egg salad, or slice into wraps. Grate over pasta or asparagus with a drizzle of olive oil and lemon.
Final Thoughts
Perfect hard-boiled eggs are all about timing and temperature. With this simple boil-cover-rest method and a quick ice bath, you’ll get consistent results every time.
Make a big batch on Sunday, stash them in the fridge, and you’ve got a week of easy, healthy meals and snacks ready to go. Once you dial in your favorite doneness, this will be a set-and-forget kitchen habit you’ll rely on.
Printable Recipe Card
Want just the essential recipe details without scrolling through the article? Get our printable recipe card with just the ingredients and instructions.


2 Comments