
Stop Buying Sugar Bombs: “Like Store-Bought Chocolate Milk, But Better” — Homemade Chocolate Milk with Real Cocoa and Less Sugar
Skip the carton. In five minutes, you’ll make a chocolate milk that tastes like your childhood favorite—only cleaner, richer, and not a dessert disguised as a drink. This recipe uses real cocoa, just enough natural sweetener, and a pinch of salt to make the chocolate pop.
It’s creamy, it’s craveable, and it costs pennies. Want honest flavor without a sugar crash? Pour this over ice and tell the store-bought stuff to take a seat.
Why You’ll Love This Recipe
- It actually tastes like chocolate. Real cocoa means deep, chocolatey flavor—no corn-syrup-y aftertaste.
- Lower sugar, zero gimmicks. You control the sweetness with maple syrup or honey, and it’s still ridiculously good.
- Ready in minutes. No simmering for 20 minutes like it’s a French custard.
Just whisk, shake, chill.
- Kid-friendly and adult-approved. Sweet enough for kids, classy enough for you to sip in a coffee glass like a pro.
- Budget-friendly. A fraction of the price per serving versus name-brand chocolate milk or powder packets.
What You’ll Need (Ingredients)
- 2 cups cold milk (whole milk for creaminess; 2% or oat/almond milk works too)
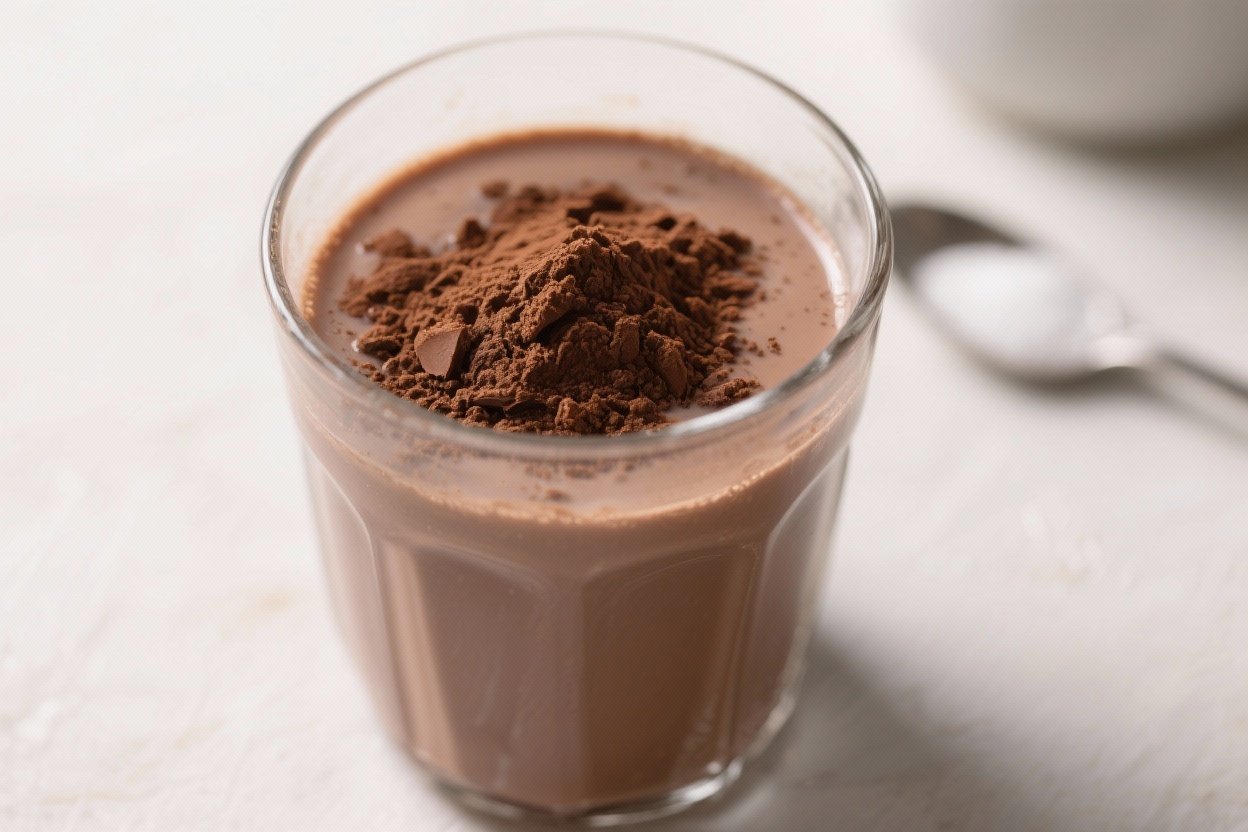
- 2 tablespoons unsweetened cocoa powder (natural or Dutch-process; Dutch is smoother)
- 1.5–2 tablespoons maple syrup or honey (adjust to taste; start low)
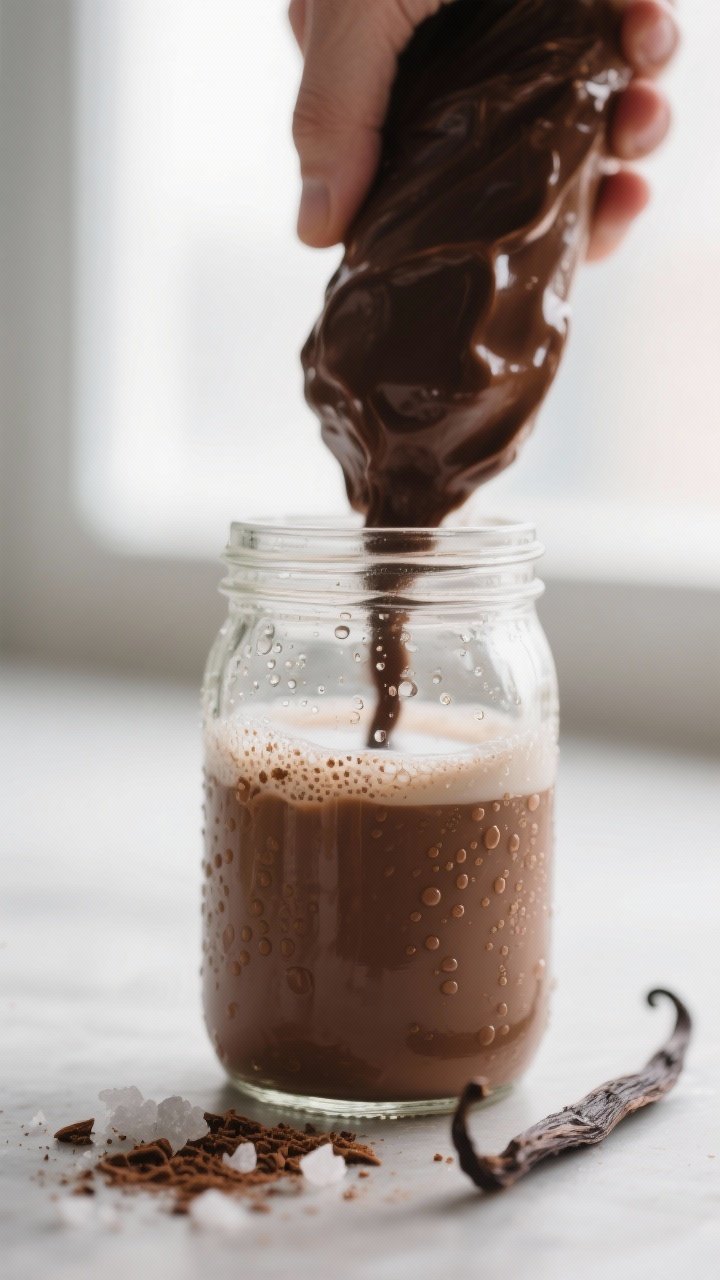
- 1 teaspoon vanilla extract (optional but highly recommended)
- Pinch of fine sea salt (enhances chocolate flavor—don’t skip)
- Optional: 1–2 tablespoons hot water (to bloom cocoa if it’s clumpy)
- Optional: 1–2 ice cubes (for rapid chilling and froth)
Let’s Get Cooking – Instructions
- Bloom the cocoa (optional but pro move): In a small bowl, mix cocoa powder with 1–2 tablespoons hot water until it forms a smooth paste. This reduces clumps and amps up flavor.
- Sweeten smartly: Add maple syrup or honey to the cocoa paste and stir. It’ll look glossy and smell like a chocolate shop.
If skipping the paste, add cocoa and sweetener to a large jar with a tight lid.
- Add the milk: Pour in 2 cups of cold milk. Add vanilla and a pinch of salt. Salt is your secret weapon here.
- Shake like you mean it: Seal the jar and shake vigorously for 20–30 seconds.
No jar? Whisk in a bowl, or blitz with a handheld frother.
- Taste and adjust: Need more sweetness? Add 1 teaspoon at a time.
Want stronger chocolate? Add 1 teaspoon cocoa and shake again.
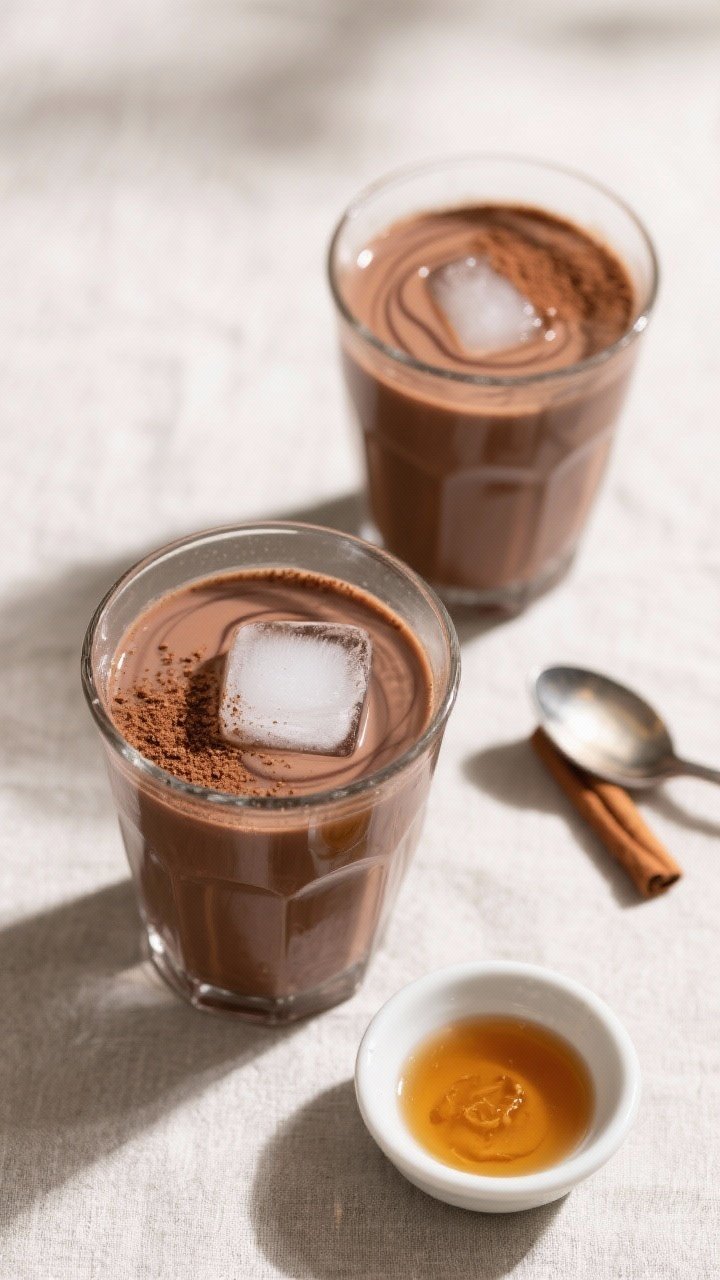
- Chill and serve: Toss in an ice cube and shake for instant chill and froth, or refrigerate 10–15 minutes for max flavor fusion.
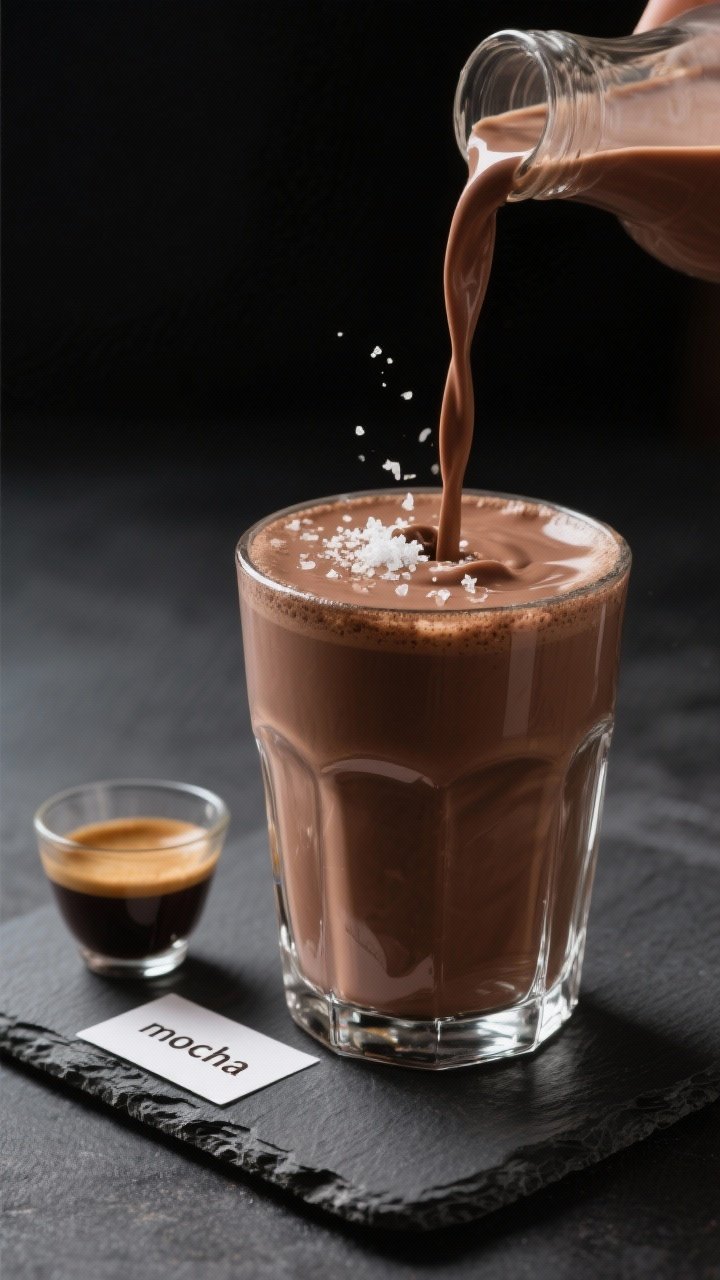
- Optional fancy finish: Dust the top with a pinch of cocoa or cinnamon, or add a splash of coffee for mocha vibes.
Preservation Guide
- Fridge: Store in a sealed jar or bottle for up to 3 days. Shake before each pour; cocoa likes to settle.
- Freezer (popsicles): Pour into molds and freeze for 4–6 hours for easy chocolate milk pops.
Great for kids and hot days.
- Batch prep: Scale up to a quart. If using non-dairy milk, check the date—some separate more over time. A quick shake fixes it.
- Separation is normal: Cocoa solids sink.
If it looks layered, it’s fine—just shake like it owes you money.
Why This is Good for You
- Less sugar, more control: Most store-bought chocolate milk packs 20–30g sugar per cup. This version can clock in at roughly 8–12g, depending on your sweetener.
- Real ingredients: No stabilizers or artificial flavors. Just cocoa, milk, and a touch of natural sweetener.
- Protein and calcium boost: Using dairy milk nets you protein for satiety and calcium for bone health.
Non-dairy options with added calcium/protein work too.
- Cocoa perks: Cocoa contains antioxidants like flavanols. No, it’s not a kale smoothie, but it’s not candy either. Balance is the win.
Avoid These Mistakes
- Skipping the salt: That tiny pinch makes the chocolate taste bigger and rounds out any bitterness.
- Using cold, clumpy cocoa: If your cocoa powder is lumpy, bloom it with hot water or sift it.
Grainy milk = sad face.
- Over-sweetening upfront: You can always add more. You can’t un-sweeten. Start with less; adjust after a taste test.
- Using weak non-dairy milk without adjustments: Some plant milks are thin.
Add 1–2 teaspoons cashew butter or a splash of canned coconut milk for body.
- Forgetting to shake: Separation happens. A quick shake revives that silky texture in seconds, FYI.
Recipe Variations
- Mocha Chocolate Milk: Add 1–2 tablespoons cooled strong coffee or 1 teaspoon instant espresso powder. Morning fuel, unlocked.
- Spiced Mexican-Style: Add 1/4 teaspoon cinnamon and a tiny pinch of cayenne.
Sweet heat = addictive.
- High-Protein: Stir in 1/2 scoop unflavored or chocolate protein powder. Whisk well or use a blender to keep it smooth.
- Ultra-Creamy: Swap 1/4 cup of milk for half-and-half or coconut cream. Dessert vibes without becoming a milkshake.
- Refined Sugar-Free: Sweeten with dates.
Blend 1–2 pitted Medjool dates with the milk and cocoa until smooth.
- Mint Chocolate: Add 1–2 drops peppermint extract. Go easy—this stuff is potent.
- Hot Chocolate Flip: Warm it gently on the stovetop for a lighter hot chocolate. Don’t boil or you’ll lose that fresh flavor.
FAQ
Can I make this without maple syrup or honey?
Yes.
Use coconut sugar, date syrup, agave, or regular sugar. If using granulated sugar, bloom with the cocoa and a splash of hot water to help it dissolve.
What kind of cocoa powder works best?
Both natural and Dutch-process work. Natural has a slightly brighter, more bitter cocoa bite; Dutch-process is darker and smoother.
If you want that “store-bought” vibe, Dutch-process gets you closer.
How do I make it extra smooth without a blender?
Bloom the cocoa with hot water, then shake vigorously in a jar. You can also sift the cocoa first to eliminate clumps. A small handheld milk frother is a cheat code.
Is this safe for kids?
Totally.
Keep the sugar on the lower end and skip the coffee or cayenne variants. For toddlers, consider whole milk for calories and creaminess, but you do you.
Can I double or triple the recipe?
Absolutely. Use a large bottle or pitcher with a lid.
Shake before every pour. It tastes even better after a few hours in the fridge as the flavors meld, IMO.
What if my cocoa tastes bitter?
Add a tiny bit more sweetener and don’t skip the salt. A drop of vanilla also rounds out bitterness and gives you that classic chocolate milk aroma.
Can I use cacao powder instead of cocoa?
Yes.
Cacao is less processed and can be slightly more bitter. Start with a little less and adjust sweetness to balance.
How do I make it lactose-free?
Use lactose-free milk or a creamy plant-based milk. Oat and soy are great; almond can be thin, so consider adding a spoon of cashew butter for body.
My Take
This is the kind of “why didn’t I do this sooner?” recipe.
It nails the nostalgic taste but trims the sugar and mystery ingredients, giving you something you actually want to drink every week. The salt-vanilla-cocoa combo is the secret—respect it, and your chocolate milk will taste like it came from a boutique café instead of a school cafeteria. Keep a bottle in your fridge, and you’ll retire your old powdered mixes for good.
Printable Recipe Card
Want just the essential recipe details without scrolling through the article? Get our printable recipe card with just the ingredients and instructions.