Whole-Wheat Banana Muffins – Moist, Nutty, and Naturally Sweet
August 19, 2026 · 8 min read
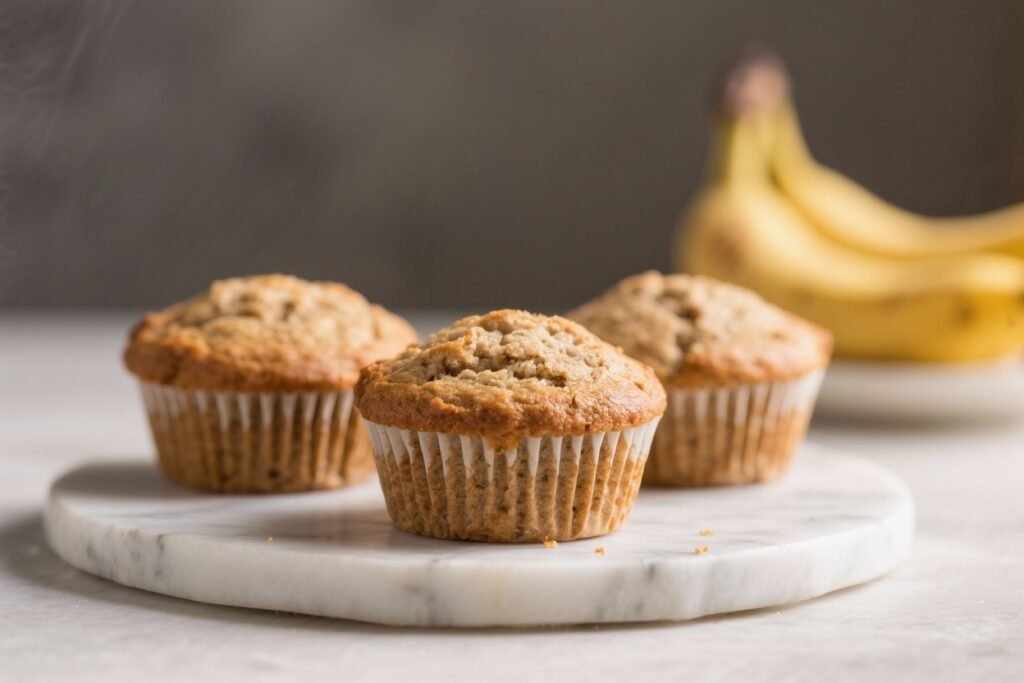
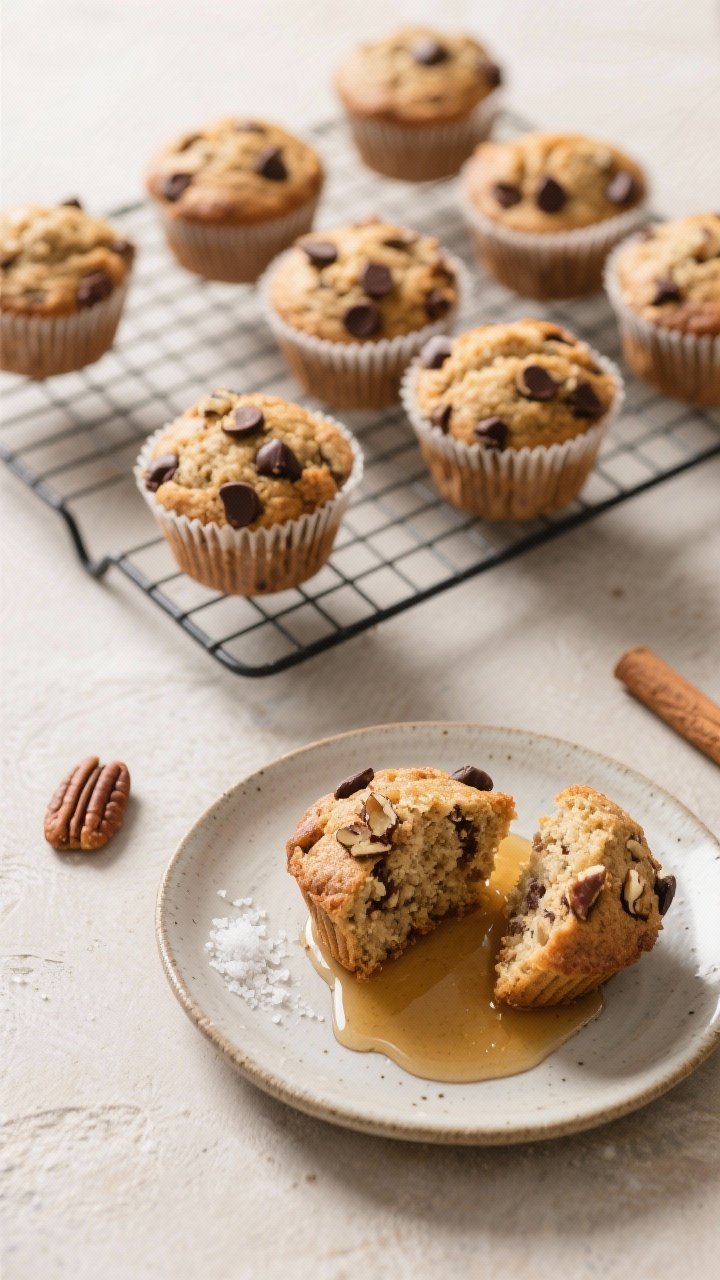
These whole-wheat banana muffins are the kind of breakfast or snack that feels cozy and satisfying without being heavy. They’re moist, gently sweet, and full of warm banana flavor with a hint of vanilla and cinnamon. You don’t need a mixer, and the batter comes together in minutes—perfect for busy mornings or weekend baking.
They also freeze beautifully, so you can make a batch and enjoy them all week. If you love simple, wholesome baking, this recipe will quickly become a staple.
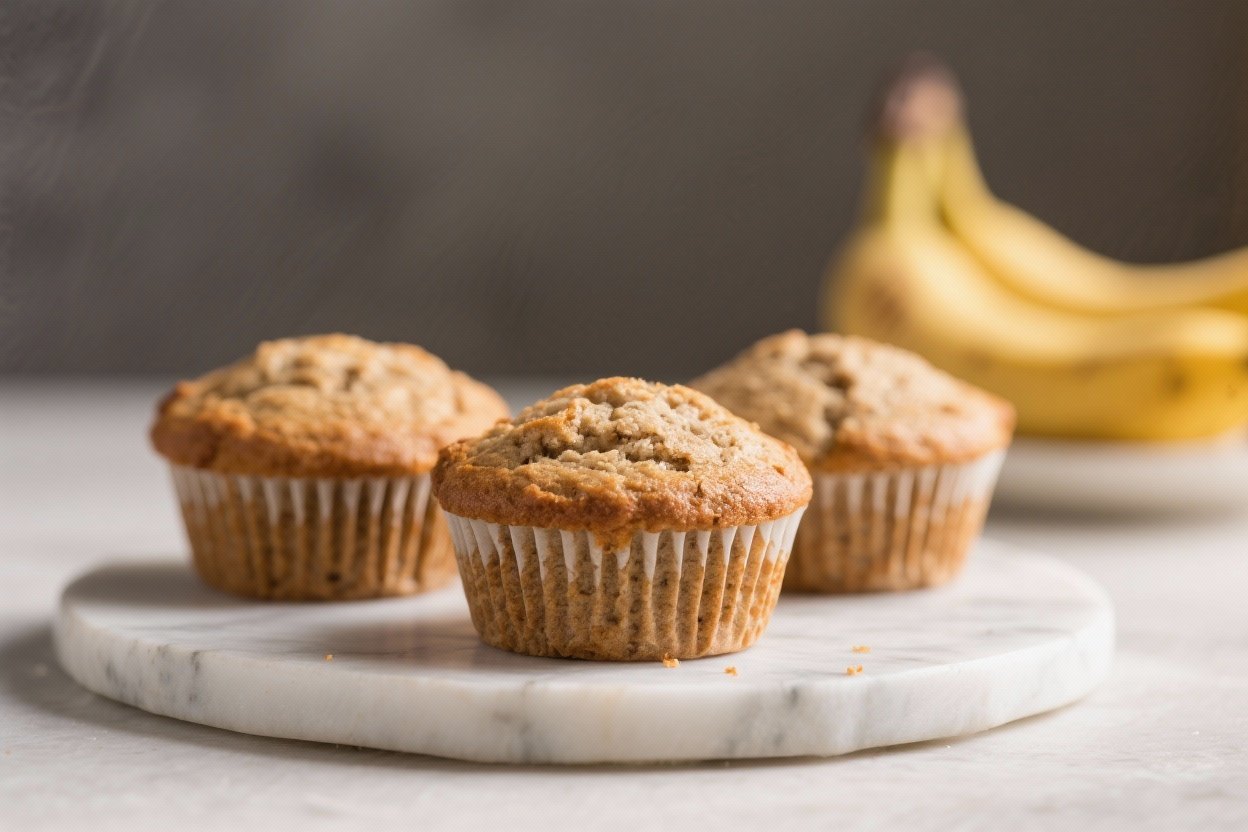
Whole-Wheat Banana Muffins - Moist, Nutty, and Naturally Sweet
Ingredients
Method
- Prep the pan and oven: Heat your oven to 350°F (175°C).Line a 12-cup muffin pan with paper liners or lightly grease it.
- Mash the bananas: In a large bowl, mash the ripe bananas with a fork until mostly smooth. A few small lumps are fine.
- Whisk the wet ingredients: Add eggs, oil, vanilla, brown sugar, and yogurt (or milk) to the bananas. Whisk until the mixture looks smooth and glossy.If using honey or maple syrup, whisk it in now.
- Combine the dry ingredients: In a separate bowl, whisk together whole-wheat flour, baking powder, baking soda, salt, and cinnamon.
- Bring it together: Add the dry ingredients to the wet mixture. Stir gently with a spatula just until you no longer see streaks of flour. The batter should be thick and slightly lumpy.Avoid overmixing.
- Fold in add-ins: If using nuts, chocolate chips, or berries, fold them in now. About 1/2 to 3/4 cup total add-ins works well.
- Rest the batter (optional but helpful): Let the batter sit for 5–8 minutes. This gives the whole-wheat flour time to hydrate for a softer crumb.
- Fill the cups: Divide the batter evenly among the muffin cups, filling them about 3/4 full.For bakery-style domes, you can fill a little higher.
- Bake: Bake for 16–20 minutes, or until the tops are set and a toothpick inserted in the center comes out with a few moist crumbs.
- Cool: Let the muffins cool in the pan for 5 minutes, then transfer to a wire rack. Serve warm or at room temperature.
Why This Recipe Works
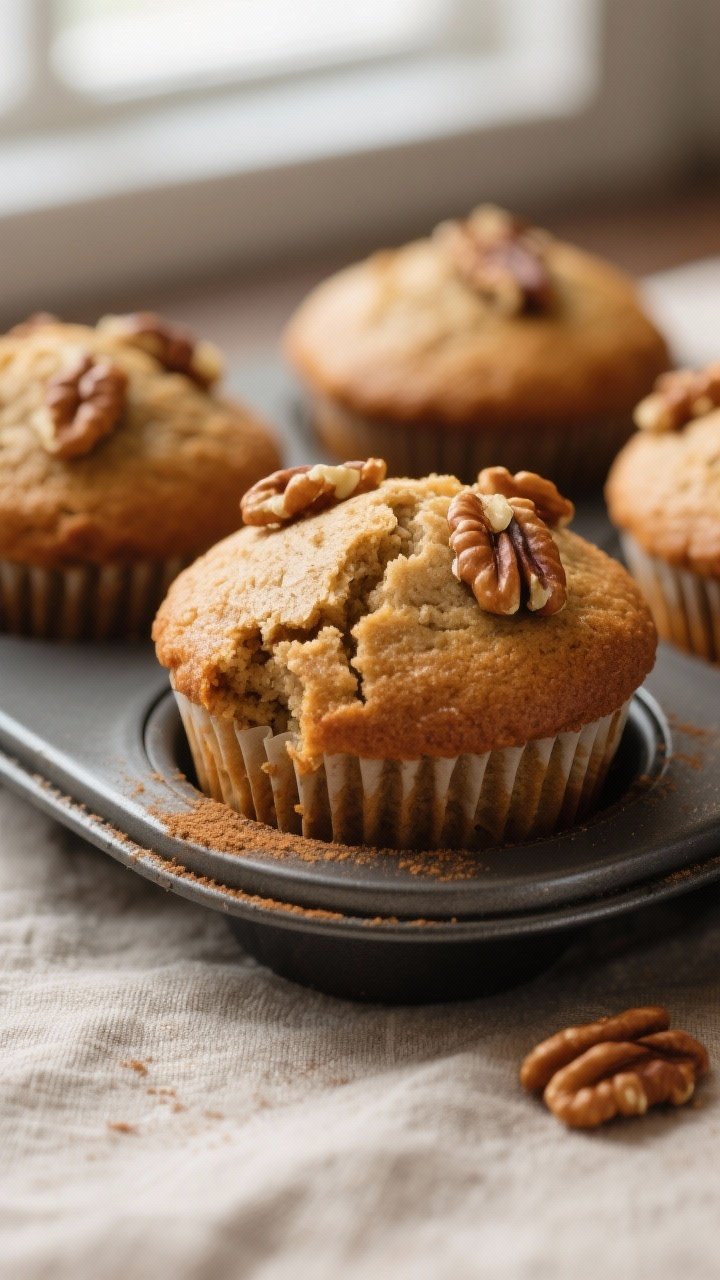
Whole-wheat flour has a natural nuttiness that pairs well with ripe bananas. It also provides structure and a hearty texture without making the muffins dense.
Using oil instead of butter keeps the crumb tender and helps the muffins stay moist for days. A touch of brown sugar boosts the banana flavor while keeping the sweetness balanced. Finally, a quick rest after mixing lets the flour hydrate, which makes the muffins softer and helps them rise evenly.
Shopping List
- Ripe bananas: About 3 medium (the more speckled, the better)
- Whole-wheat flour: Preferably white whole wheat for a lighter texture, but regular whole wheat works too
- Baking powder
- Baking soda
- Fine salt
- Ground cinnamon (optional, but recommended)
- Large eggs
- Brown sugar: Light or dark
- Honey or maple syrup (optional for extra moisture and flavor)
- Neutral oil: Such as canola, avocado, or light olive oil
- Plain Greek yogurt or milk (dairy or unsweetened non-dairy)
- Vanilla extract
- Add-ins (optional): Chopped walnuts or pecans, dark chocolate chips, blueberries, or shredded coconut
Instructions
- Prep the pan and oven: Heat your oven to 350°F (175°C).
Line a 12-cup muffin pan with paper liners or lightly grease it.
- Mash the bananas: In a large bowl, mash the ripe bananas with a fork until mostly smooth. A few small lumps are fine.
- Whisk the wet ingredients: Add eggs, oil, vanilla, brown sugar, and yogurt (or milk) to the bananas. Whisk until the mixture looks smooth and glossy.
If using honey or maple syrup, whisk it in now.
- Combine the dry ingredients: In a separate bowl, whisk together whole-wheat flour, baking powder, baking soda, salt, and cinnamon.
- Bring it together: Add the dry ingredients to the wet mixture. Stir gently with a spatula just until you no longer see streaks of flour. The batter should be thick and slightly lumpy.
Avoid overmixing.
- Fold in add-ins: If using nuts, chocolate chips, or berries, fold them in now. About 1/2 to 3/4 cup total add-ins works well.
- Rest the batter (optional but helpful): Let the batter sit for 5–8 minutes. This gives the whole-wheat flour time to hydrate for a softer crumb.
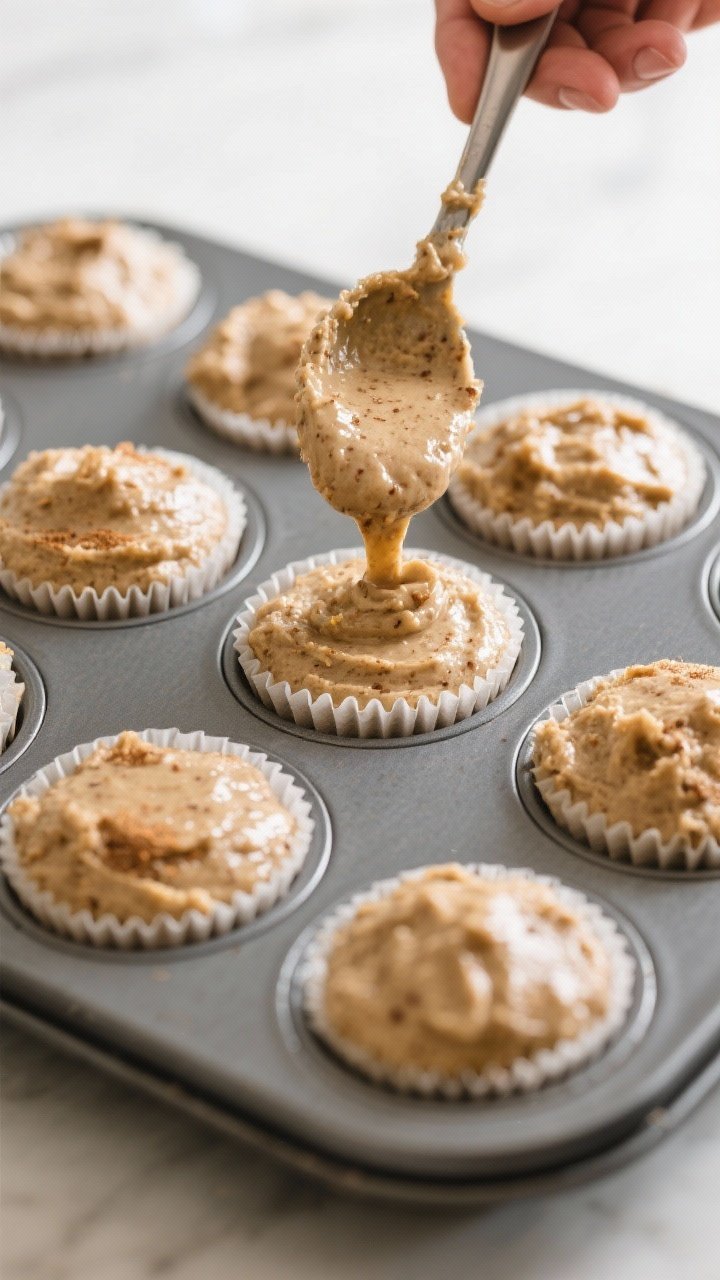
- Fill the cups: Divide the batter evenly among the muffin cups, filling them about 3/4 full.
For bakery-style domes, you can fill a little higher.
- Bake: Bake for 16–20 minutes, or until the tops are set and a toothpick inserted in the center comes out with a few moist crumbs.
- Cool: Let the muffins cool in the pan for 5 minutes, then transfer to a wire rack. Serve warm or at room temperature.
Storage Instructions
- Room temperature: Store cooled muffins in an airtight container for up to 3 days. Add a paper towel at the bottom to absorb moisture and keep the tops from getting sticky.
- Refrigerator: For up to 5 days if your kitchen runs warm.
Warm gently in the microwave for 10–15 seconds before serving.
- Freezer: Freeze individually wrapped muffins (or in a zip-top bag with the air pressed out) for up to 3 months. Thaw at room temperature or reheat from frozen for 20–30 seconds in the microwave or 6–8 minutes in a 300°F (150°C) oven.
Health Benefits
- Whole grains: Whole-wheat flour offers fiber, B vitamins, and minerals that support digestion and steady energy.
- Naturally sweetened: Ripe bananas add natural sweetness and potassium, reducing the need for lots of added sugar.
- Healthy fats: Using oil instead of butter supplies unsaturated fats that help keep the muffins moist without feeling heavy.
- Balanced snack: Add nuts or seeds for extra protein and healthy fats, which make these muffins more satisfying.
What Not to Do
- Don’t use underripe bananas: Green or barely yellow bananas lack sweetness and flavor. The skins should be speckled brown.
- Don’t overmix: Overworking the batter can make the muffins tough.
Stir just until combined.
- Don’t overbake: Dry muffins are the result of a few extra minutes in the oven. Check early and look for moist crumbs on the tester.
- Don’t skip salt: A pinch of salt sharpens the banana flavor and balances sweetness.
- Don’t pack the flour: Spoon and level the flour, or weigh it, to avoid dense, heavy muffins.
Variations You Can Try
- Nutty crunch: Fold in 1/2 cup chopped walnuts or pecans and sprinkle a few on top before baking.
- Chocolate banana: Add 1/2 cup dark chocolate chips and an extra 1/2 teaspoon vanilla for a dessert-leaning treat.
- Blueberry banana: Gently fold in 3/4 cup fresh or frozen blueberries. If using frozen, don’t thaw—toss them in a teaspoon of flour first.
- Coconut-lime: Add 1/3 cup shredded unsweetened coconut and 1 teaspoon lime zest for a bright twist.
- Spiced chai: Swap cinnamon for 1 teaspoon chai spice blend or a mix of cinnamon, ginger, and cardamom.
- Reduced sugar: Cut the brown sugar to 1/4 cup and rely more on very ripe bananas and a tablespoon of honey.
- Dairy-free: Use a plant-based milk or coconut yogurt.
The texture stays soft and tender.
FAQ
Can I use regular whole-wheat flour instead of white whole wheat?
Yes. Regular whole-wheat flour makes the muffins a bit heartier and darker in color. If you want a lighter texture, you can use half regular whole wheat and half all-purpose flour.
How many bananas do I need?
You’ll need about 1 1/4 to 1 1/2 cups mashed banana, which is usually 3 medium bananas.
If you’re short, add a splash more yogurt or milk to loosen the batter.
Can I make these muffins vegan?
Absolutely. Use a non-dairy milk or yogurt, swap the eggs for two flax eggs (2 tablespoons ground flaxseed mixed with 6 tablespoons water), and use maple syrup or sugar. The muffins will still rise nicely.
Why did my muffins sink in the middle?
This often happens if the batter was overmixed, the leaveners were old, or the muffins were underbaked.
Check that your baking powder and soda are fresh and bake until the centers spring back lightly to the touch.
How do I get taller muffin tops?
Fill the cups slightly higher and start the first 5 minutes at 400°F (205°C), then reduce to 350°F (175°C) for the remaining time. The initial heat boost encourages a better rise.
Can I reduce the sugar?
Yes. These muffins are flexible.
Reducing the brown sugar by a third still gives good flavor and texture, especially if your bananas are very ripe.
Do I need paper liners?
No, but they help with easy cleanup and storage. If skipping liners, grease the tin well and allow the muffins to cool for a few minutes before removing.
Can I add protein powder?
You can add 1/4 cup unflavored or vanilla protein powder and remove 1/4 cup flour to keep the texture balanced. Avoid highly sweetened powders, which can make the muffins overly sweet.
Wrapping Up
Whole-wheat banana muffins are a simple, reliable bake that tastes great and fits into a busy routine.
With pantry ingredients and ripe bananas, you get moist, flavorful muffins that work for breakfast, snacks, or lunchboxes. Keep a batch on your counter or stash them in the freezer for grab-and-go goodness. Once you nail your favorite add-ins, this recipe becomes the one you make on repeat.
Happy baking!
Printable Recipe Card
Want just the essential recipe details without scrolling through the article? Get our printable recipe card with just the ingredients and instructions.