Peanut Butter Toast Sticks – Simple, Crunchy, and Satisfying
July 16, 2026 · 8 min read
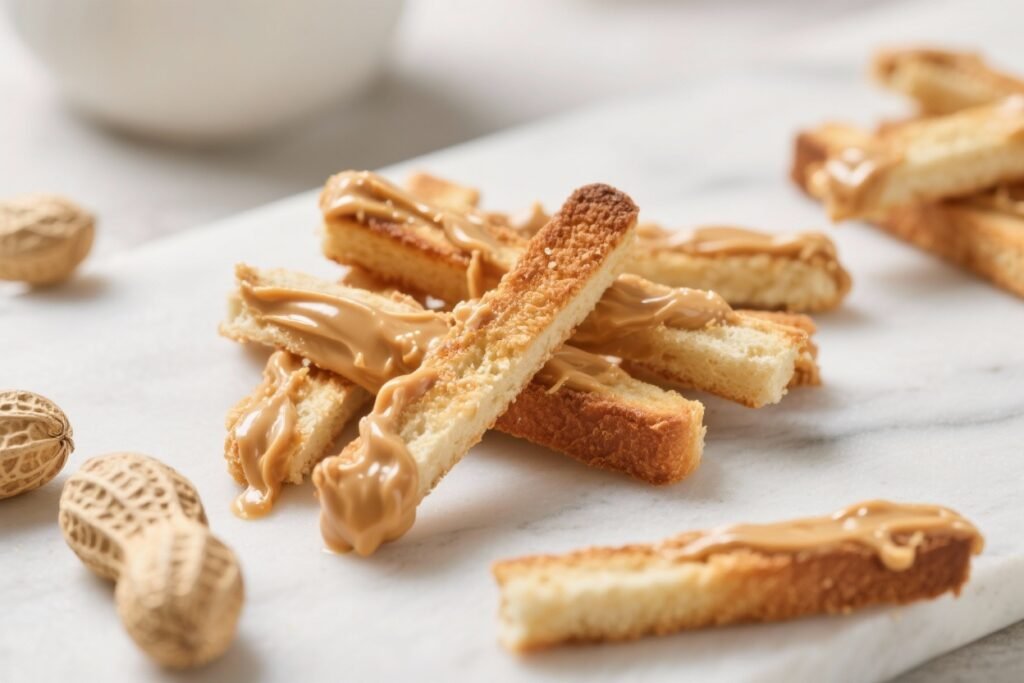
Peanut Butter Toast Sticks are the kind of snack that checks all the boxes: quick, filling, and endlessly customizable. They’re perfect for busy mornings, after-school bites, or a late-night sweet tooth that still wants a little protein. The outside gets golden and crisp, the inside stays warm and nutty, and you can dip them in whatever you like.
Think of them as a grown-up take on a childhood favorite—simple, nostalgic, and actually nourishing. If you’re looking for something that’s fast but feels special, this hits the mark.
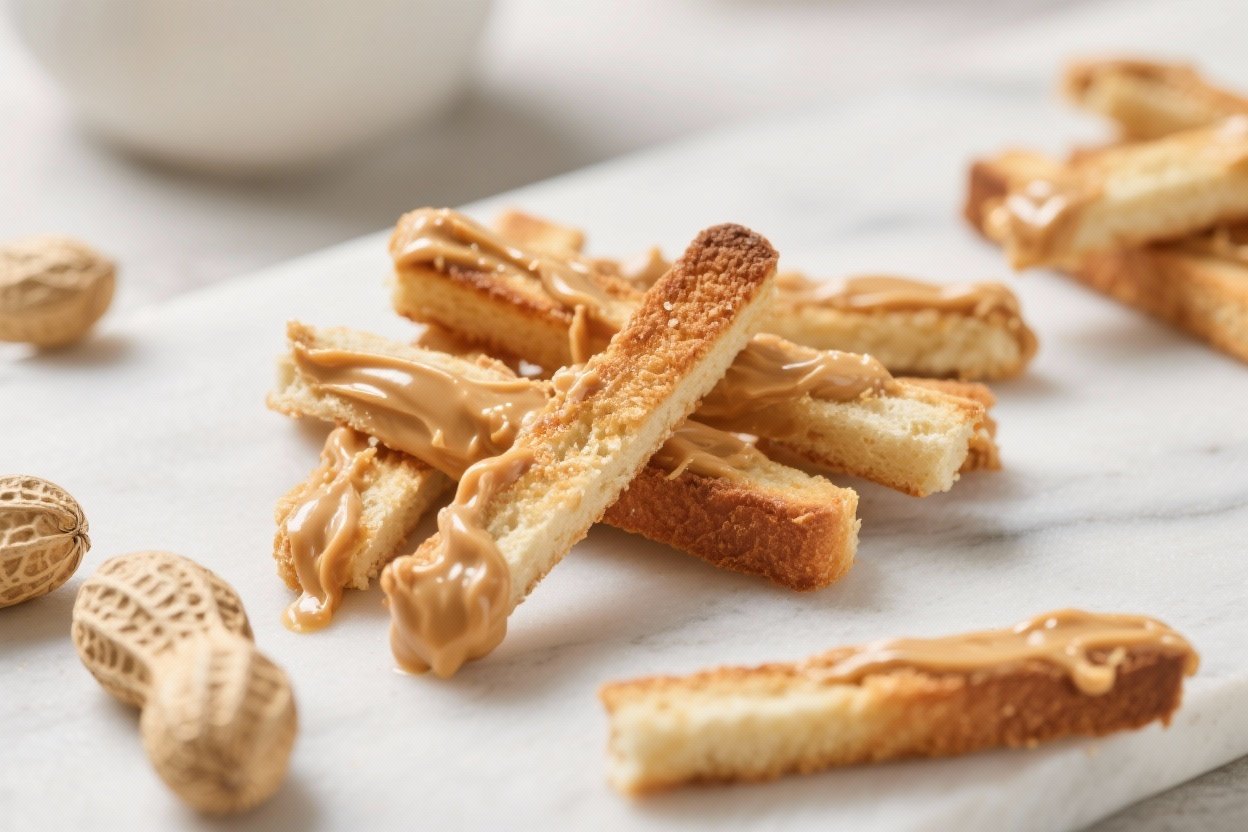
Peanut Butter Toast Sticks - Simple, Crunchy, and Satisfying
Ingredients
Method
- Choose your bread. Use a bread that holds up to slicing and toasting.Day-old bread works great. Thicker slices give chunkier sticks; thinner slices will crisp faster.
- Lightly pre-toast if using very soft bread. If your bread is super soft or brioche-like, give it a quick toast to dry the surface. This helps prevent tearing when spreading peanut butter.
- Spread the peanut butter. Lay out the slices and spread a generous, even layer of peanut butter from edge to edge.Aim for about 1–2 tablespoons per slice, depending on how rich you like it.
- Add optional flavor. Sprinkle a little cinnamon over the peanut butter for warmth. If you want a hint of sweetness, drizzle a thin ribbon of honey or maple syrup. A tiny pinch of sea salt on top balances everything.
- Assemble (open-faced or sandwich style). For maximum crisp edges, leave them open-faced.If you want a thicker, more “French toast stick” feel without the egg, sandwich two slices together with peanut butter inside.
- Slice into sticks. Use a sharp knife to cut each slice into 3–4 sticks. Press down gently to keep the filling from squeezing out.
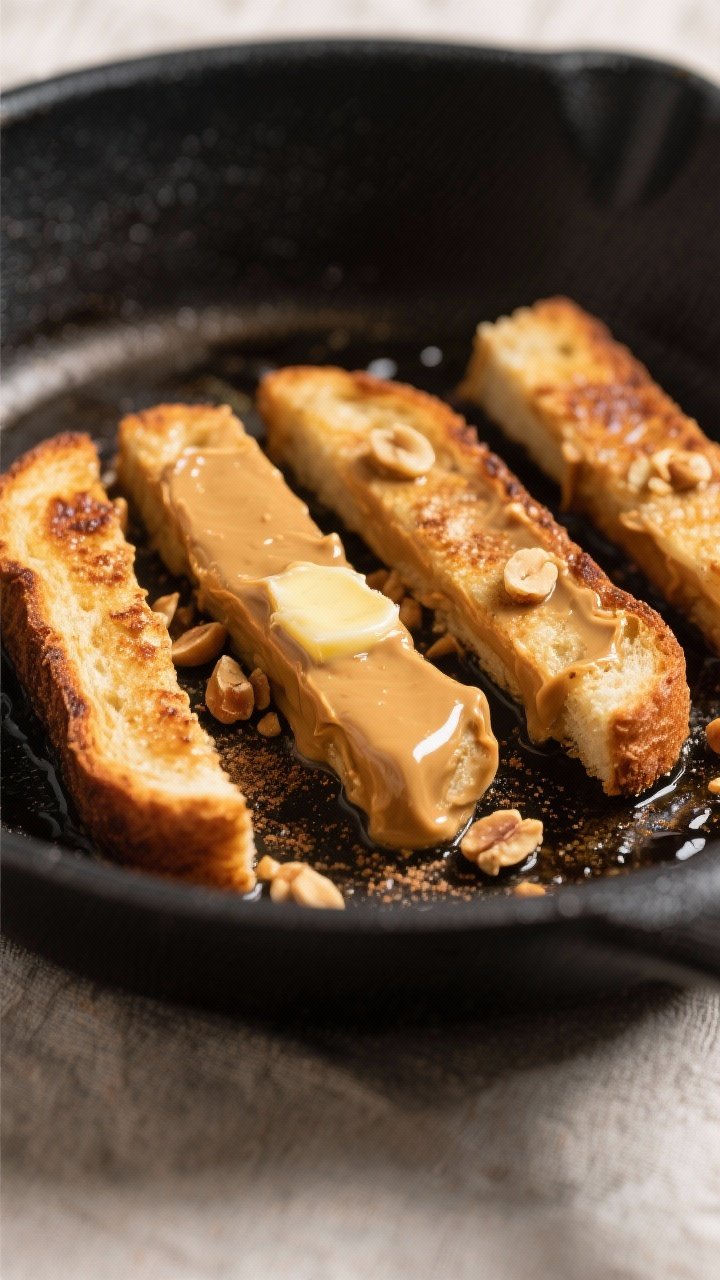
- Toast on the stove. Warm a nonstick skillet over medium heat and add a small amount of butter or oil. Place the sticks cut-side down first for crisp edges, then rotate to toast all sides until golden.This usually takes 3–5 minutes total.
- Or toast in the air fryer/oven. Air fryer: 375°F (190°C) for 3–5 minutes, flipping once. Oven: 400°F (200°C) for 6–8 minutes on a parchment-lined sheet, flipping halfway. Watch closely to avoid over-browning.
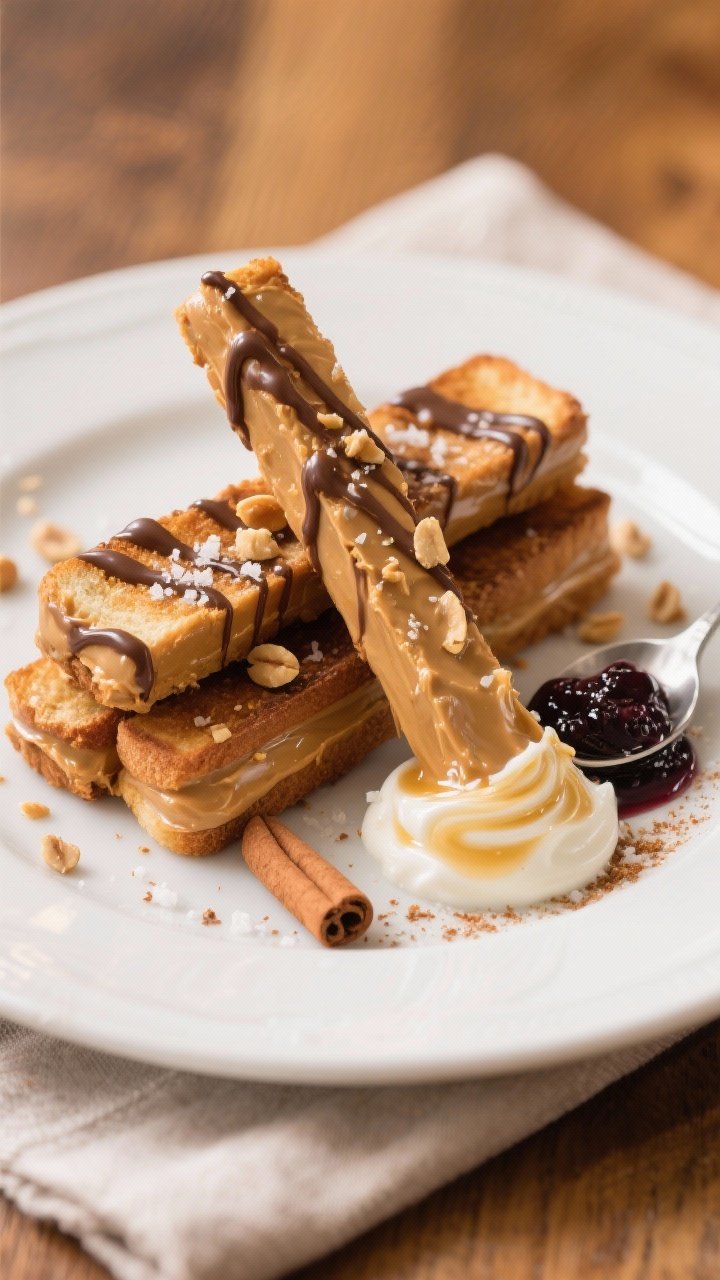
- Finish and serve. Add a light drizzle of honey, a dusting of cinnamon, or a sprinkle of sea salt.Serve with dips like yogurt-honey or your favorite jam. Enjoy warm for the best texture.
What Makes This Special
These toast sticks are low effort but feel fun to eat. You can make them in minutes with pantry staples and adapt them to your mood—sweet, salty, or even a little spicy.
They’re also a great solution for slightly stale bread because toasting revives the texture and flavor. Whether you’re feeding kids or just yourself, the finger-food format is satisfying and easy to share. Most of all, they don’t require a mess of dishes or a long list of steps.
Shopping List
- Bread (4 slices; sturdy sandwich bread, sourdough, or brioche)
- Peanut butter (about 1/2 cup; creamy or crunchy)
- Butter or neutral oil (1–2 tablespoons, optional for pan-toasting)
- Cinnamon (optional)
- Honey or maple syrup (optional, for drizzling)
- Sea salt flakes (optional, for finishing)
- Optional dips and add-ons:
- Greek yogurt mixed with honey
- Jam or fruit preserves
- Banana slices or fresh berries
- Dark chocolate chips or a light chocolate drizzle
How to Make It
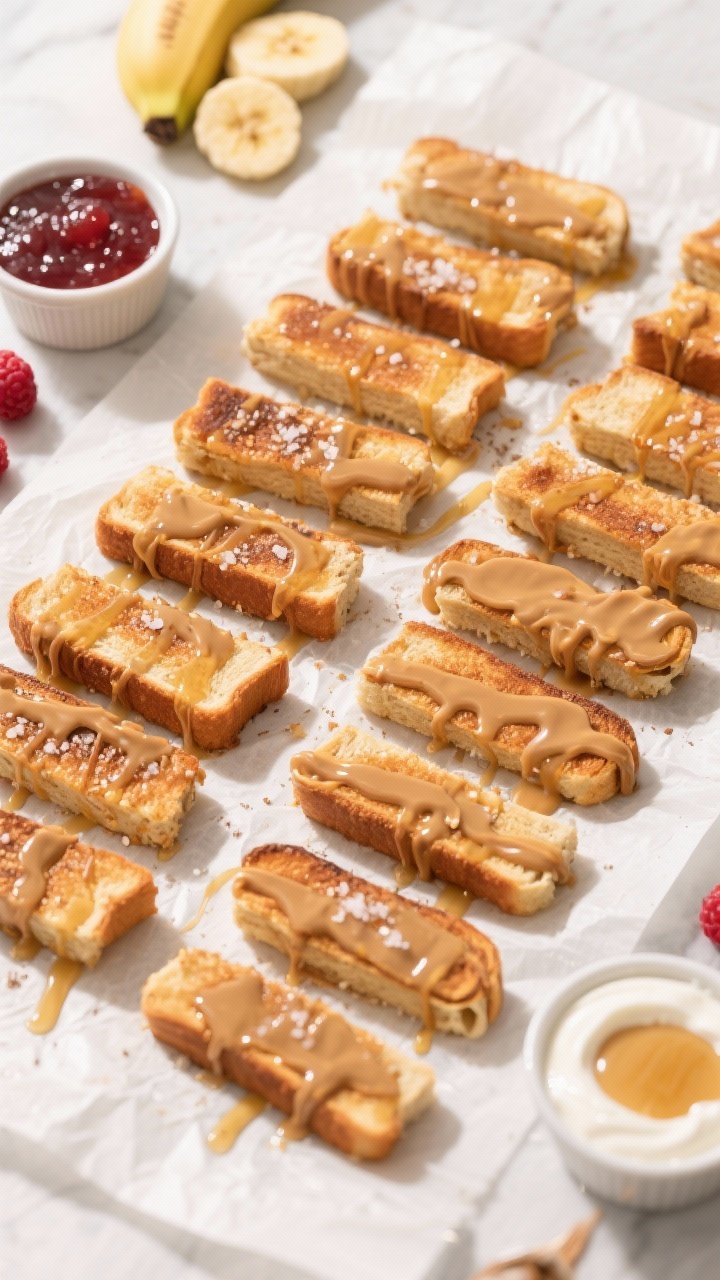
- Choose your bread. Use a bread that holds up to slicing and toasting.
Day-old bread works great. Thicker slices give chunkier sticks; thinner slices will crisp faster.
- Lightly pre-toast if using very soft bread. If your bread is super soft or brioche-like, give it a quick toast to dry the surface. This helps prevent tearing when spreading peanut butter.
- Spread the peanut butter. Lay out the slices and spread a generous, even layer of peanut butter from edge to edge.
Aim for about 1–2 tablespoons per slice, depending on how rich you like it.
- Add optional flavor. Sprinkle a little cinnamon over the peanut butter for warmth. If you want a hint of sweetness, drizzle a thin ribbon of honey or maple syrup. A tiny pinch of sea salt on top balances everything.
- Assemble (open-faced or sandwich style). For maximum crisp edges, leave them open-faced.
If you want a thicker, more “French toast stick” feel without the egg, sandwich two slices together with peanut butter inside.
- Slice into sticks. Use a sharp knife to cut each slice into 3–4 sticks. Press down gently to keep the filling from squeezing out.
- Toast on the stove. Warm a nonstick skillet over medium heat and add a small amount of butter or oil. Place the sticks cut-side down first for crisp edges, then rotate to toast all sides until golden.
This usually takes 3–5 minutes total.
- Or toast in the air fryer/oven. Air fryer: 375°F (190°C) for 3–5 minutes, flipping once. Oven: 400°F (200°C) for 6–8 minutes on a parchment-lined sheet, flipping halfway. Watch closely to avoid over-browning.
- Finish and serve. Add a light drizzle of honey, a dusting of cinnamon, or a sprinkle of sea salt.
Serve with dips like yogurt-honey or your favorite jam. Enjoy warm for the best texture.
How to Store
Store any leftover toast sticks in an airtight container at room temperature for up to 1 day. For longer storage, refrigerate for up to 3 days.
Reheat in a toaster oven, air fryer, or skillet to restore crispness. Avoid microwaving, which can make them soft and rubbery. If freezing, wrap tightly and freeze for up to 1 month; reheat directly from frozen in an air fryer or oven until hot and crisp.
Why This is Good for You
Peanut butter offers plant-based protein and healthy fats, which help keep you full and steady your energy.
When you pair it with whole grain bread, you get extra fiber for digestion and long-lasting satisfaction. If you add fruit on the side, you’re sneaking in vitamins, minerals, and natural sweetness. It’s a balanced snack or light meal that feels indulgent but still delivers solid nutrition.
The best part is you control the sweetness and portion size.
Pitfalls to Watch Out For
- Using ultra soft bread without pre-toasting. It can tear when spreading peanut butter. A quick pre-toast or slightly firmer bread solves this.
- Too much heat. High heat can scorch the outside before the inside warms. Medium heat gives a golden crust and melty center.
- Overloading with sweeteners. Honey and syrup are great, but a heavy hand makes the sticks messy and overly sweet.
A thin drizzle goes a long way.
- Skipping the flip. If you’re air frying or baking, flip halfway so all sides crisp evenly.
- Microwaving leftovers. It softens the texture. Reheat with dry heat to bring the crisp back.
Alternatives
- Nut and seed butters: Almond butter, cashew butter, or sunflower seed butter if you need a nut-free option.
- Bread swaps: Use whole wheat for fiber, sourdough for tang, brioche for a richer, dessert-like version, or gluten-free bread if needed.
- Flavor twists: Add a sprinkle of cocoa powder and cinnamon for a “churro” feel. Try a thin swipe of jam under the peanut butter for a warm PB&J vibe.
- Protein boost: Mix a little protein powder into the peanut butter, thinning with a splash of milk to spread smoothly.
- Crunch factor: Press crushed peanuts or granola onto the peanut butter side before toasting for texture.
- Sweet-savory: Add a tiny drizzle of hot honey or a pinch of chili flakes for heat.
FAQ
Can I make these without added sugar?
Yes.
Use plain peanut butter and skip the honey or syrup. For natural sweetness, add banana slices or serve with fresh berries on the side.
What’s the best bread for toast sticks?
A sturdy sandwich bread, sourdough, or a day-old loaf works best. Avoid very thin or super soft bread unless you pre-toast it to firm it up.
How do I keep the peanut butter from melting out?
Use medium heat, not high, and don’t overload each slice.
Toast the cut sides first to set the edges, then rotate to quickly crisp the surfaces.
Can I make this for a crowd?
Absolutely. Assemble and slice several sandwiches, lay them on a sheet pan, and bake at 400°F (200°C), flipping once. Serve with a few dip options for variety.
Is there a nut-free version?
Use sunflower seed butter or soy nut butter.
Both toast nicely and offer a similar creamy texture.
Will crunchy peanut butter work?
Yes. Crunchy peanut butter adds texture and holds up well to heat. Spread gently so the bread doesn’t tear.
What dips pair well?
Honey-yogurt, fruit preserves, melted dark chocolate, or a cinnamon-sugar yogurt dip are all great.
For savory-leaning, try a light drizzle of tahini with a touch of maple and salt.
In Conclusion
Peanut Butter Toast Sticks are proof that simple ingredients can feel special with just a bit of care. They’re quick to make, easy to customize, and satisfying any time of day. Keep the basics on hand—bread, peanut butter, and a few toppings—and you’ve got a reliable, cozy snack within minutes.
Whether you serve them with fruit for breakfast or a sweet dip for dessert, they deliver crunch, comfort, and just the right amount of fun.
Printable Recipe Card
Want just the essential recipe details without scrolling through the article? Get our printable recipe card with just the ingredients and instructions.