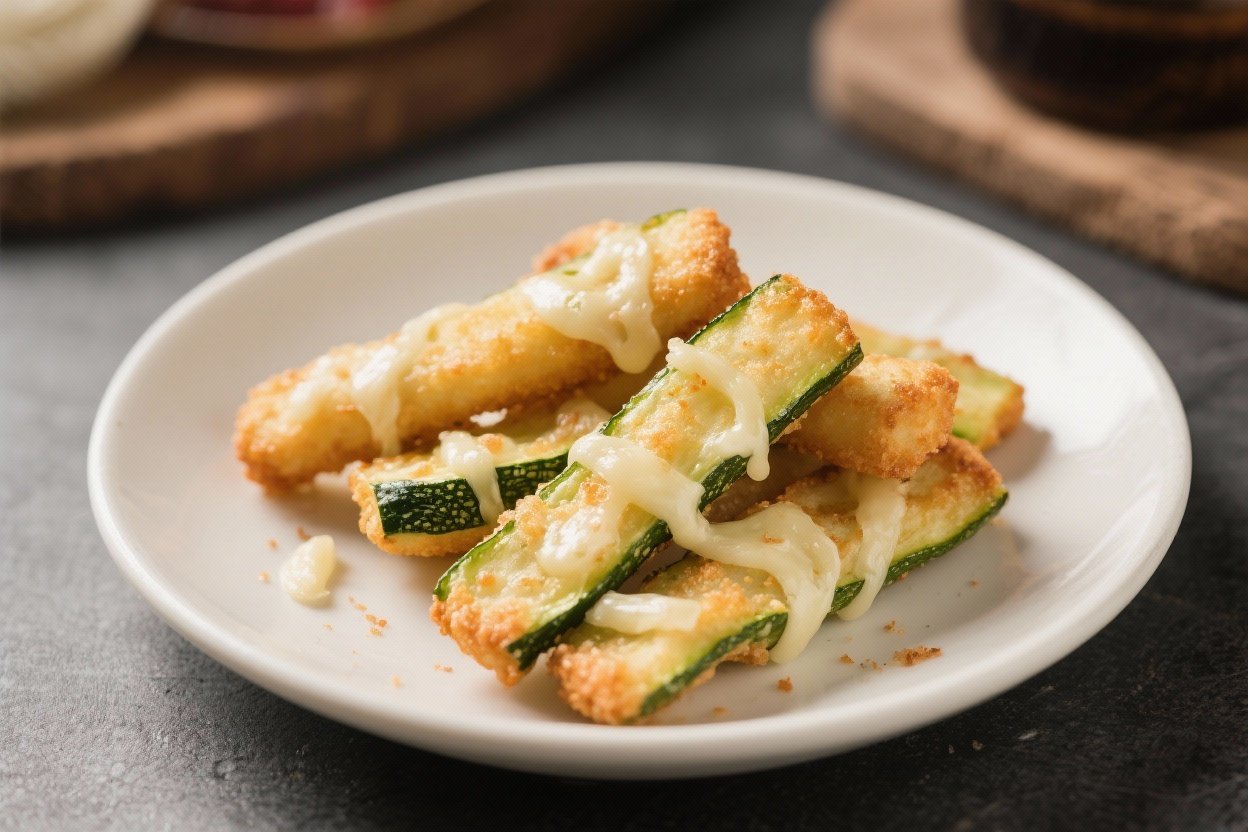
Zucchini & Cheese Sticks – Crispy, Cheesy, and Easy to Make
Zucchini & Cheese Sticks are the kind of snack that disappears fast. They’re lightly crisp on the outside, soft in the middle, and loaded with savory flavor. Whether you’re serving them as an appetizer, a game-day snack, or a quick side dish, they fit the moment.
They’re simple to make, don’t require fancy tools, and taste great with your favorite dipping sauce. If you love mozzarella sticks but want something a little lighter, this is your move.
Ingredients
Method
- Prep the zucchini: Wash and trim the ends. Cut each zucchini into sticks about the size of thick fries—around 3 inches long and 1/2 inch thick. Pat them dry with paper towels.
- Set up three bowls: In one bowl, add the flour. In a second bowl, whisk the eggs. In a third bowl, combine breadcrumbs, Parmesan, garlic powder, onion powder, Italian seasoning, smoked paprika, salt, and pepper.
- Add the cheese: Toss the shredded mozzarella with the breadcrumb mixture so it sticks evenly to the breading and doesn’t clump.
- Coat the sticks: Dredge each zucchini stick in flour, tap off the excess. Dip into egg, then press into the breadcrumb-cheese mixture until well coated. Place on a baking sheet or plate as you work.
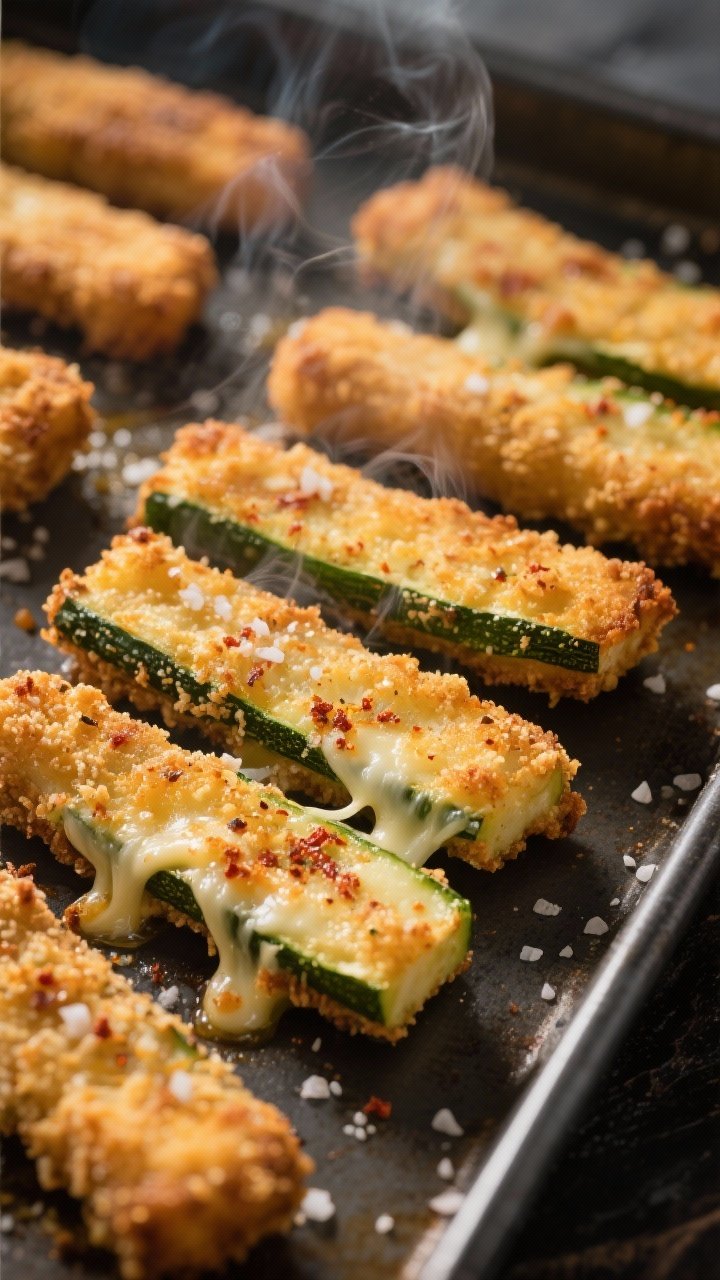
- Choose your cooking method: Bake: Heat oven to 425°F (220°C). Line a baking sheet with parchment. Arrange sticks in a single layer. Lightly spray with olive oil. Bake 18–22 minutes, flipping once at the 12-minute mark, until golden and crisp.
- Air-fry: Preheat to 400°F (205°C). Arrange in a single layer. Air-fry 8–10 minutes, flipping halfway, until browned and crisp. Work in batches.
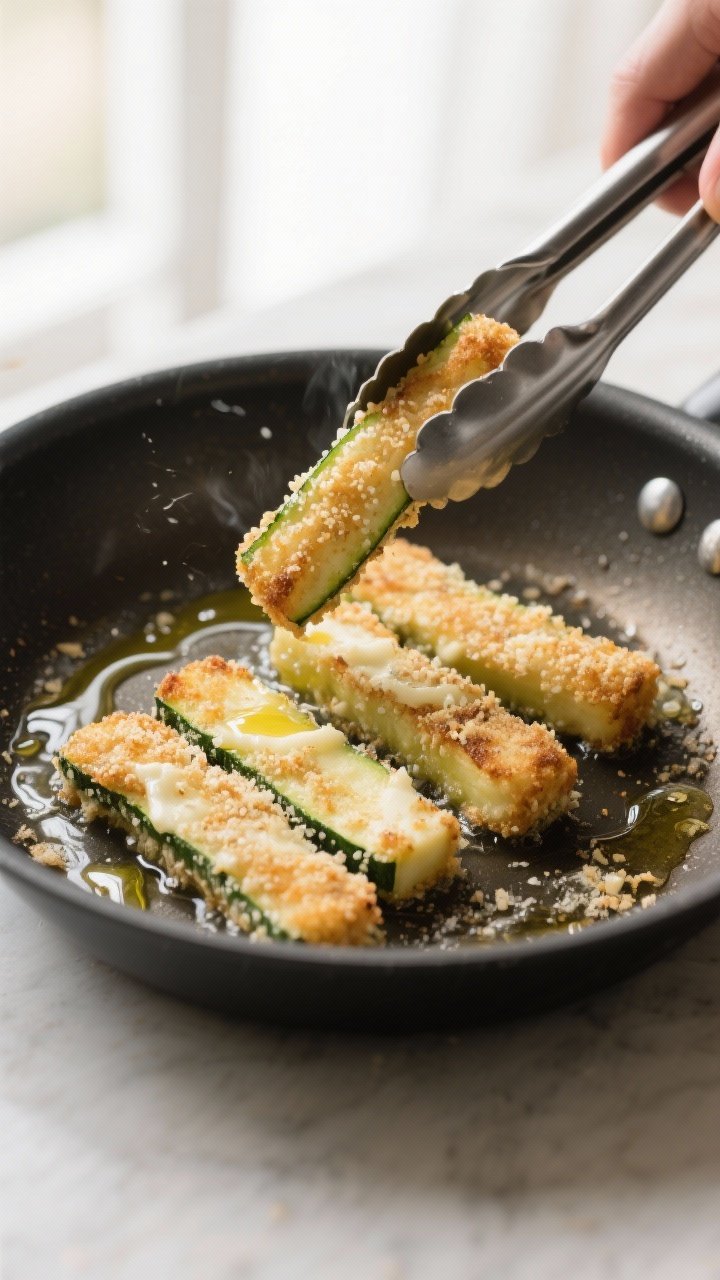
- Pan-fry: Heat 2–3 tablespoons olive oil in a nonstick skillet over medium heat. Cook sticks 2–3 minutes per side until crisp and golden. Drain on paper towels.
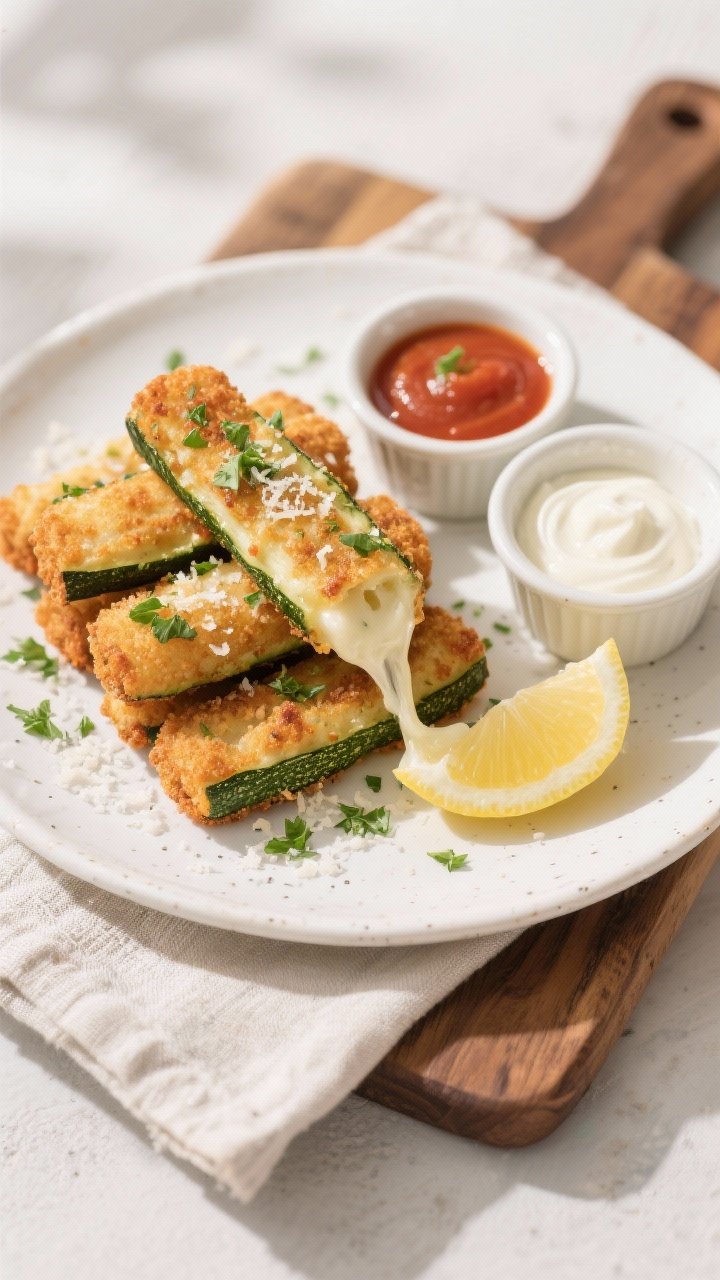
- Season and serve: Sprinkle with a pinch of salt while hot. Serve right away with your favorite dipping sauce.
What Makes This Recipe So Good
- Crispy on the outside, tender inside: The breading turns golden and crunchy while the zucchini stays soft and cheesy.
- Quick and flexible: Bake, air-fry, or pan-fry—whatever works for you.
- Easy ingredients: Mostly pantry staples, plus zucchini and cheese.
- Great for dipping: Serve with marinara, ranch, or garlic yogurt for a crowd-pleaser.
- Kid-friendly: A fun way to get some veggies in without a fight.
Ingredients
- 3 medium zucchini
- 1 cup shredded mozzarella cheese
- 1/3 cup grated Parmesan cheese
- 1 cup plain breadcrumbs (or panko for extra crunch)
- 1/2 cup all-purpose flour
- 2 large eggs
- 1 teaspoon garlic powder
- 1 teaspoon onion powder
- 1 teaspoon Italian seasoning (or dried oregano)
- 1/2 teaspoon smoked paprika (optional)
- 1/2 teaspoon kosher salt, plus more to taste
- 1/4 teaspoon black pepper
- Olive oil spray or 2–3 tablespoons olive oil (depending on method)
- Marinara, ranch, or garlic yogurt dip for serving
Instructions
- Prep the zucchini: Wash and trim the ends. Cut each zucchini into sticks about the size of thick fries—around 3 inches long and 1/2 inch thick.
Pat them dry with paper towels.
- Set up three bowls: In one bowl, add the flour. In a second bowl, whisk the eggs. In a third bowl, combine breadcrumbs, Parmesan, garlic powder, onion powder, Italian seasoning, smoked paprika, salt, and pepper.
- Add the cheese: Toss the shredded mozzarella with the breadcrumb mixture so it sticks evenly to the breading and doesn’t clump.
- Coat the sticks: Dredge each zucchini stick in flour, tap off the excess.
Dip into egg, then press into the breadcrumb-cheese mixture until well coated. Place on a baking sheet or plate as you work.
- Choose your cooking method:
- Bake: Heat oven to 425°F (220°C). Line a baking sheet with parchment.
Arrange sticks in a single layer. Lightly spray with olive oil. Bake 18–22 minutes, flipping once at the 12-minute mark, until golden and crisp.
- Air-fry: Preheat to 400°F (205°C).
Arrange in a single layer. Air-fry 8–10 minutes, flipping halfway, until browned and crisp. Work in batches.
- Pan-fry: Heat 2–3 tablespoons olive oil in a nonstick skillet over medium heat.
Cook sticks 2–3 minutes per side until crisp and golden. Drain on paper towels.
- Bake: Heat oven to 425°F (220°C). Line a baking sheet with parchment.
- Season and serve: Sprinkle with a pinch of salt while hot. Serve right away with your favorite dipping sauce.
Storage Instructions
- Fridge: Store leftovers in an airtight container for up to 3 days.
They’ll soften a bit but re-crisp well.
- Reheat: Air-fryer at 375°F (190°C) for 4–6 minutes, or bake at 400°F (205°C) for 8–10 minutes until hot and crisp. Avoid microwaving if you want crunch.
- Freeze: Freeze on a sheet pan until solid, then transfer to a freezer bag for up to 2 months. Bake from frozen at 425°F (220°C) for 18–22 minutes.
Benefits of This Recipe
- Veg-forward comfort food: You get the cheesy, crunchy satisfaction of a classic snack with a veggie base.
- Customizable: Change the cheese, spice it up, or switch cooking methods to suit your taste and schedule.
- Meal-prep friendly: Bread the sticks ahead of time and keep them chilled or frozen for quick cooking later.
- Balanced flavors: The Parmesan and herbs add depth, while mozzarella gives that stretchy, melty pull.
What Not to Do
- Don’t skip patting the zucchini dry: Extra moisture makes the coating slide off and prevents crisping.
- Don’t overcrowd the pan or basket: Airflow is key to golden edges.
Cook in batches if needed.
- Don’t use only mozzarella in the breading: It can melt too quickly and ooze out. Parmesan helps stabilize and crisp.
- Don’t under-season: Zucchini is mild. Salt and spices make the flavors pop.
- Don’t rely on the microwave to reheat: It turns the coating soft.
Use dry heat.
Variations You Can Try
- Spicy version: Add 1/4 teaspoon cayenne or red pepper flakes to the breadcrumb mix. Serve with spicy marinara.
- Gluten-free: Use gluten-free breadcrumbs and a 1:1 gluten-free flour blend. Keep the rest the same.
- Low-carb: Swap breadcrumbs for crushed pork rinds or almond flour mixed with Parmesan.
- Different cheeses: Try provolone or pepper jack for a twist.
Keep Parmesan for crispness.
- Lemon-herb: Add lemon zest to the breadcrumb mix and finish with a squeeze of lemon juice before serving.
- Garlic butter finish: Toss baked sticks in a little melted garlic butter and parsley for extra flavor.
FAQ
Do I need to salt the zucchini first?
If your zucchini is very fresh and firm, you can skip salting. If it seems watery, sprinkle with salt and let sit for 10–15 minutes, then pat dry. This helps prevent sogginess.
Can I make these without eggs?
Yes.
Use a mixture of 2 tablespoons mayo and 1 tablespoon water as a binder, or use unsweetened plant-based milk with a teaspoon of cornstarch whisked in. Coat as usual.
What dipping sauces go best?
Marinara is classic. Ranch, garlic yogurt, pesto mayo, or a simple lemon aioli also pair well.
Choose something creamy or tangy to balance the richness.
How do I keep the coating from falling off?
Dry the zucchini thoroughly, dredge in flour first, and press the breadcrumb mixture on firmly. Let the coated sticks rest for 5–10 minutes before cooking so the breading adheres.
Can I prep these ahead?
Absolutely. Bread the sticks, place them on a tray, and chill for up to 24 hours.
You can also freeze them unbaked and cook from frozen when needed.
Why did my cheese leak out?
If the heat is too high or the breading too thin, mozzarella can melt out. Make sure each stick is well coated and keep the oven or air-fryer at the recommended temperature.
What’s the best way to get them extra crispy?
Use panko, add a tablespoon of olive oil to the breadcrumb mix, and cook in a single layer with space around each stick. In the oven, preheat the sheet pan for a head start on browning.
In Conclusion
Zucchini & Cheese Sticks are the kind of recipe you’ll make more than once.
They’re simple, adaptable, and satisfy that craving for something crispy and cheesy without feeling heavy. With a few pantry spices and a couple of zucchini, you’re minutes away from a great snack or side. Keep a batch in the freezer, stock your favorite dip, and you’re set for easy, crowd-pleasing bites anytime.
Printable Recipe Card
Want just the essential recipe details without scrolling through the article? Get our printable recipe card with just the ingredients and instructions.